How to Connect a MindStudio AI Agent to Zapier
This tutorial shows how to integrate MindStudio with Zapier. The use case is user sentiment analysis, where a user submits information into a Google Form, triggers a Zap in Zapier, then sends that data to a MindStudio AI agent for processing and response.

How to Connect a MindStudio AI Agent to Zapier
Introduction
This tutorial shows how to integrate MindStudio with Zapier. The use case is user sentiment analysis: a user submits information in a Google Form, triggers a Zap in Zapier, and then sends that data to a MindStudio AI agent for processing and response.
This tutorial has four sections in the order we will build this use case:
- Build the Google Form that users submit their name, email, and comment on a fictional product or service.
- Build the MindStudio AI agent that will analyze the sentiment of each user submission, then email a response appropriate to that user’s comment sentiment.
- Build the Zap in Zapier that will trigger whenever a Google Form submission occurs, then send each submitter’s name, email address, and comment.
- Test the project.
Build the Google Form
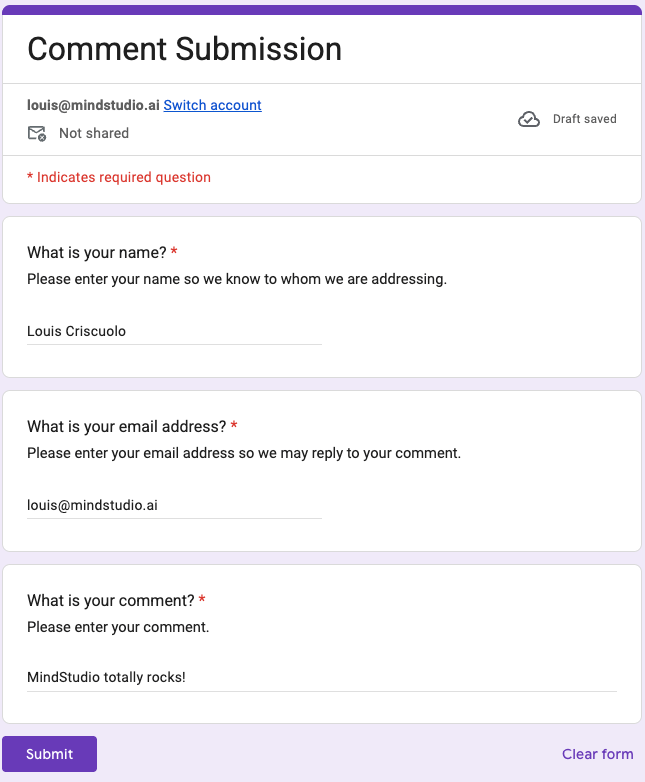
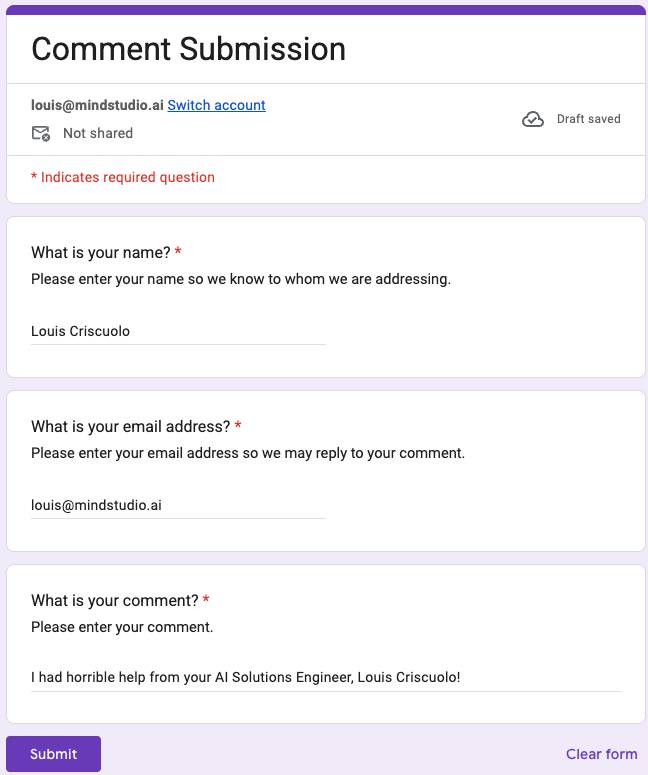
In this tutorial, let’s build a basic Google Form that lets the user provide a name, email address, and a comment.
- Create a new Google Form.
-
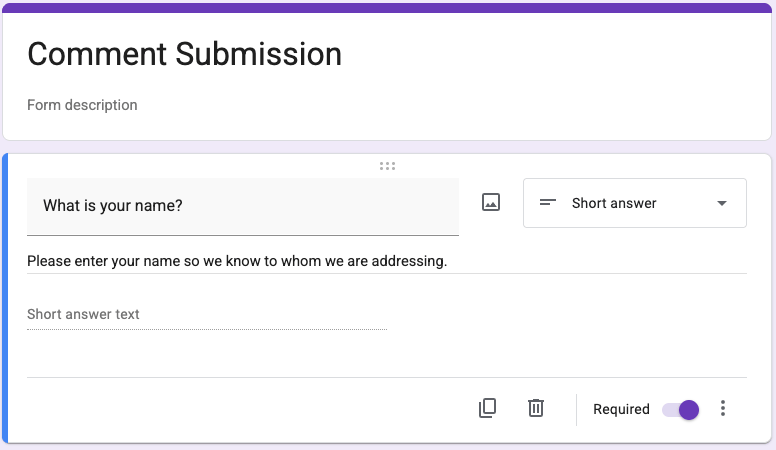
Name the form “Comment Submission”.
-
Add a “Short answer” item for the form submitter’s name.
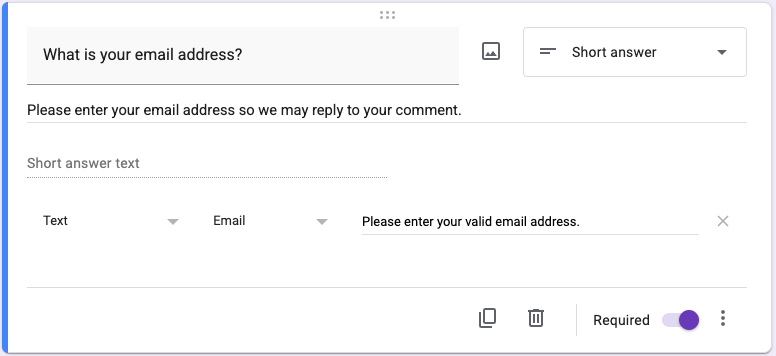
- Add another “Short answer” item for the form submitter’s email address.
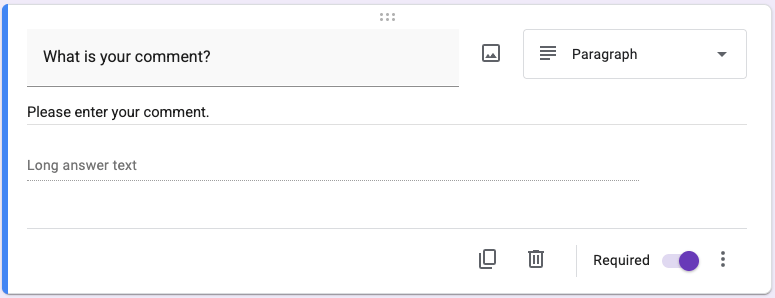
- Add a “Paragraph” item for the form submitter to enter a comment.
-
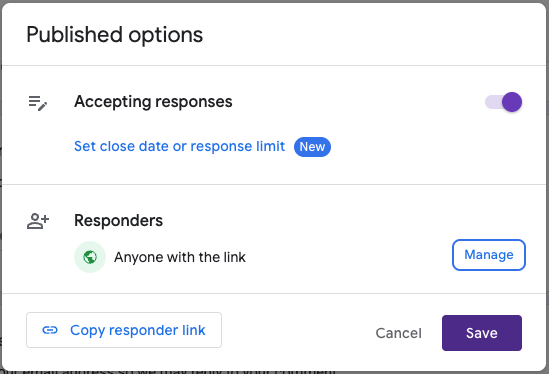
Click “Publish”, then set “Responders” as “Anyone with the link”.
-
Click “Save” to publish your Google Form.
-
Copy the responder link, then open the form in a new browser tab to test it.
-
Fill out the form, then click “Submit”.
-
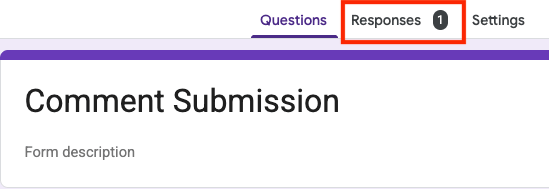
Return to the browser tab with the Google Form editor, then verify that a response has been recorded.
Other agents start typing. Remy starts asking.
Scoping, trade-offs, edge cases — the real work. Before a line of code.
The Google Form is ready.
Build the MindStudio AI Agent
Let’s build the MindStudio AI agent that will analyze the sentiment of each user submission. This agent will include three workflows. Let’s begin by building the “Main” workflow.
Build the “Main” Workflow
Follow the steps below to build the “Main” workflow:
-
Create a MindStudio account.
-
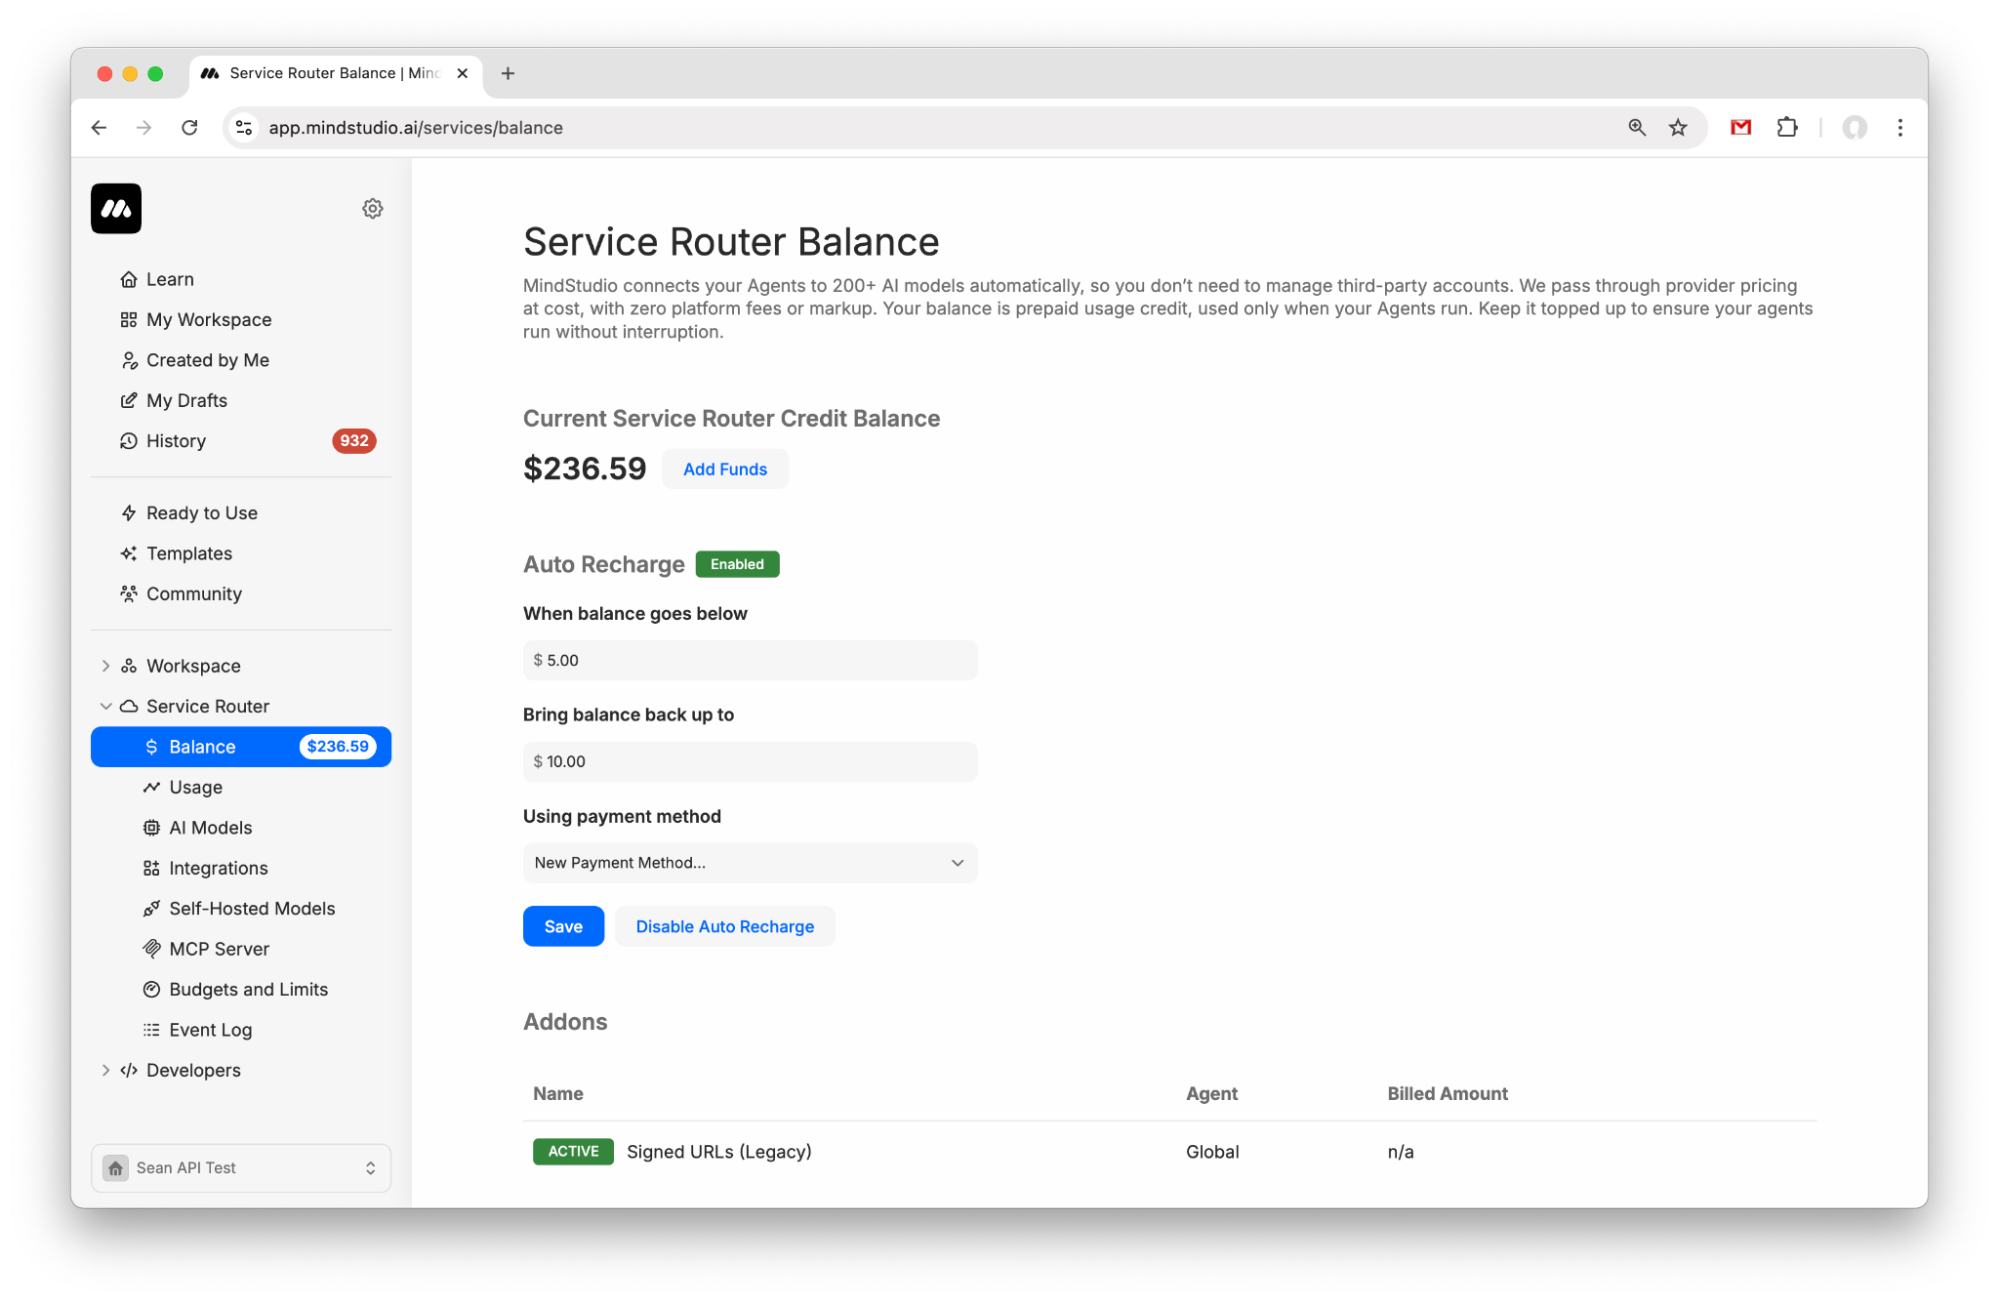
Go to “Service Router > Balance” to add funds to your Service Router balance. Add $5 to get started.
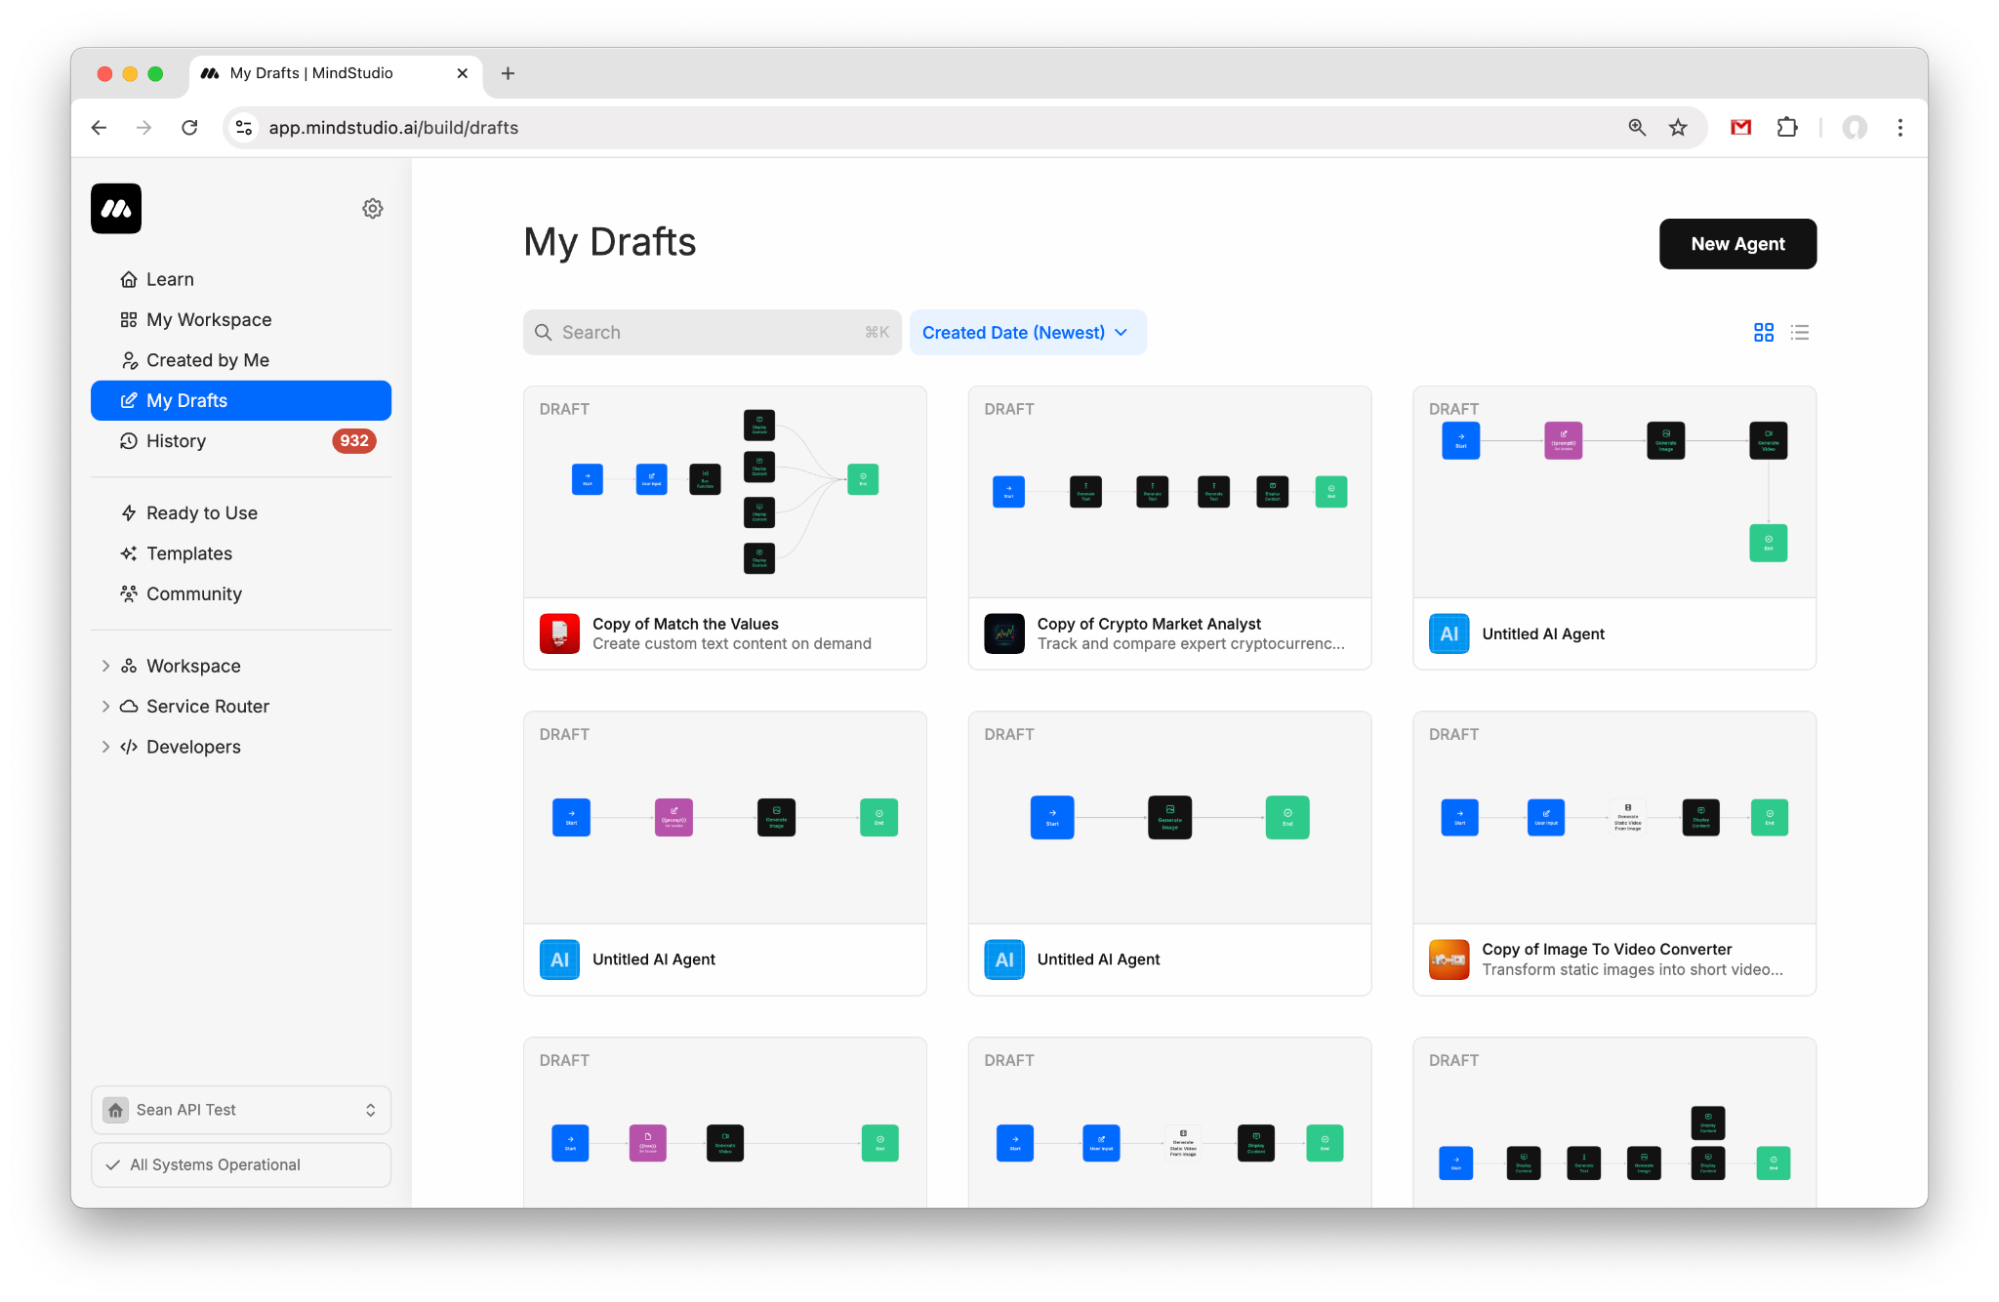
- Create a new agent from My Drafts.
- Click the “Start” block.
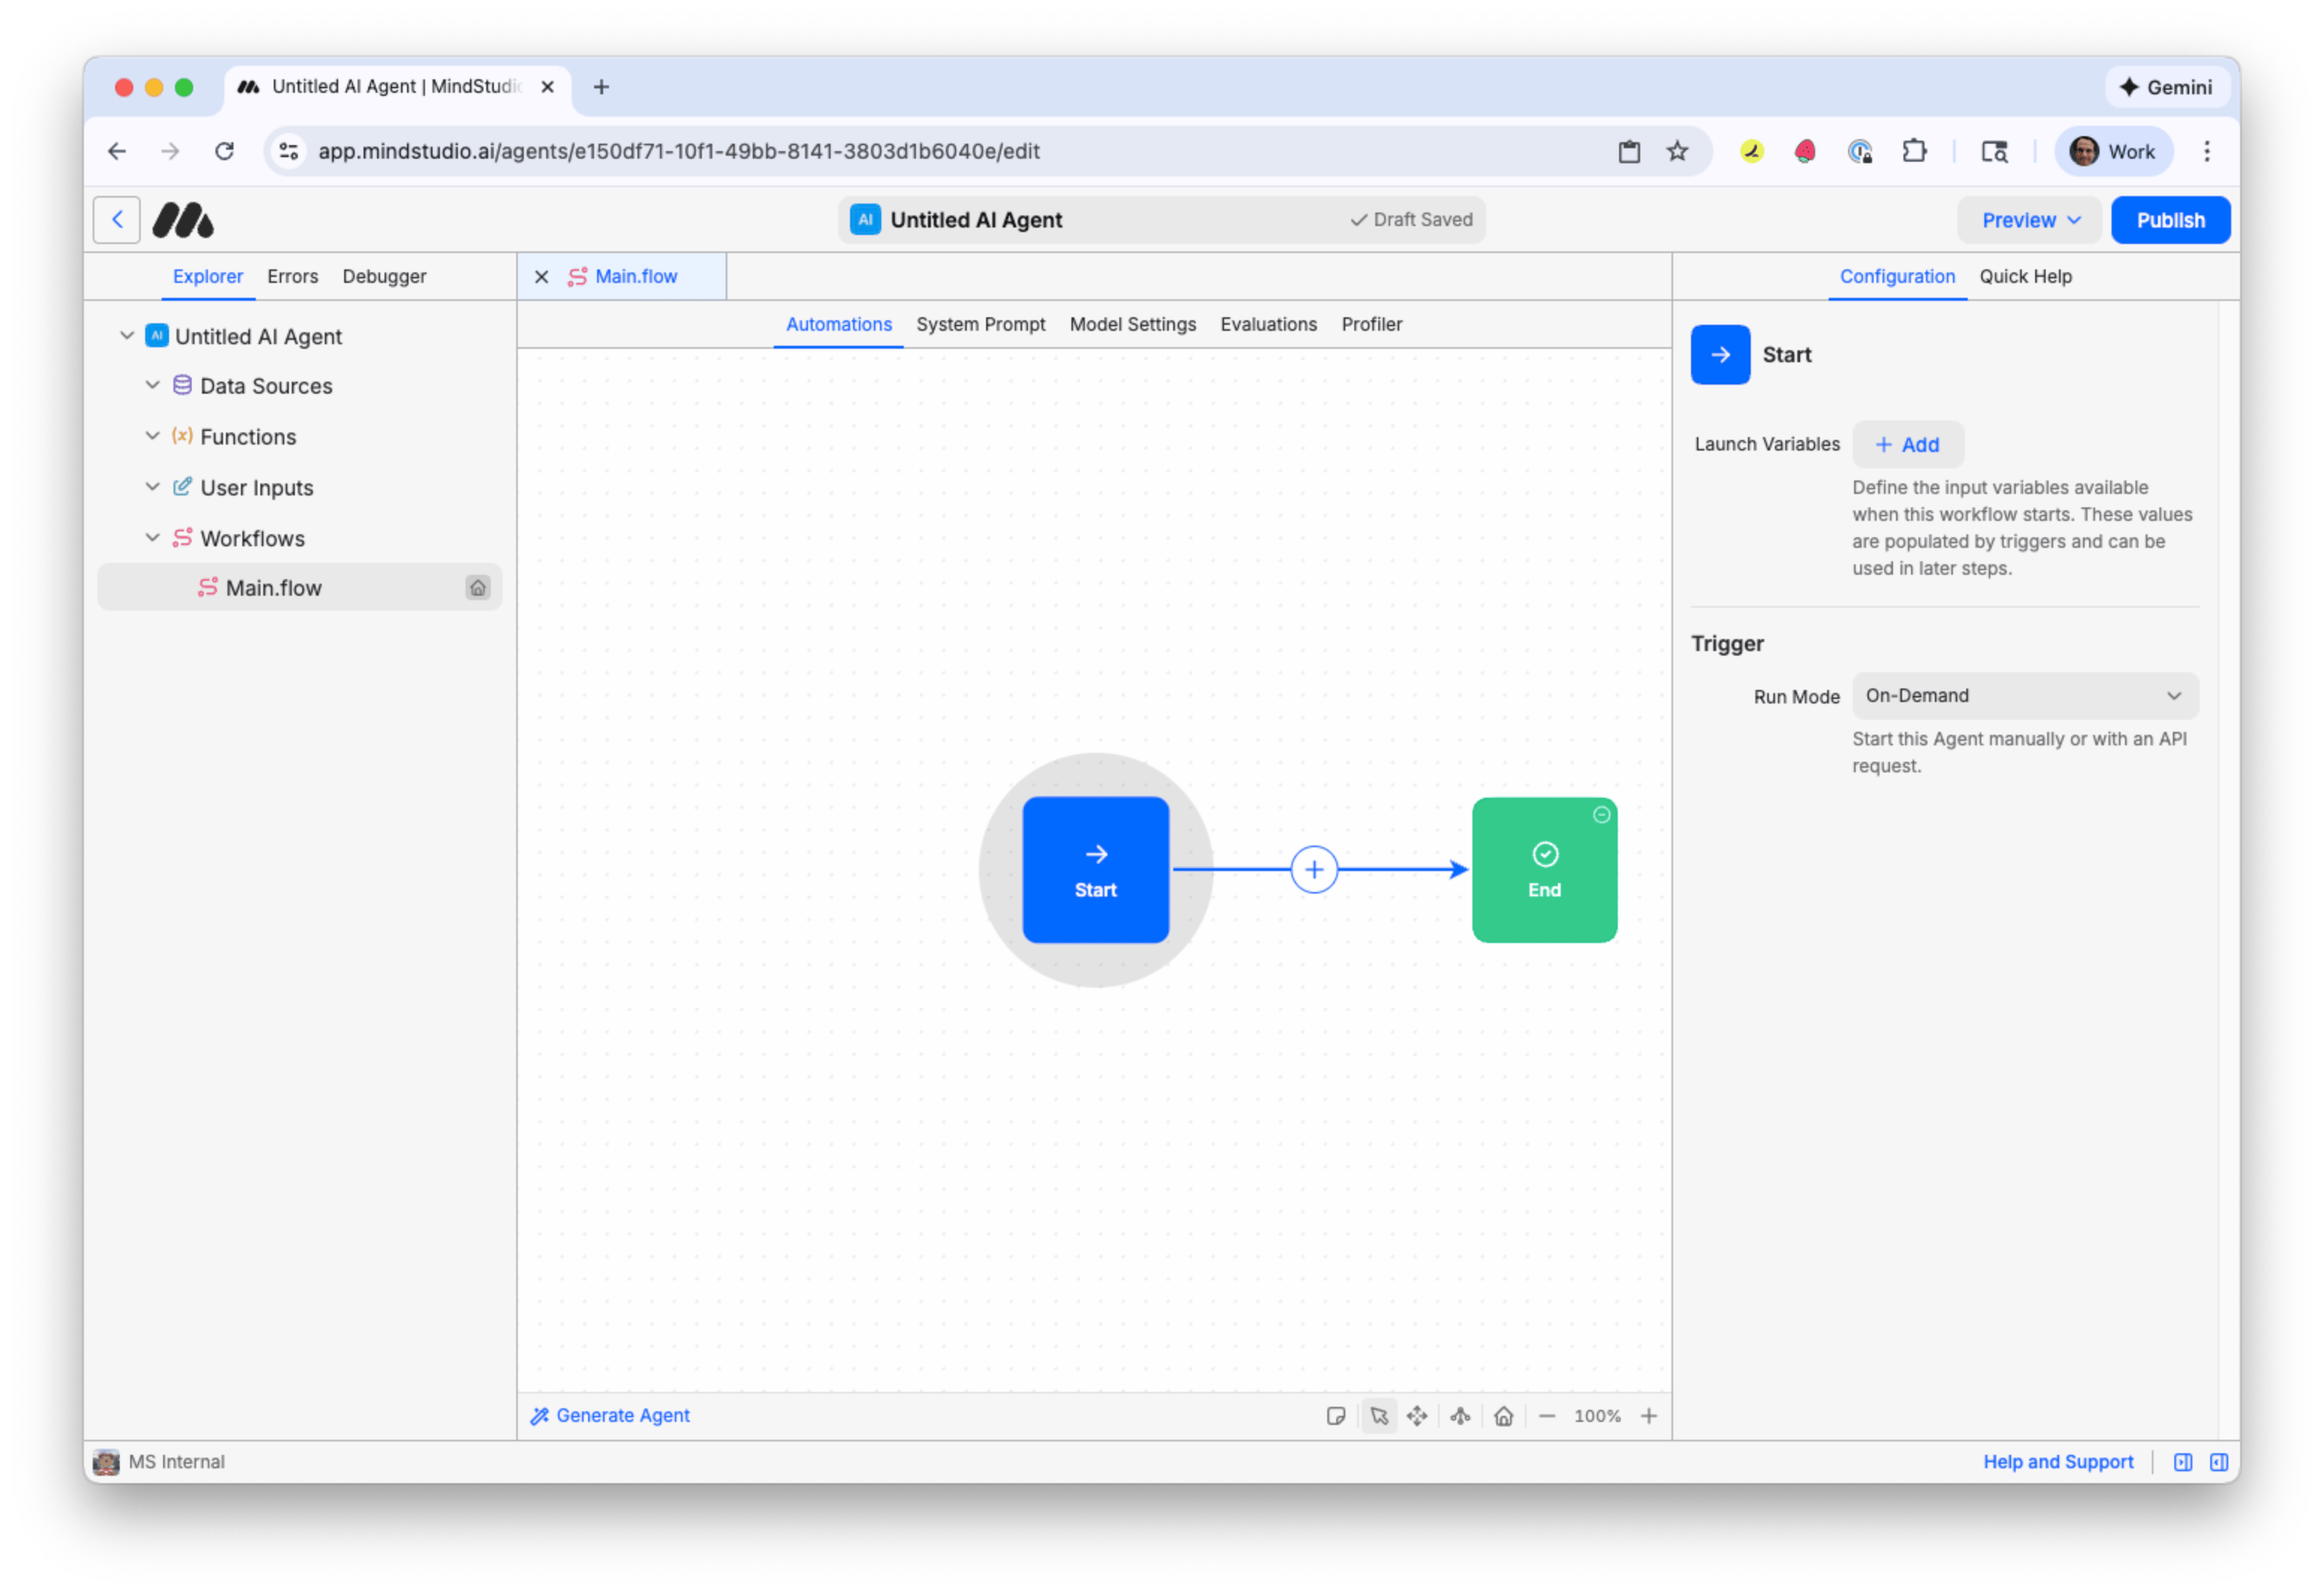
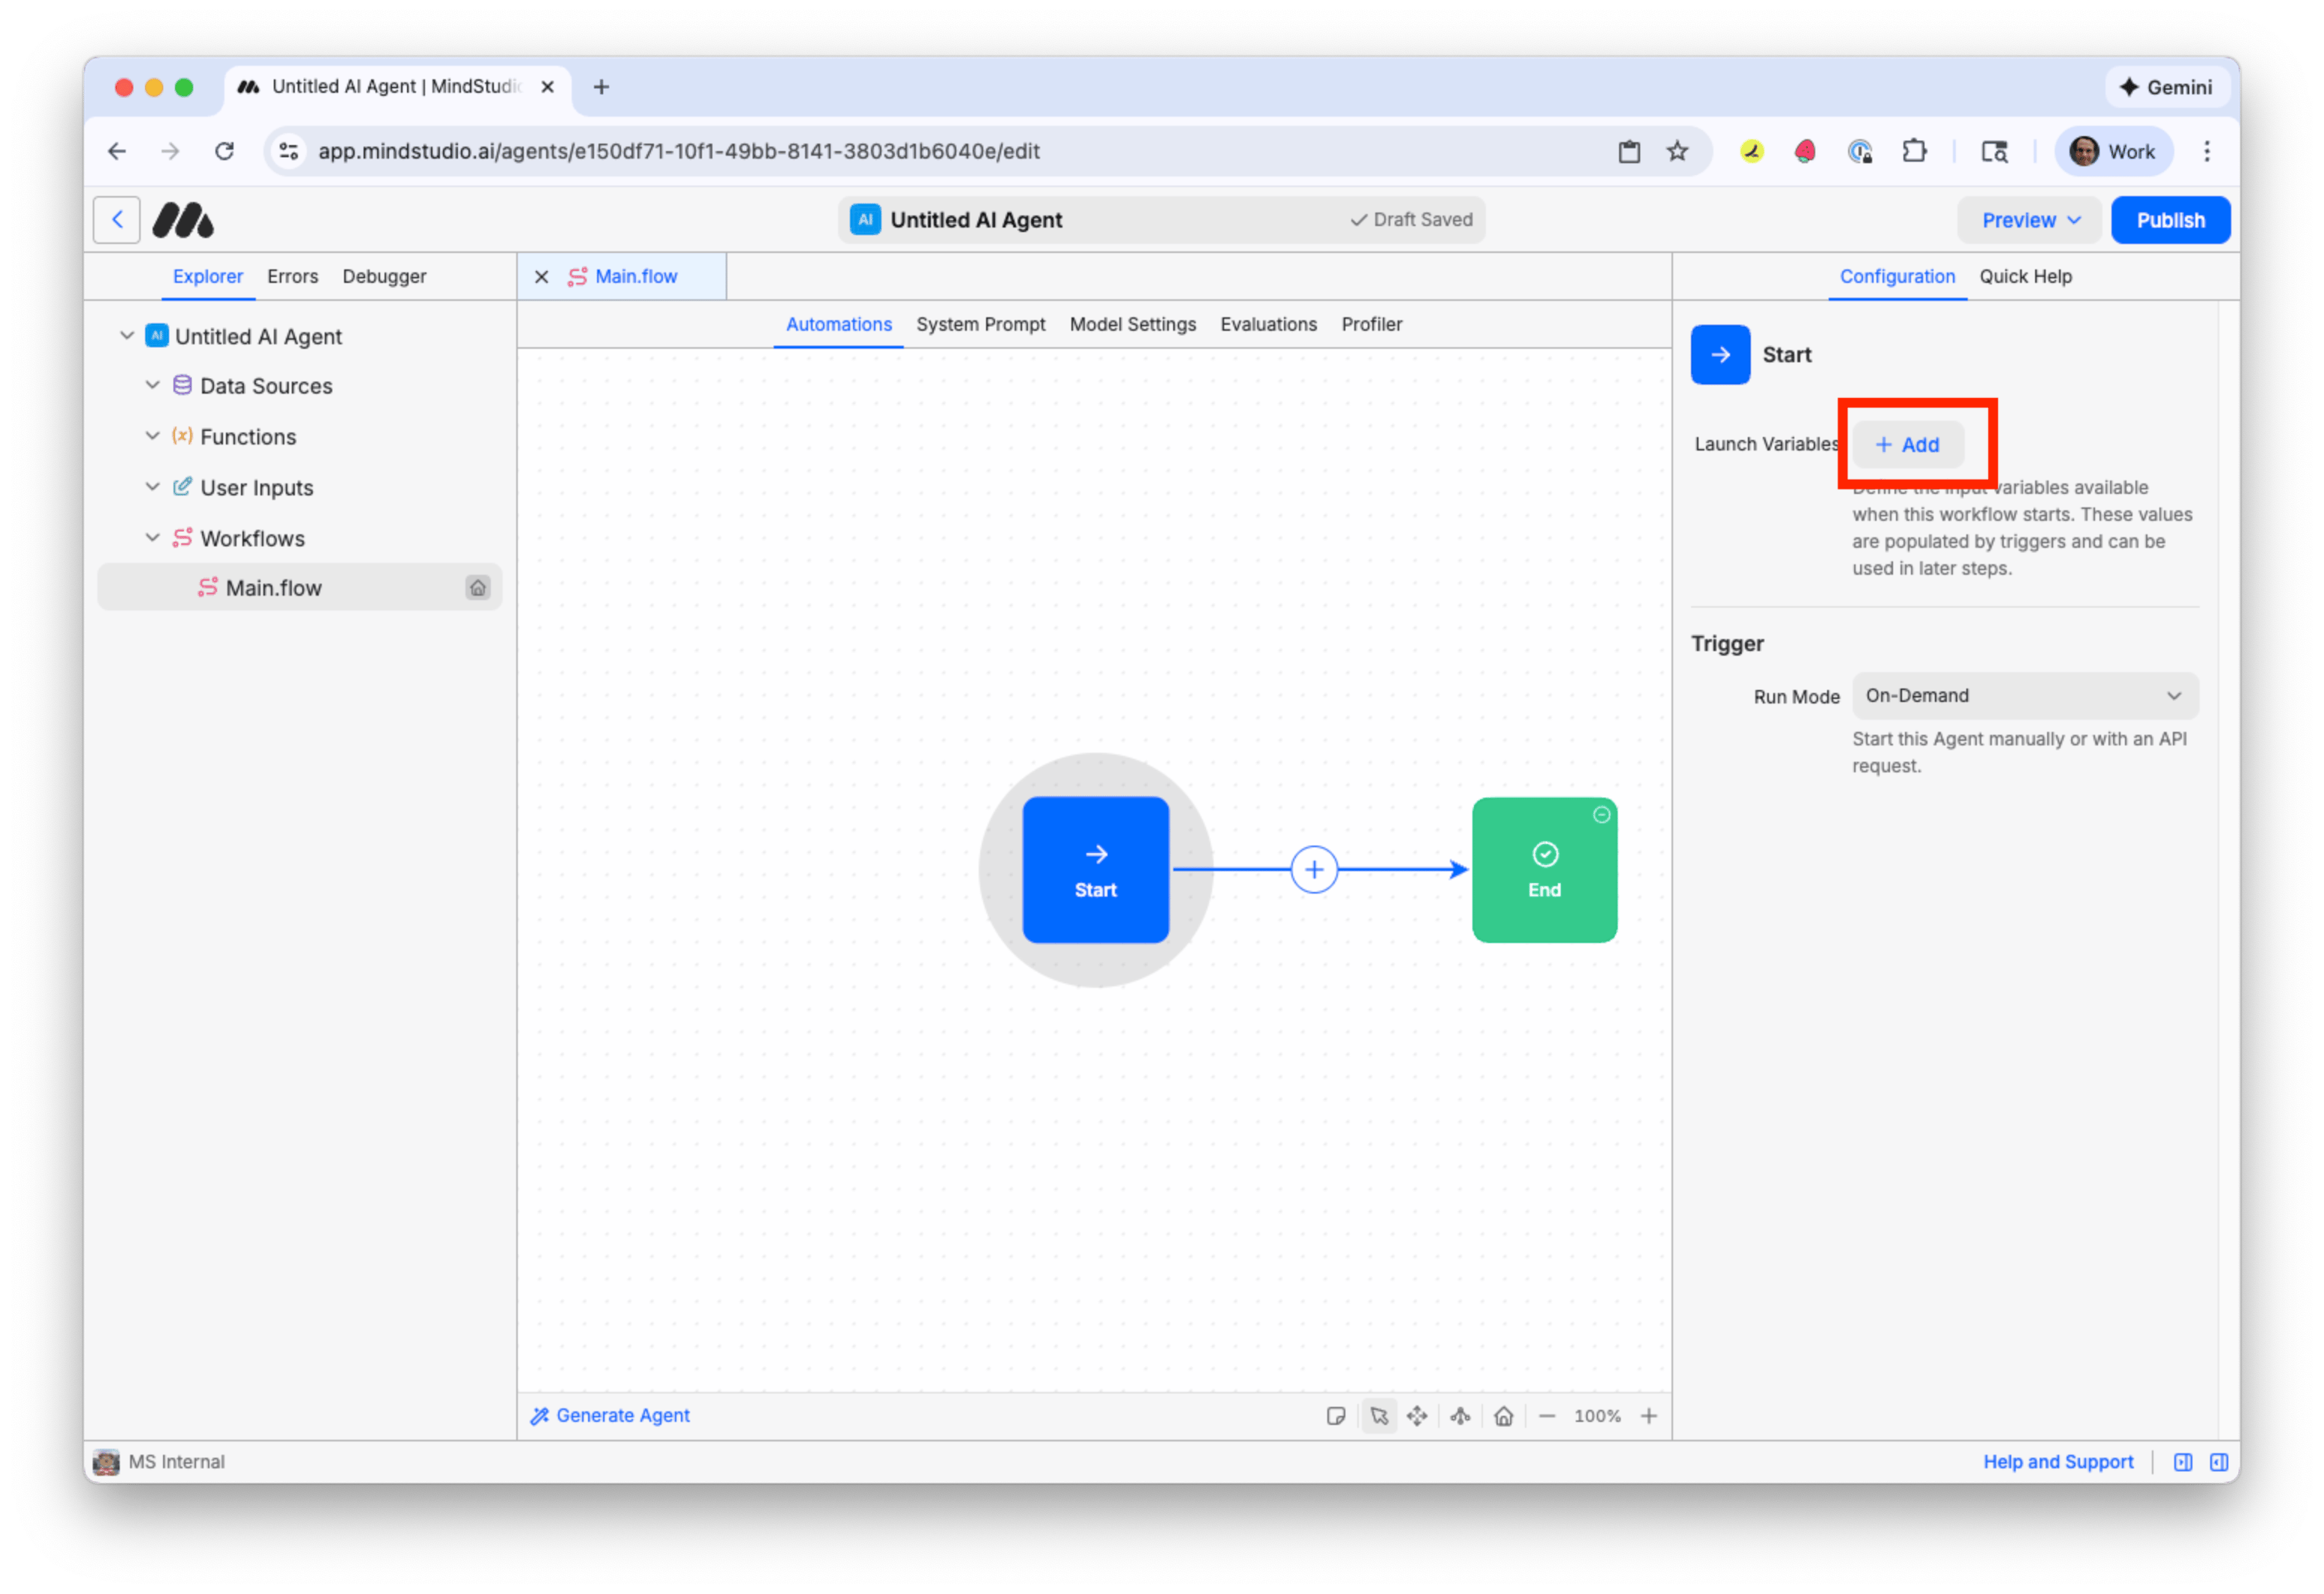
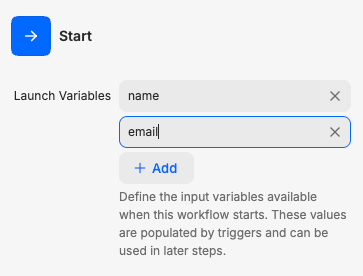
- Click “Add” to the right of “Launch Variables”. A launch variable is a variable that begins with data when that MindStudio workflow runs.
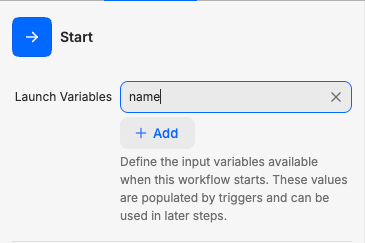
- Add “name” as a launch variable. This will be the form submitter’s name as provided from the Google Form.
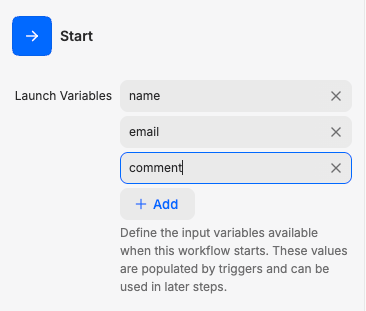
- Click “Add” again, and then add “email”. This will be the form submitter’s email address as provided from the Google Form.
- Click “Add” a third time, and then add “comment”. This will be the form submitter’s comment as provided from the Google Form.
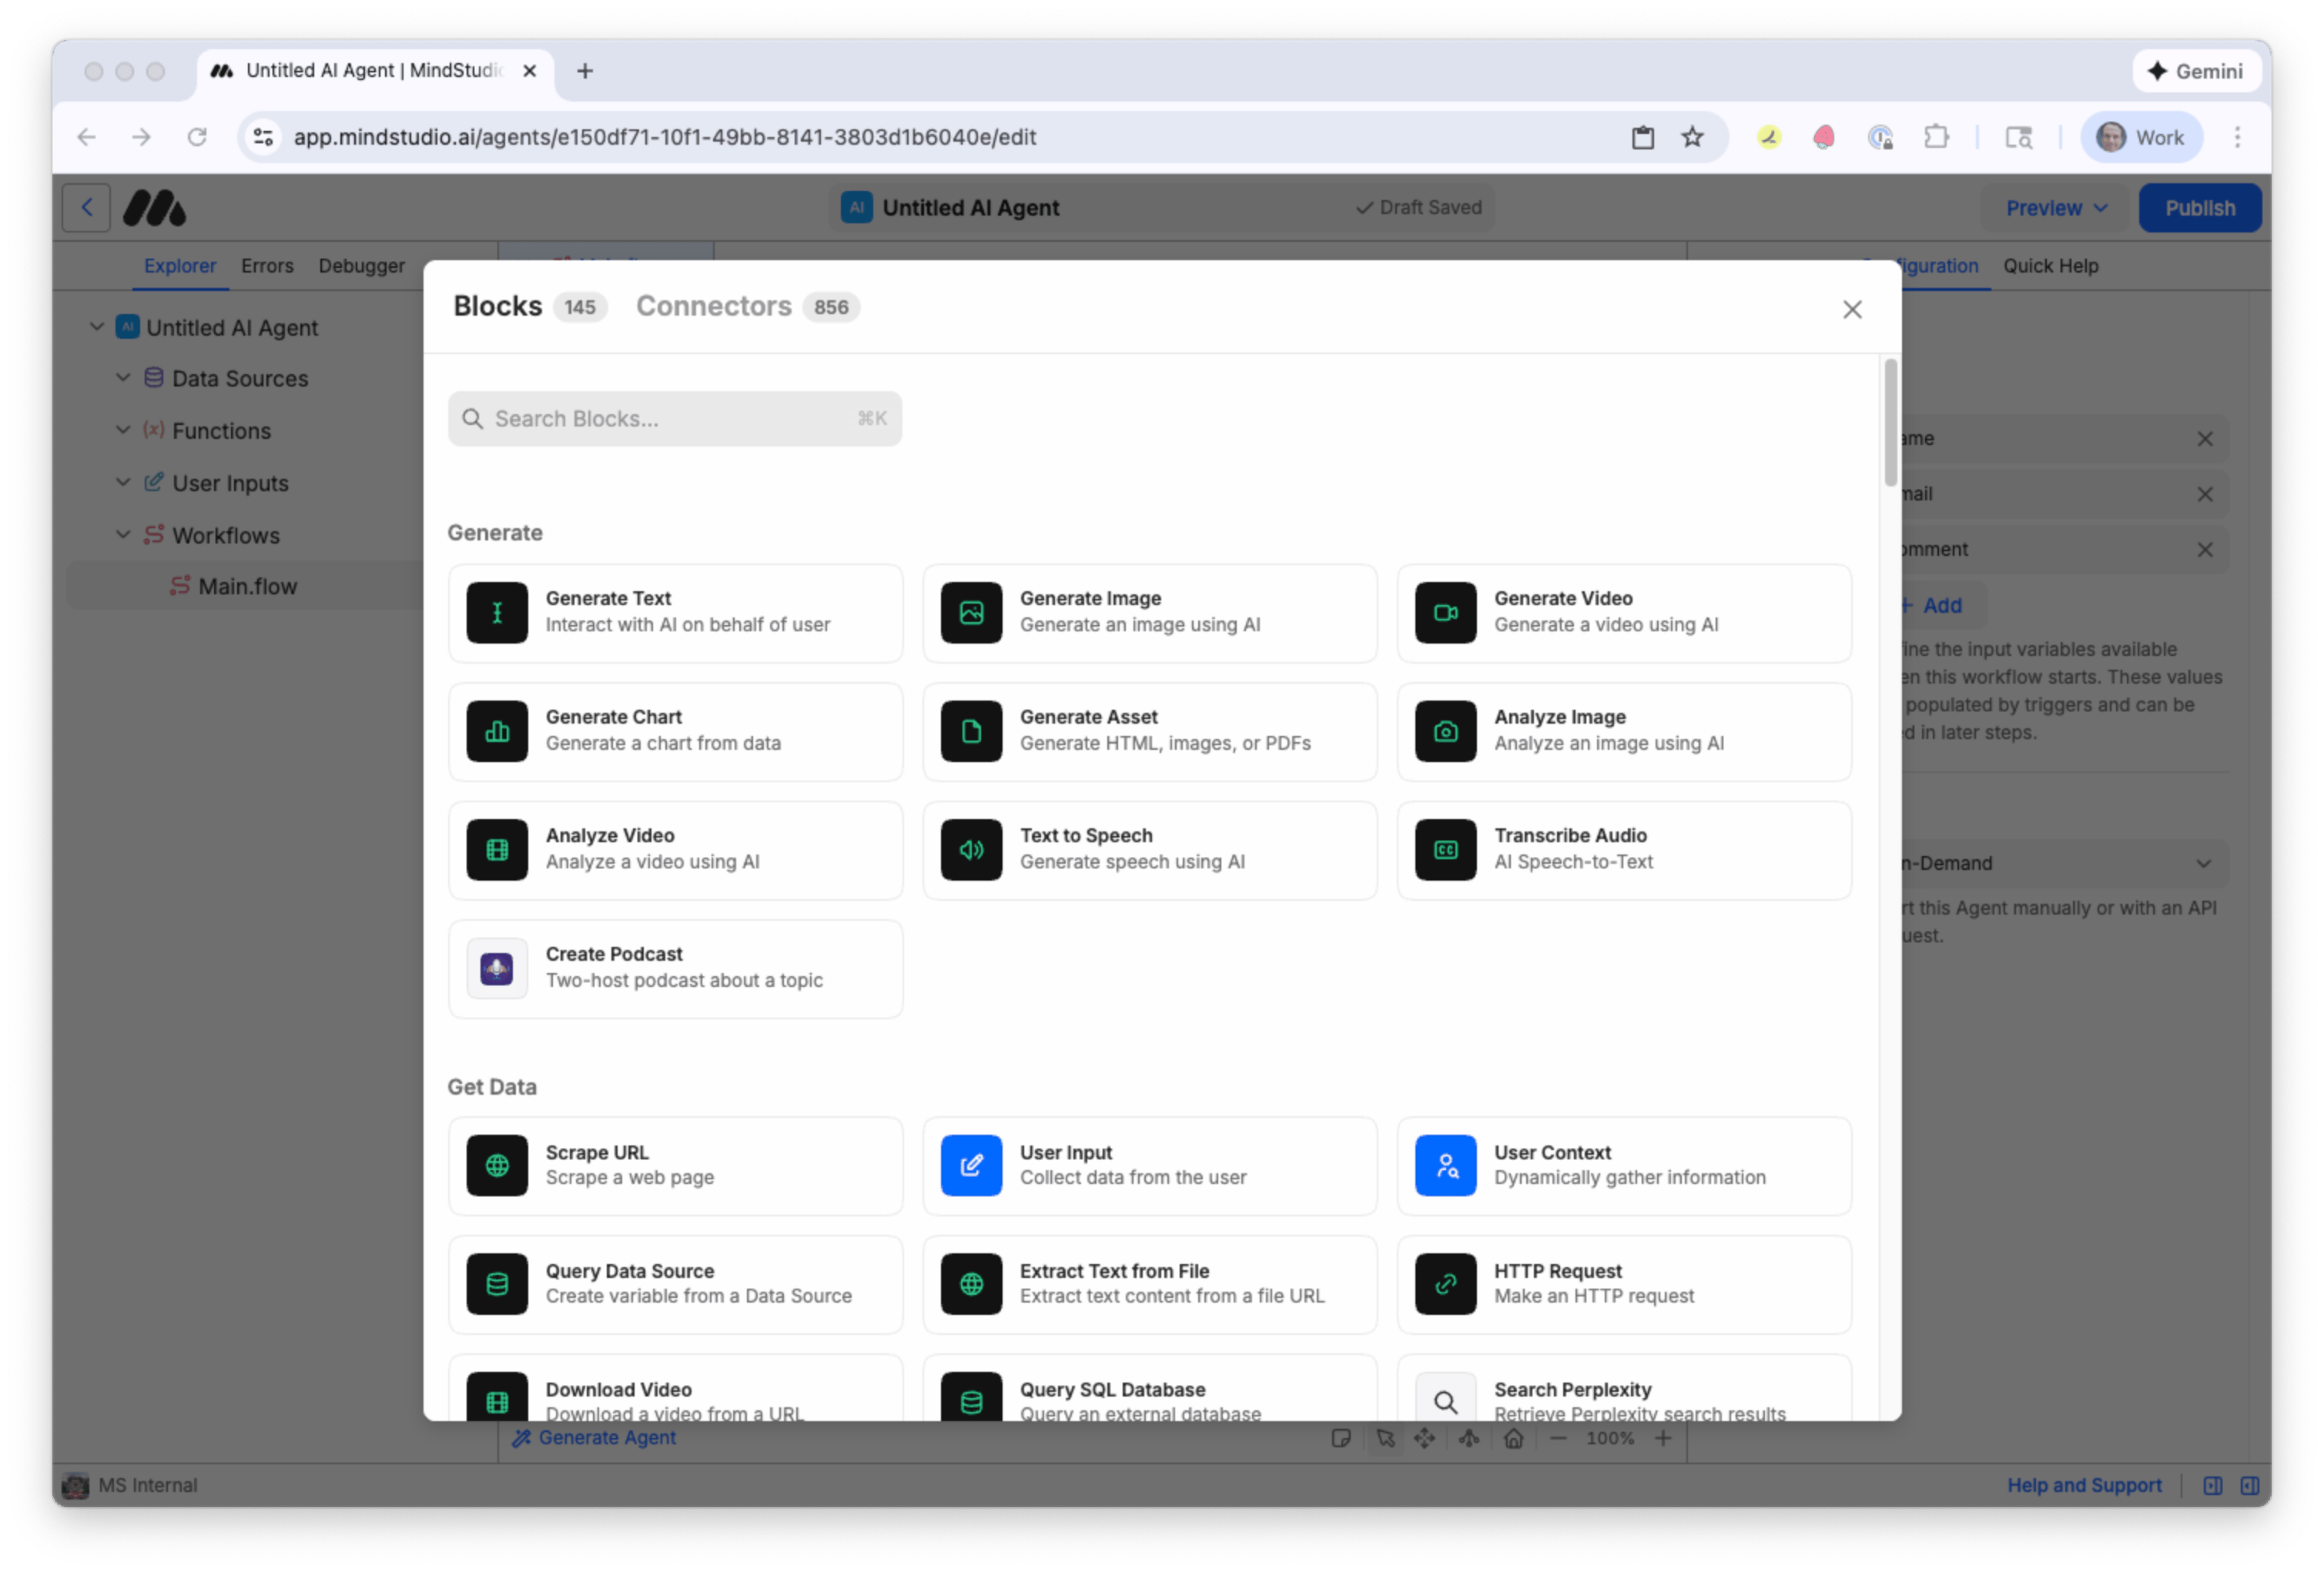
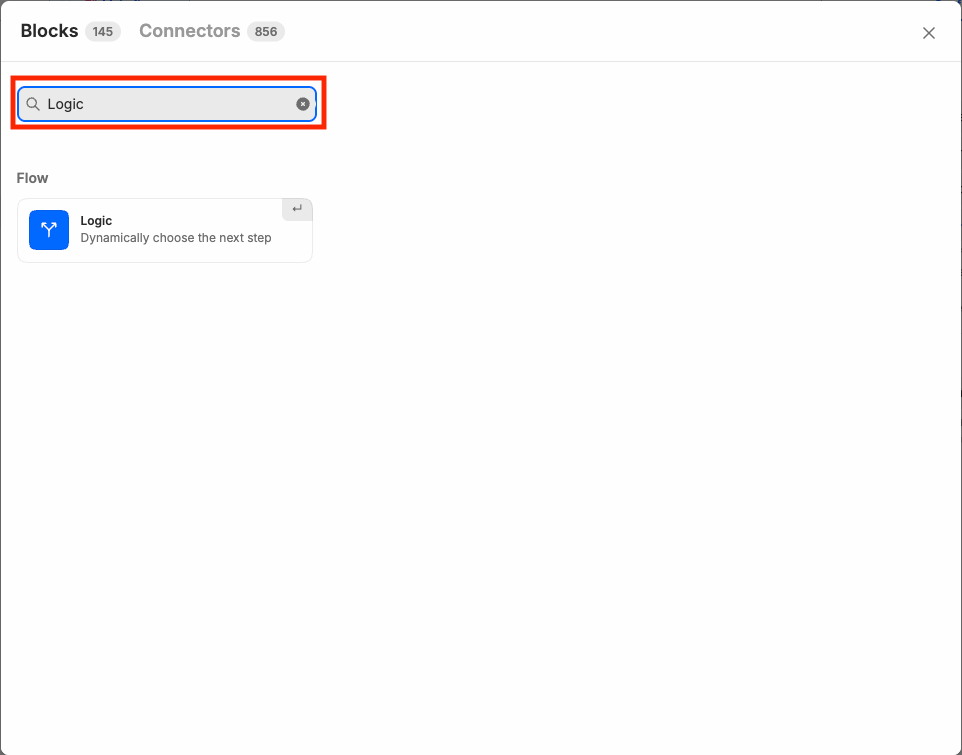
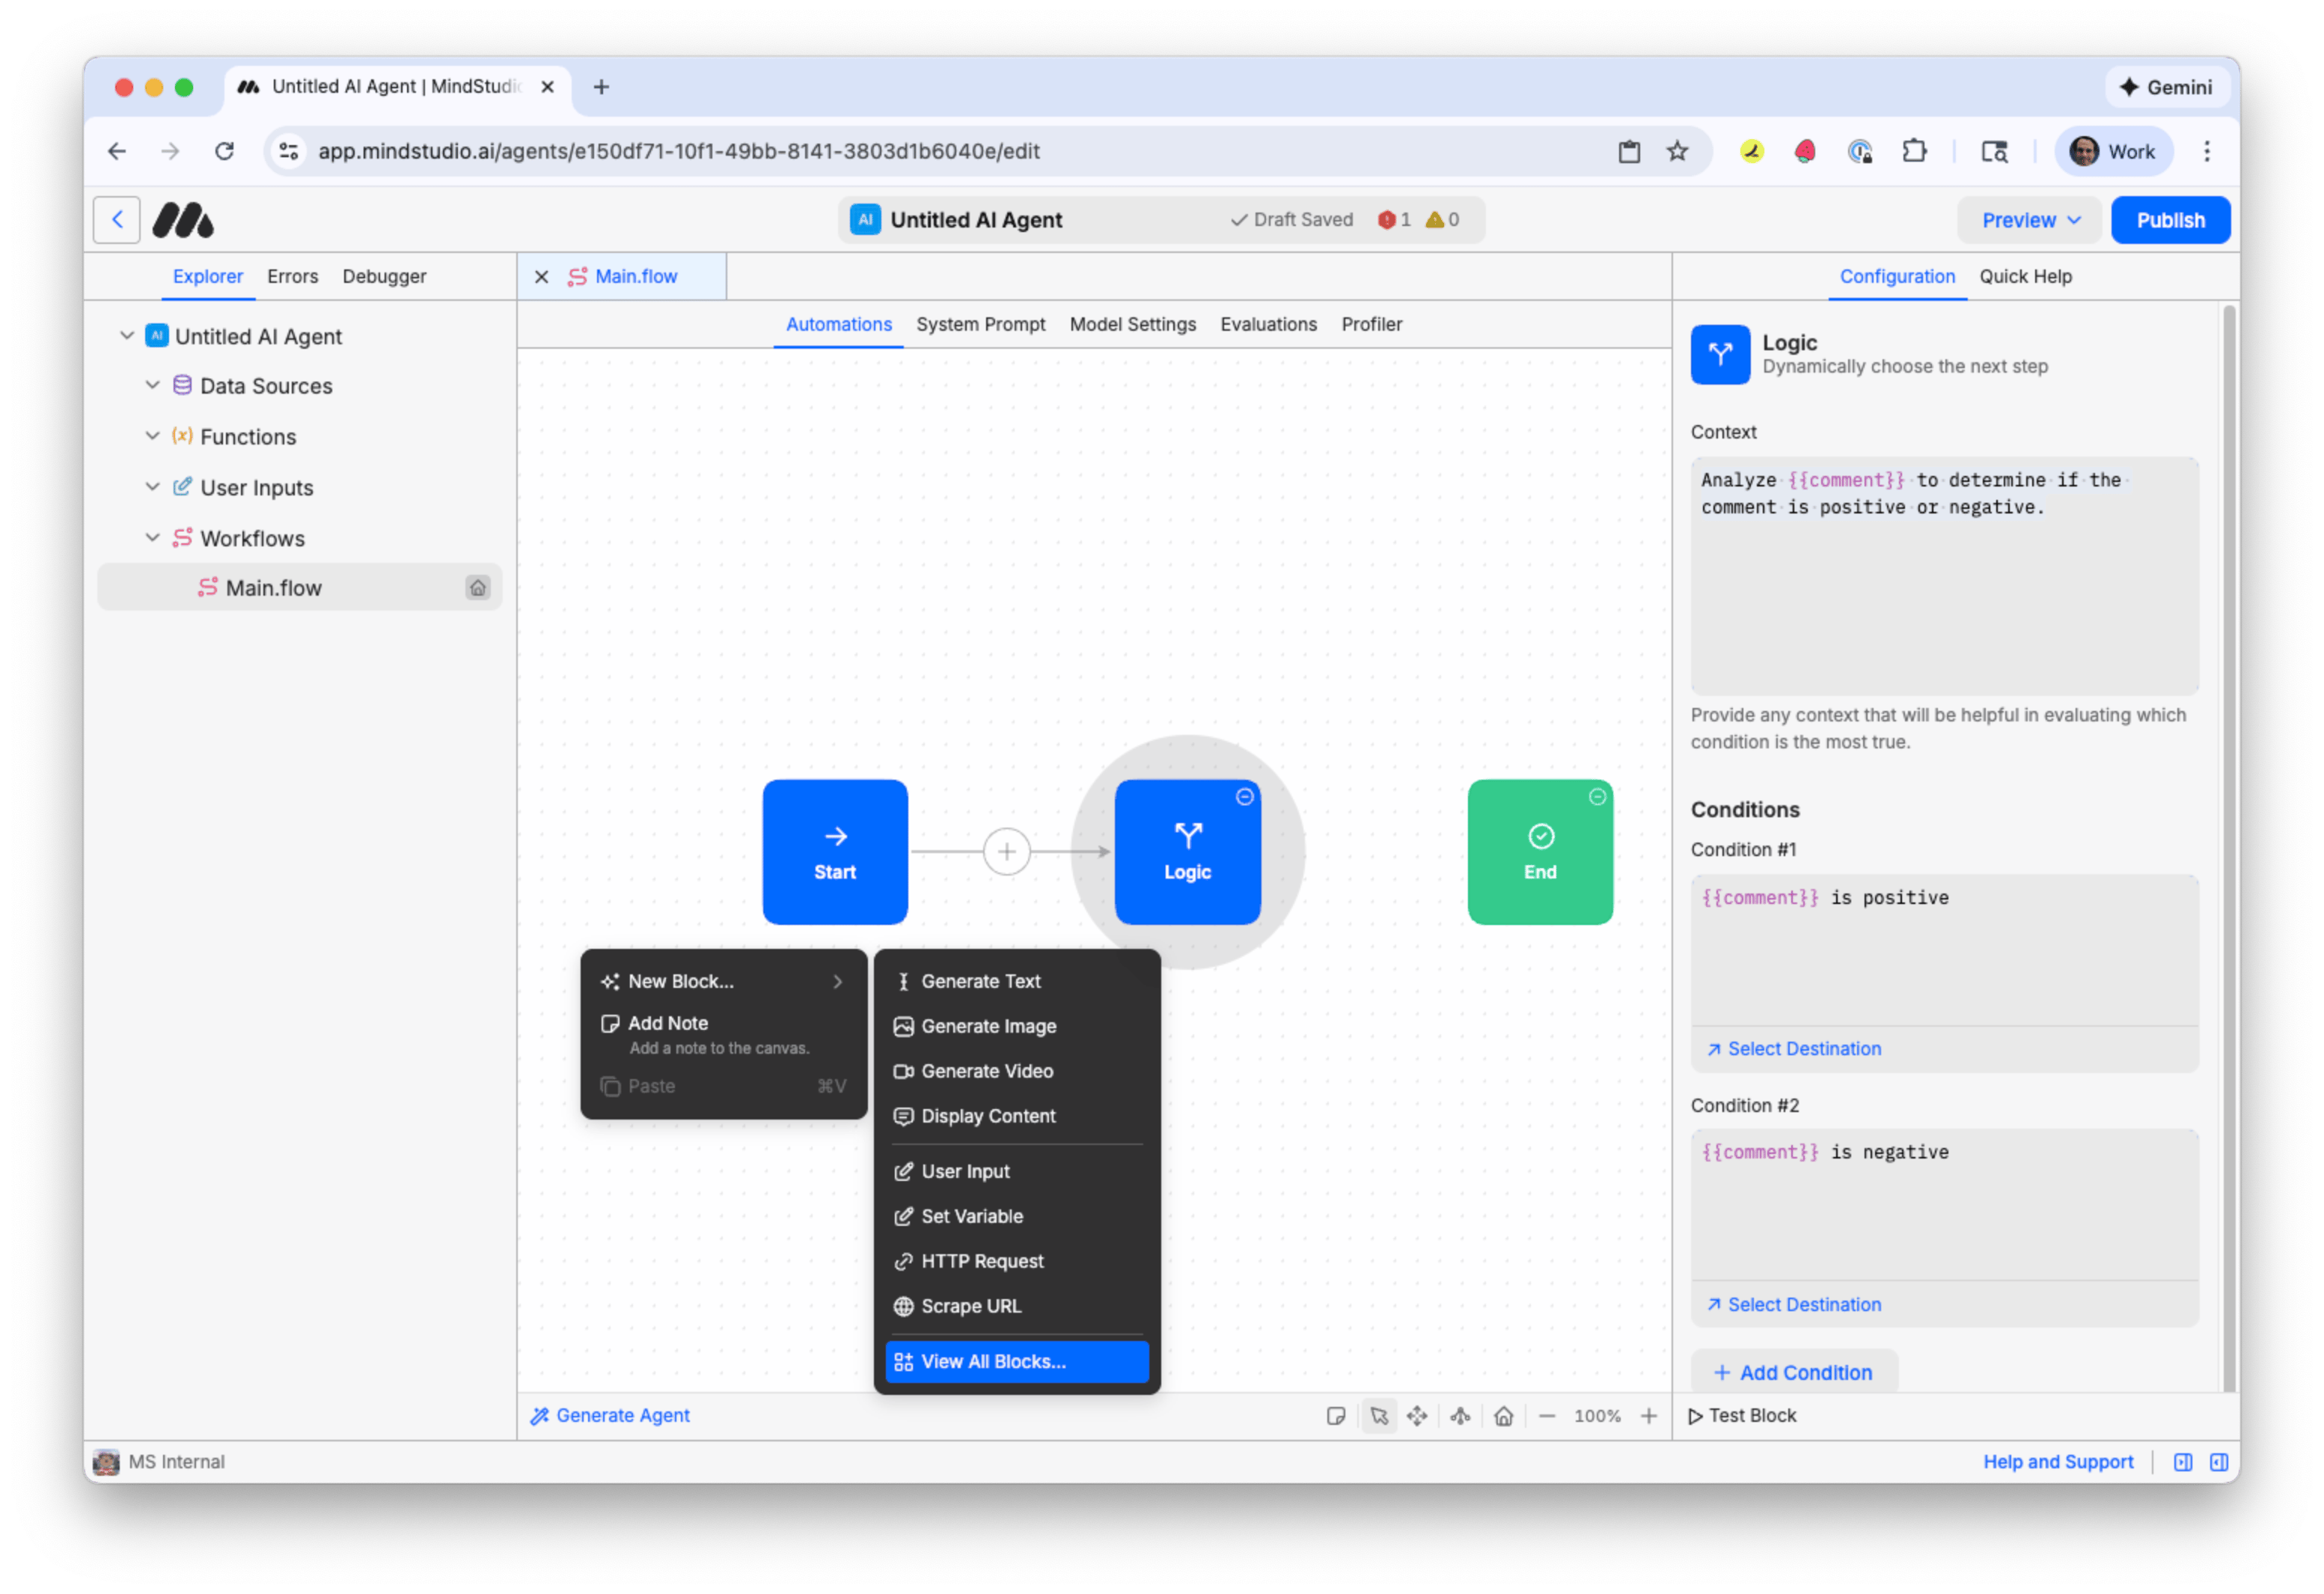
- Click the + button to add a new block and choose “View All Blocks”.
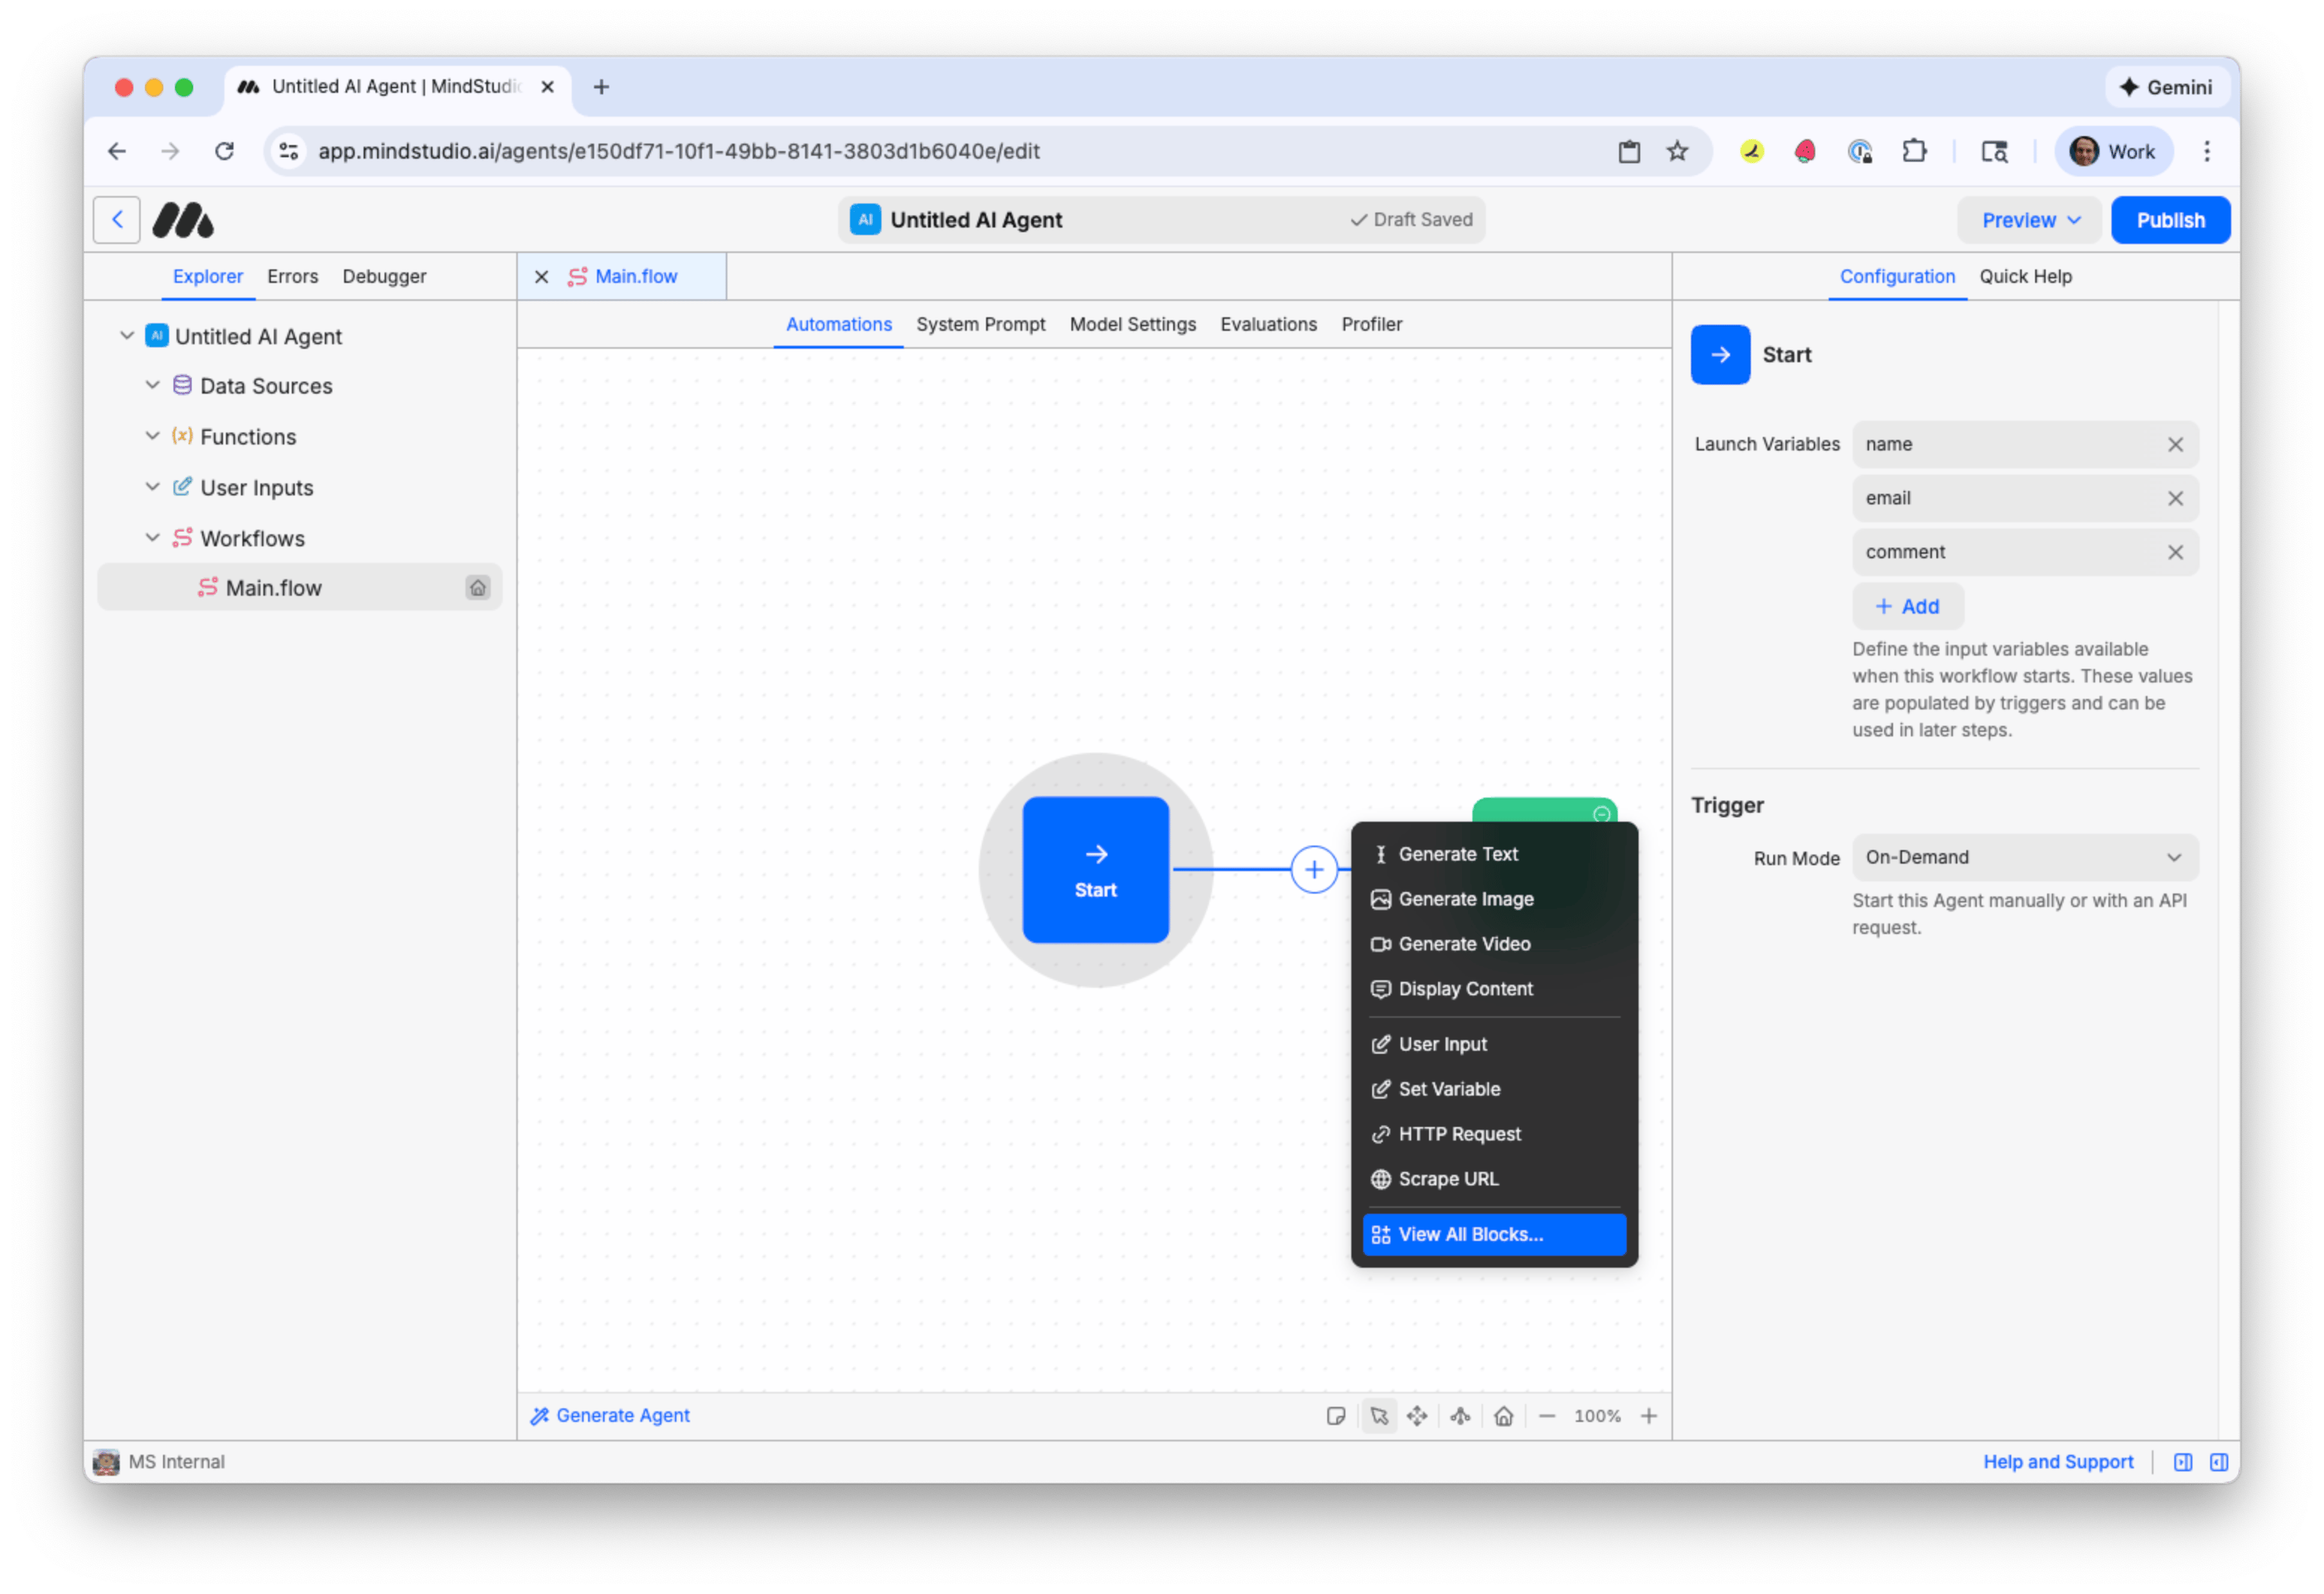
All the MindStudio blocks are displayed.
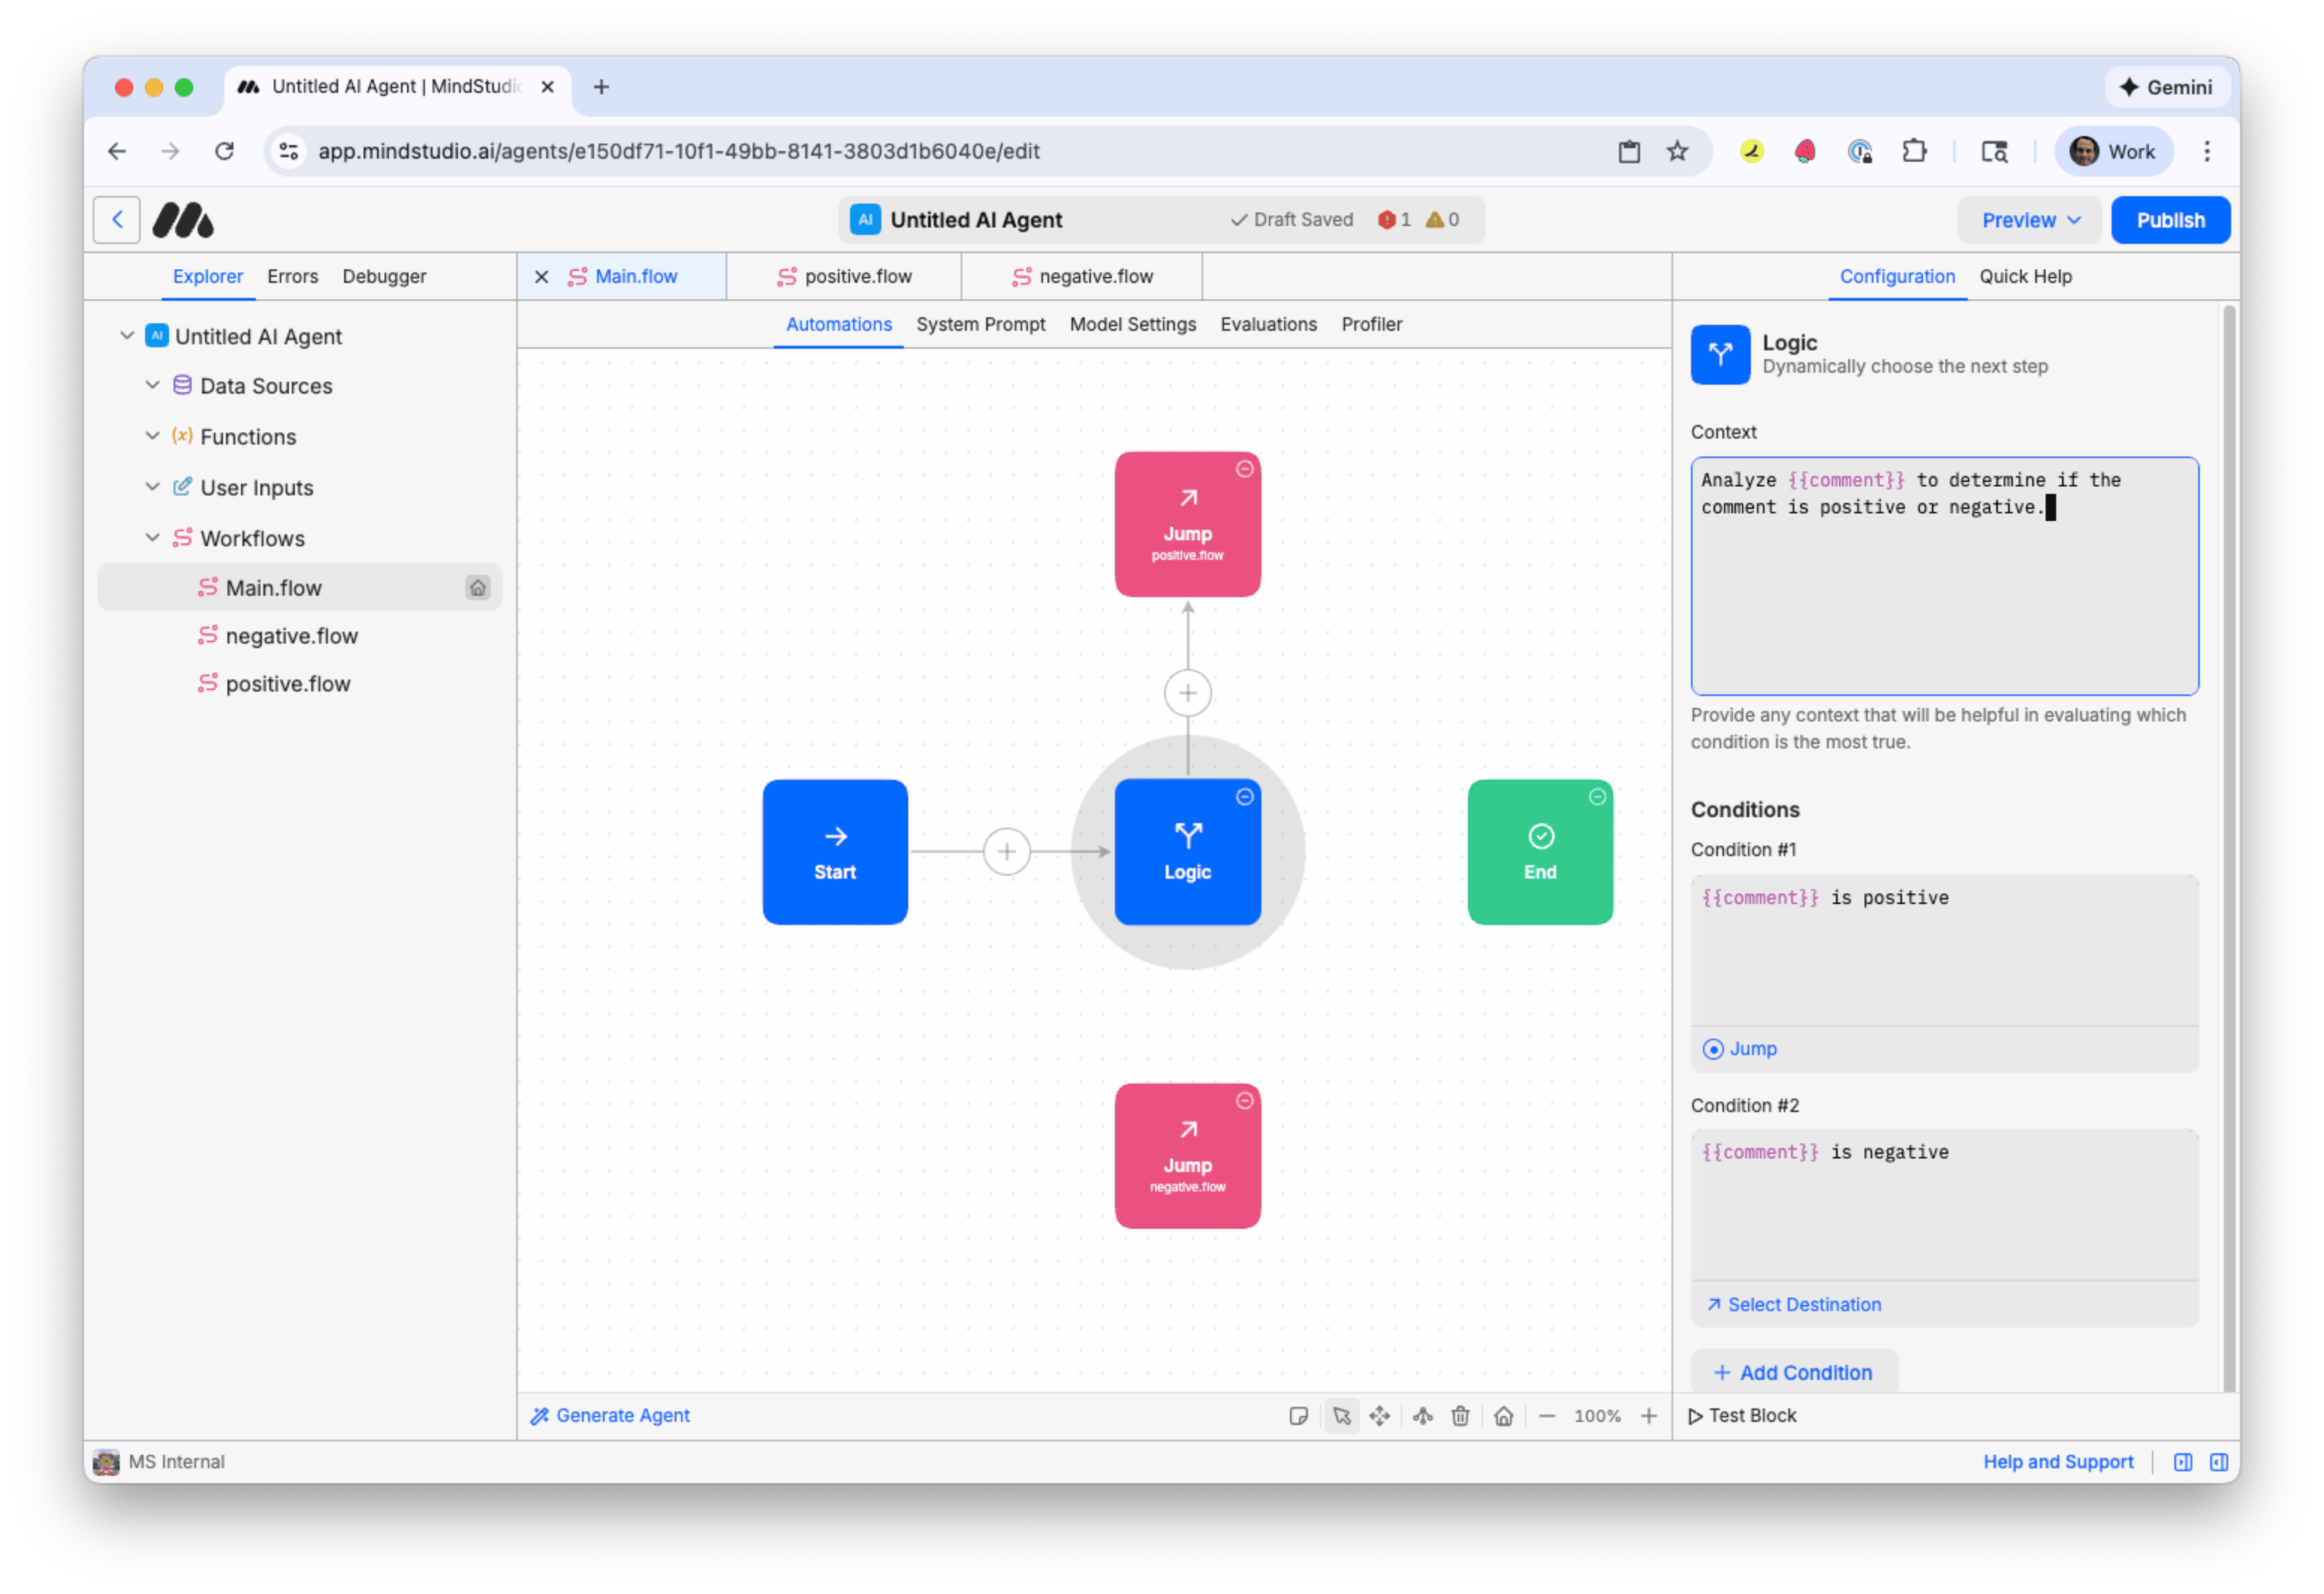
- Search for “Logic” in the search field, and then select the Logic block. The Logic block automates a decision using AI, then transitions to another block based on conditions configured for that Logic block. We will use this Logic block to analyze the sentiment of a user’s comment.
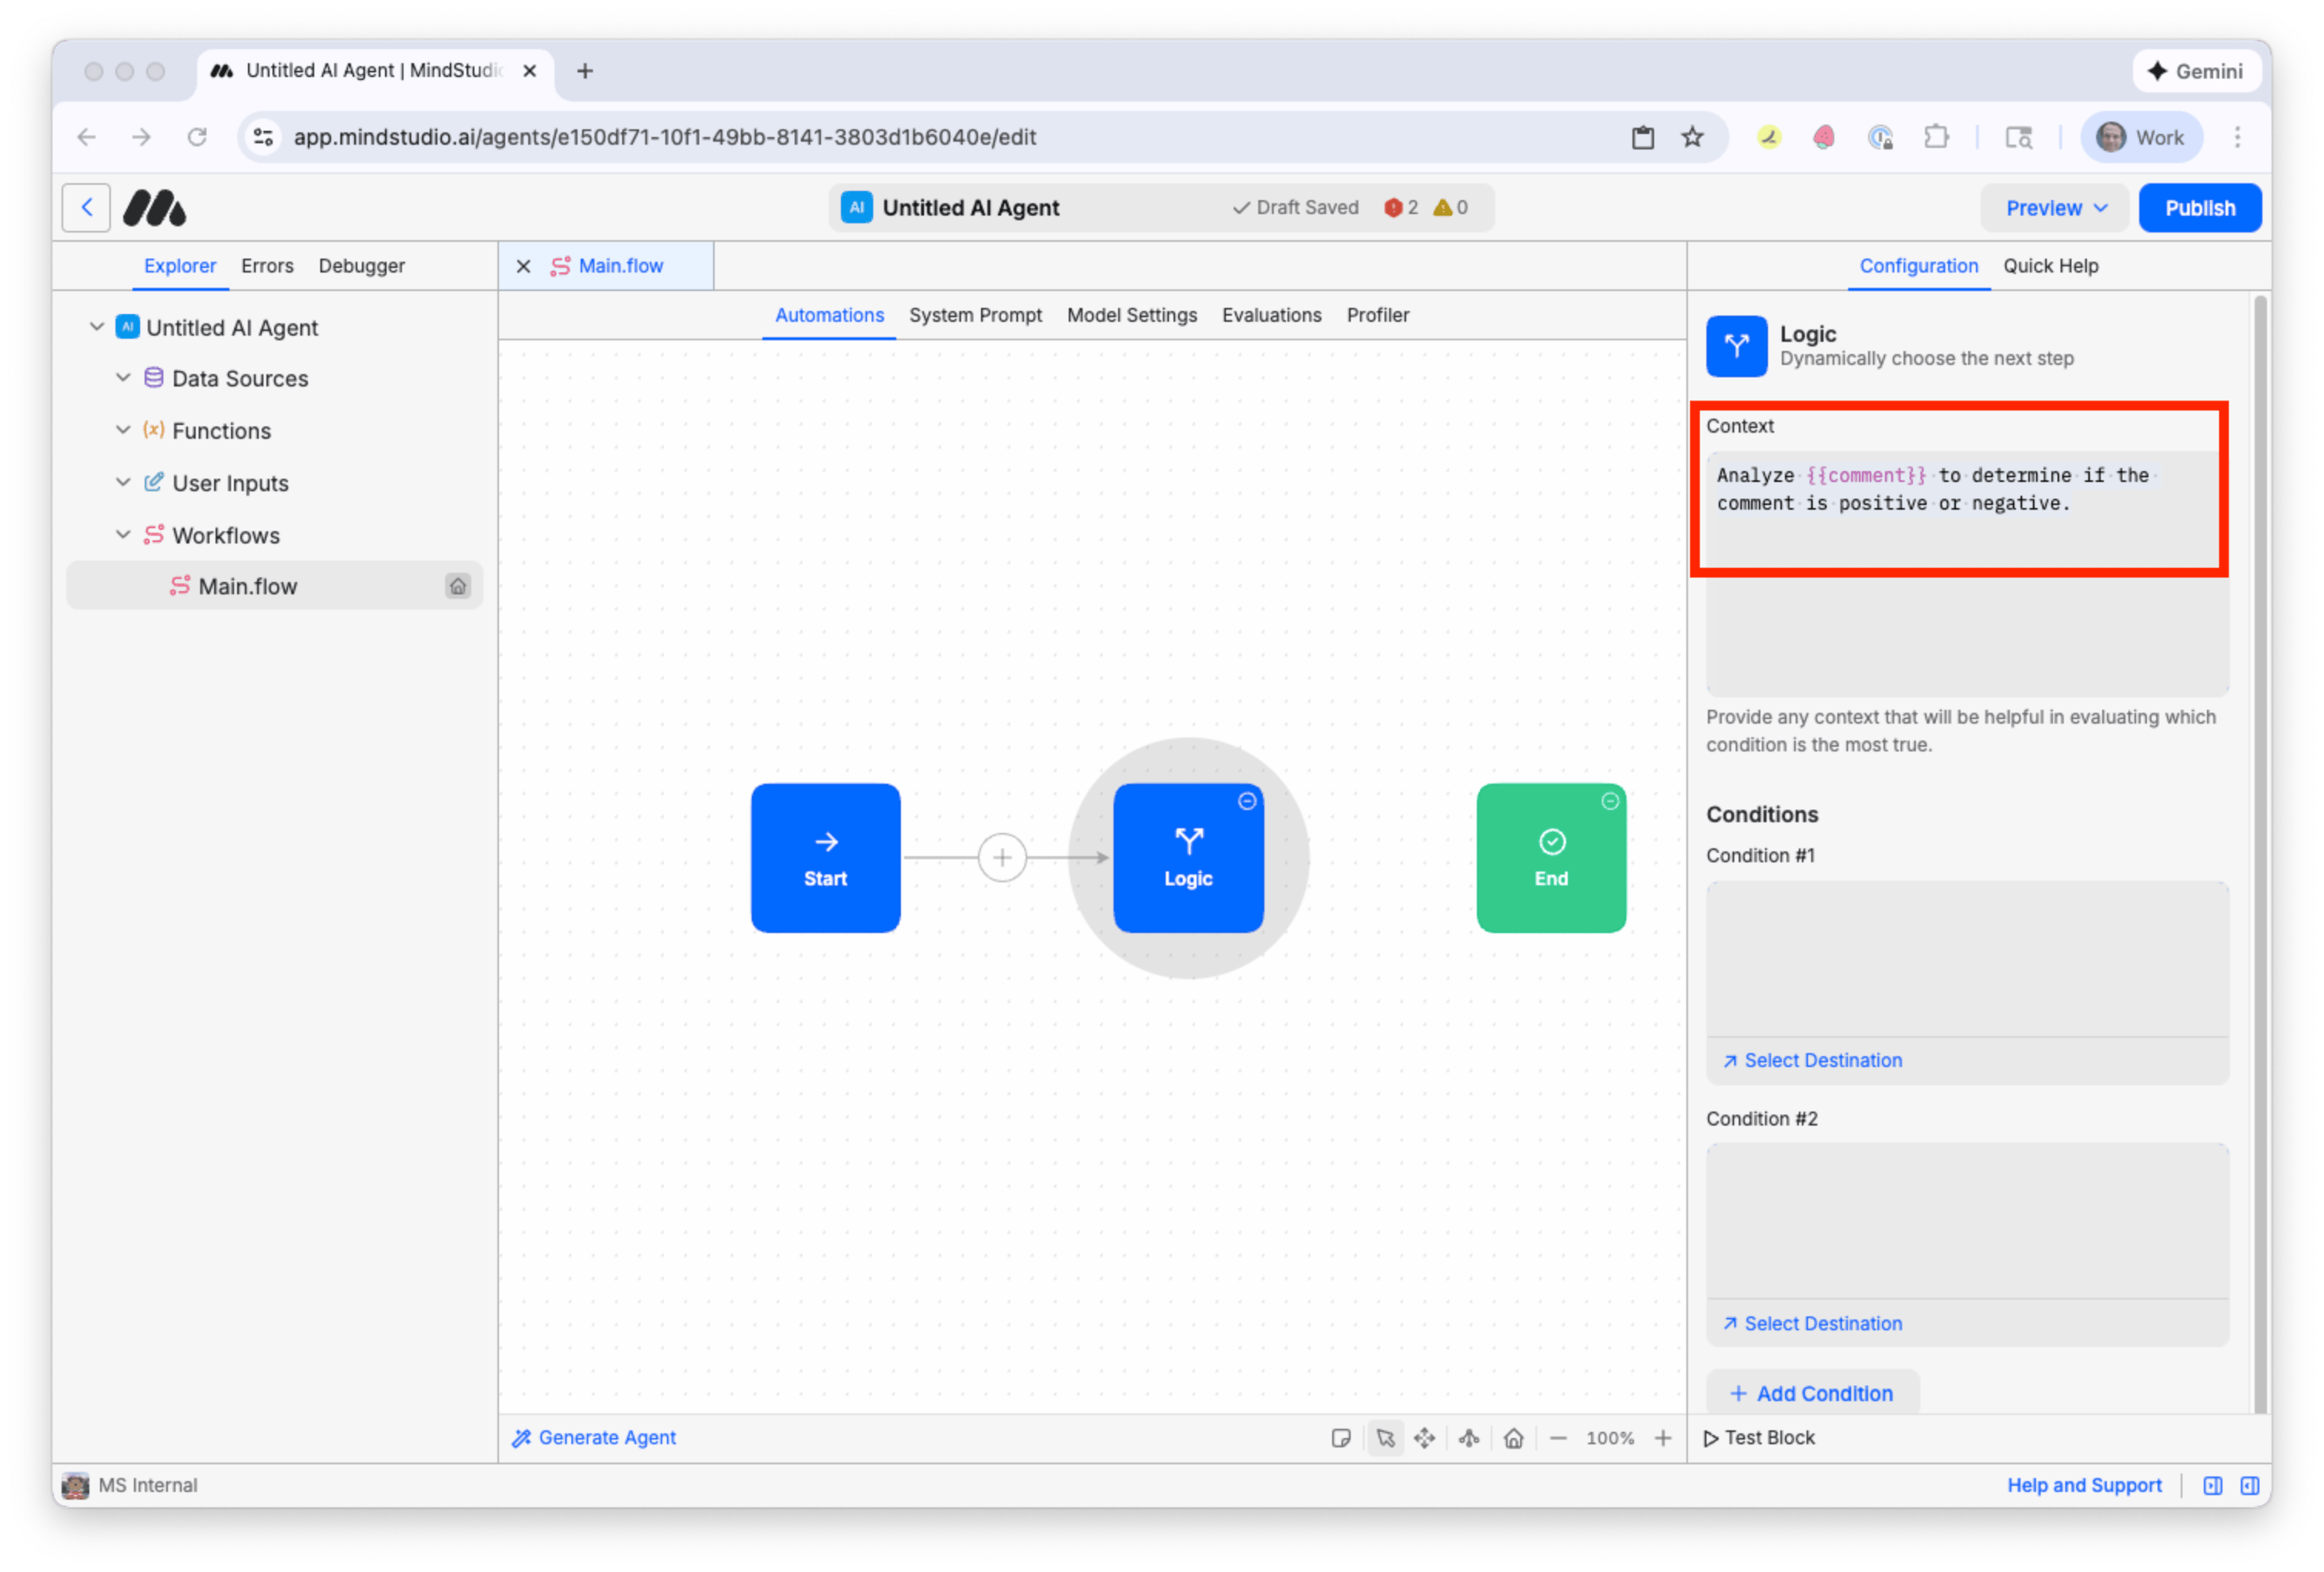
- In “Context”, add the following prompt that guides the AI what it is to do in that Logic block.
“Analyze {{comment}} to determine if the comment is positive or negative.”
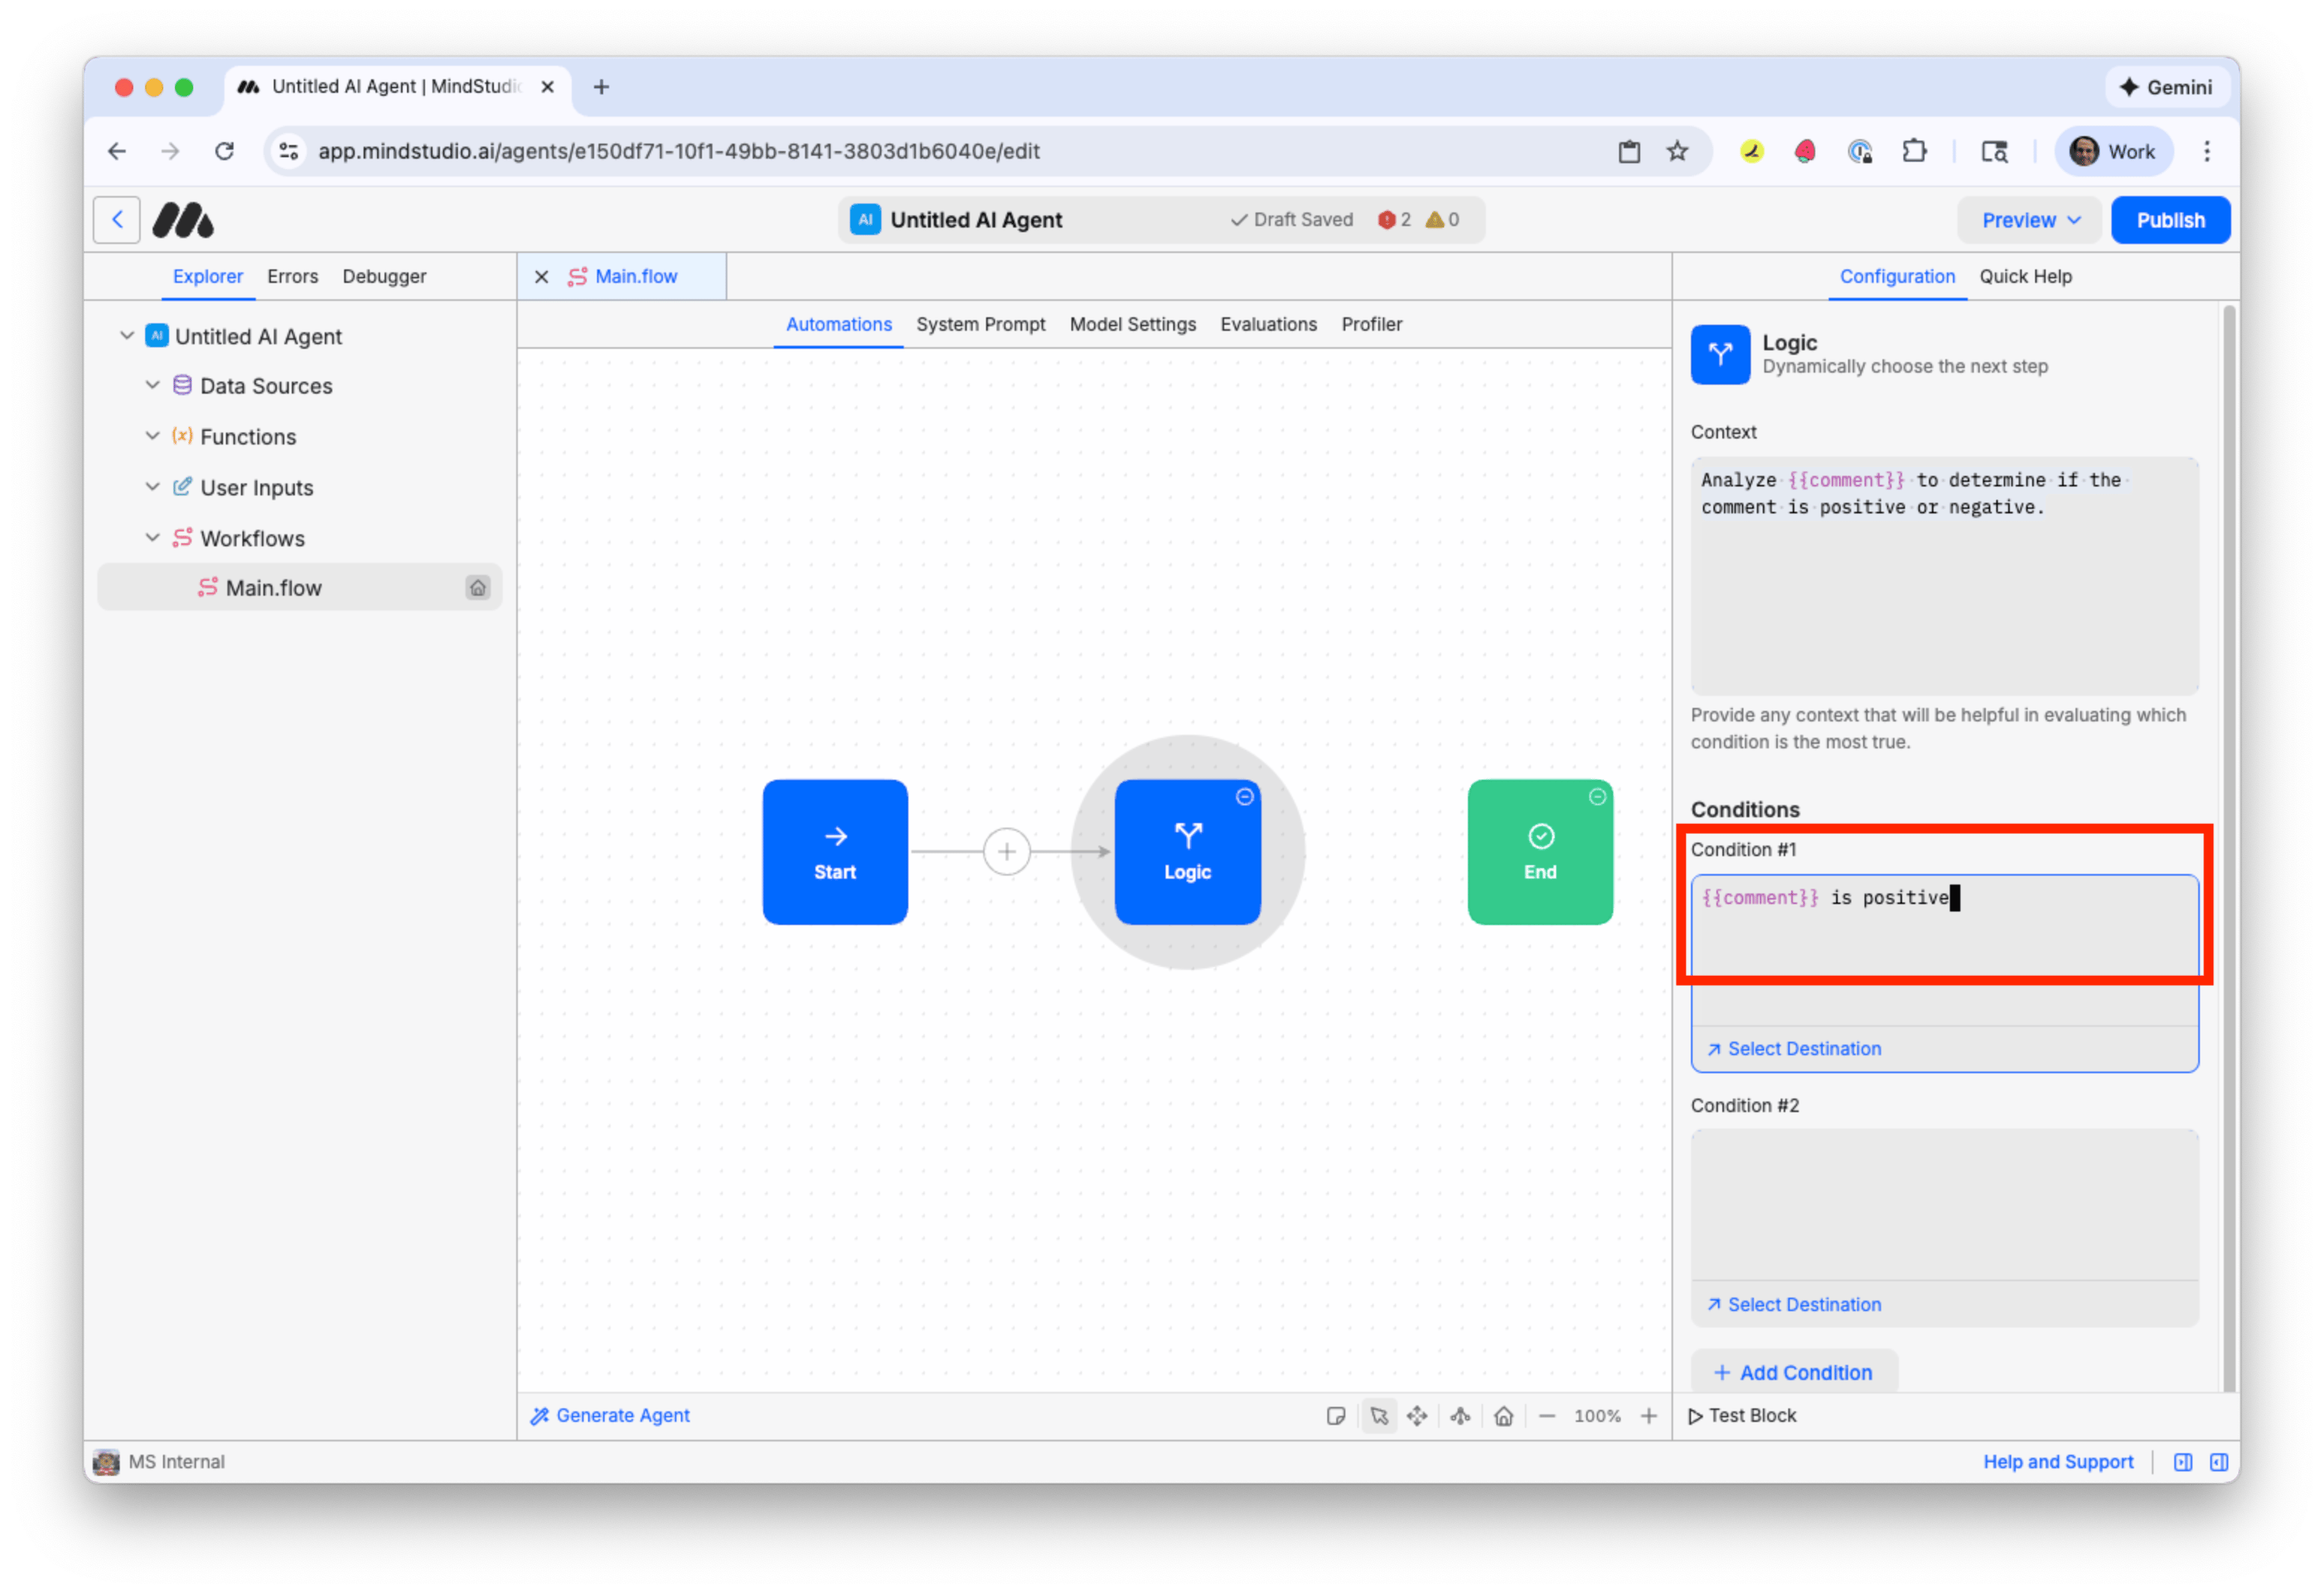
- In “Condition #1”, add “{{comment}} is positive”. If the user’s comment is positive, this condition is met.
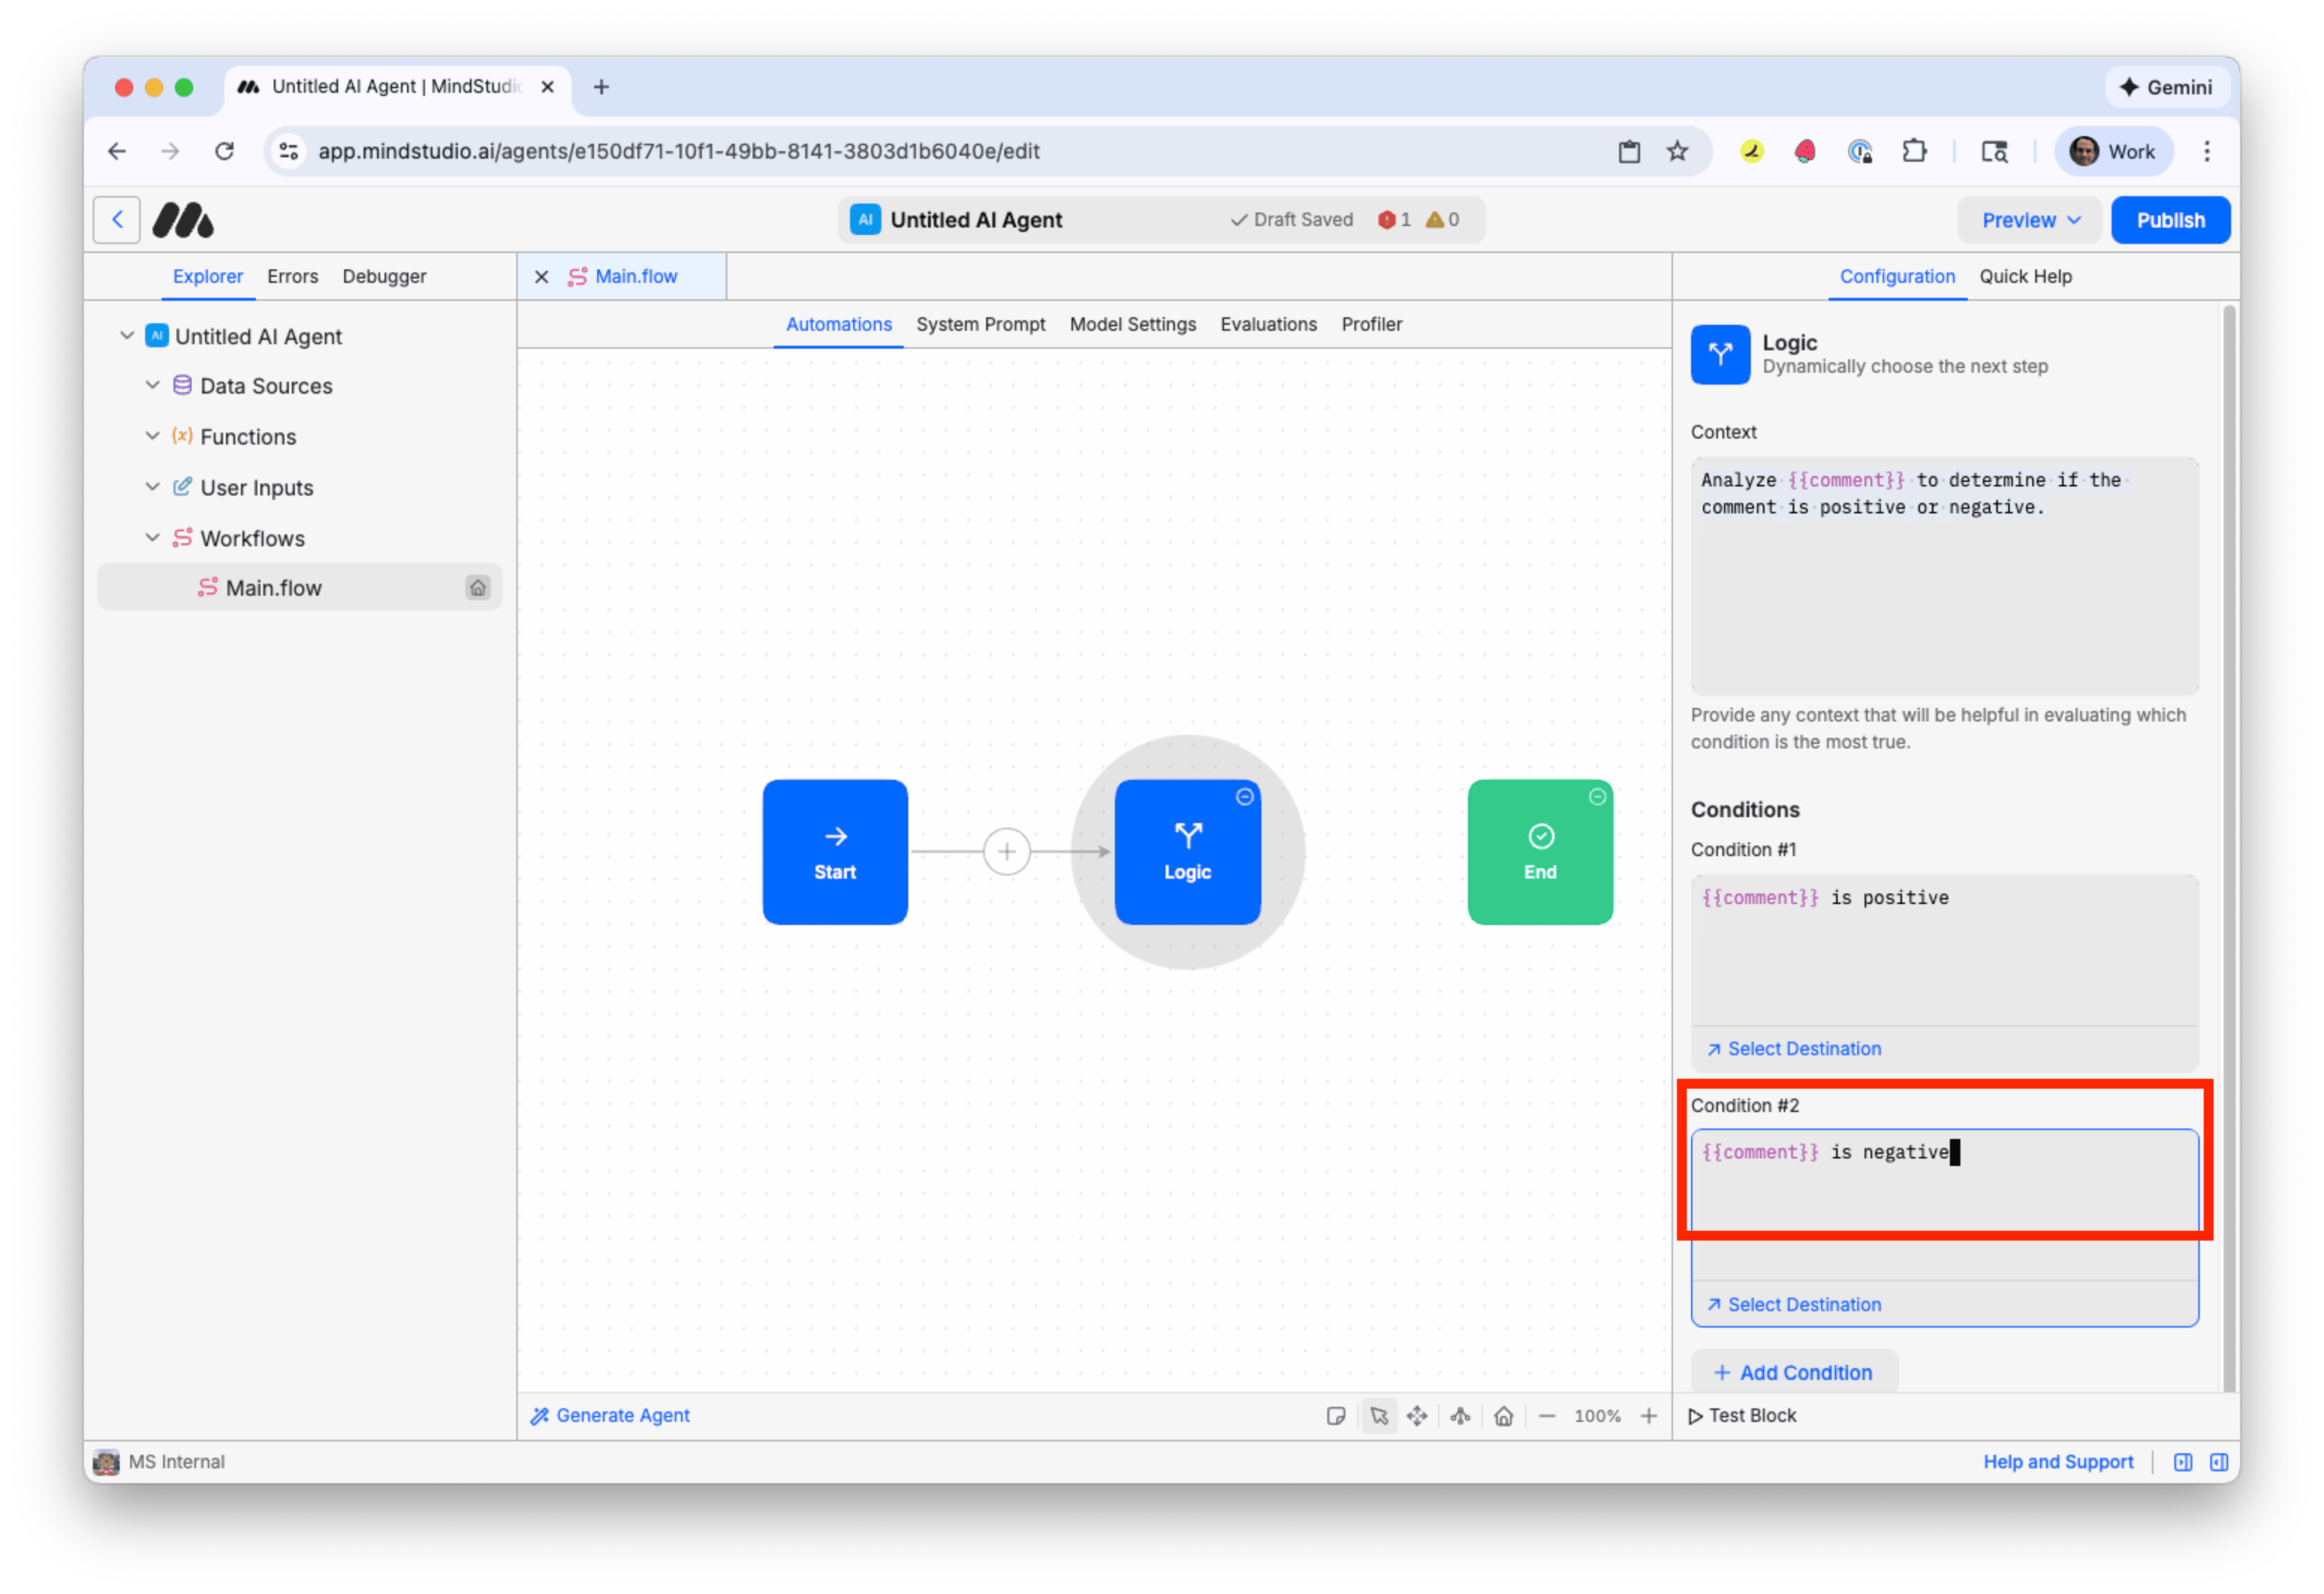
- In “Condition #2”, add “{{comment}} is negative”. If the user’s comment is negative, this condition is met.
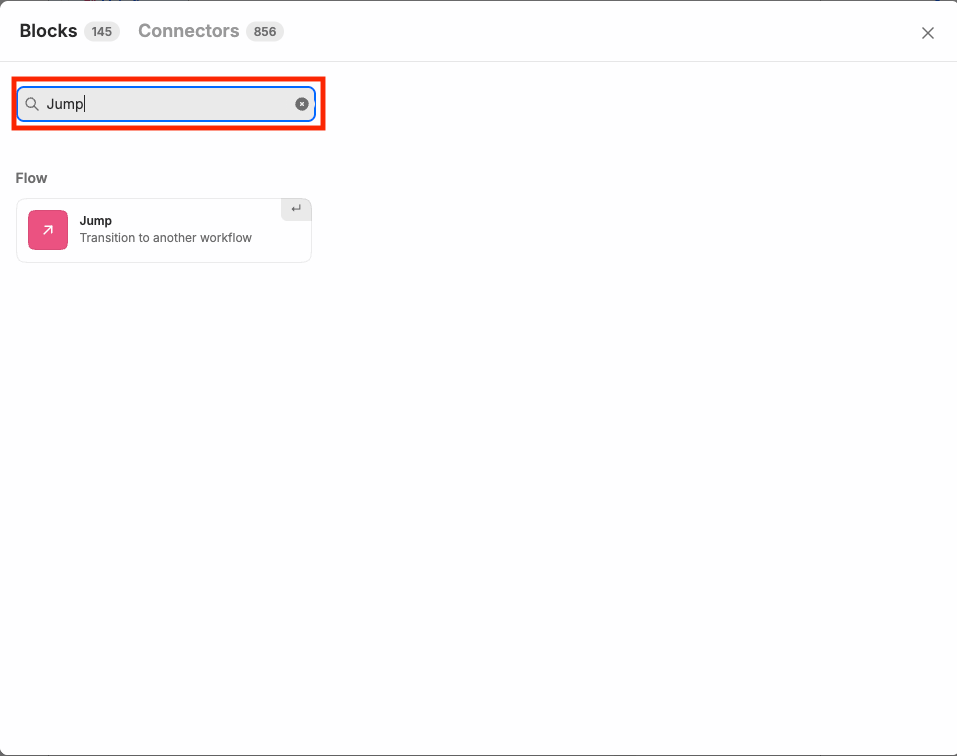
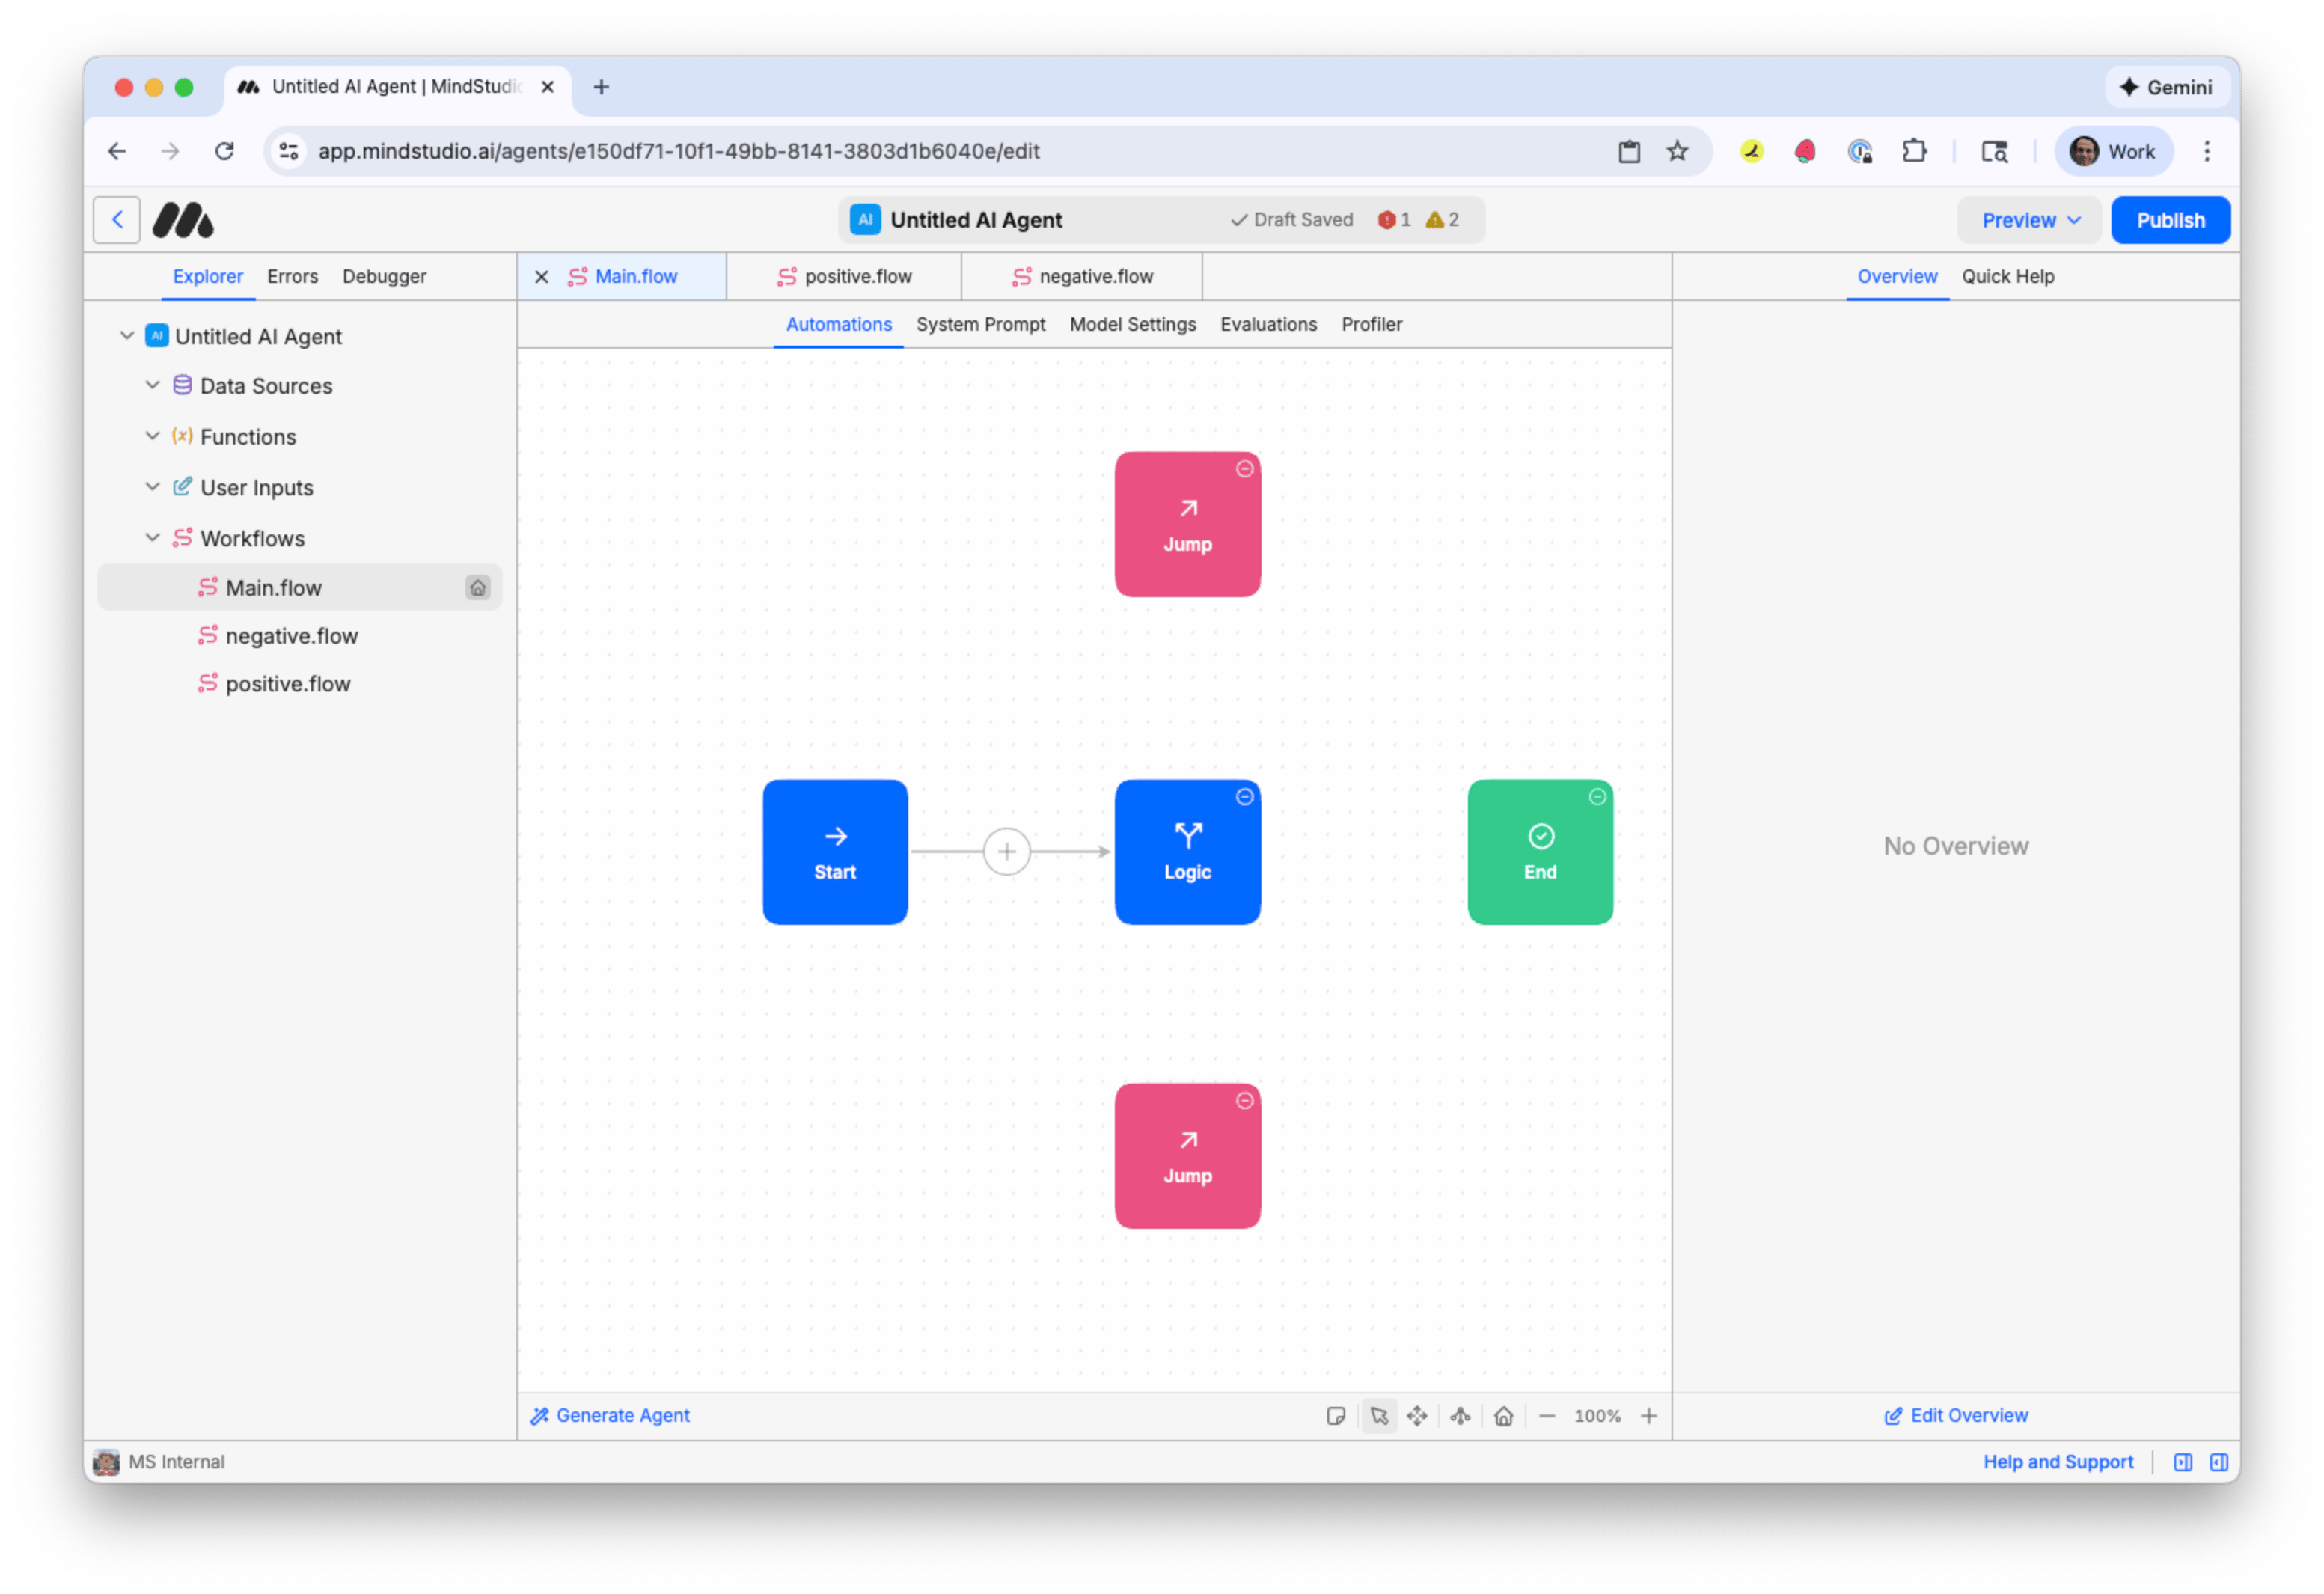
- Right-click anywhere in the Automation Canvas, then choose “View All Blocks”.
- Search for “Jump” in the search field, and then select the “Jump” block. The Jump block jumps to another workflow in the same MindStudio AI agent. We will use two “Jump” blocks from this agent: one to a workflow to process positive-sentiment comments, and another for negative-sentiment comments.
- Right-click anywhere in the Automation Canvas, then choose “View All Blocks”, so we can add the second “Jump” block.
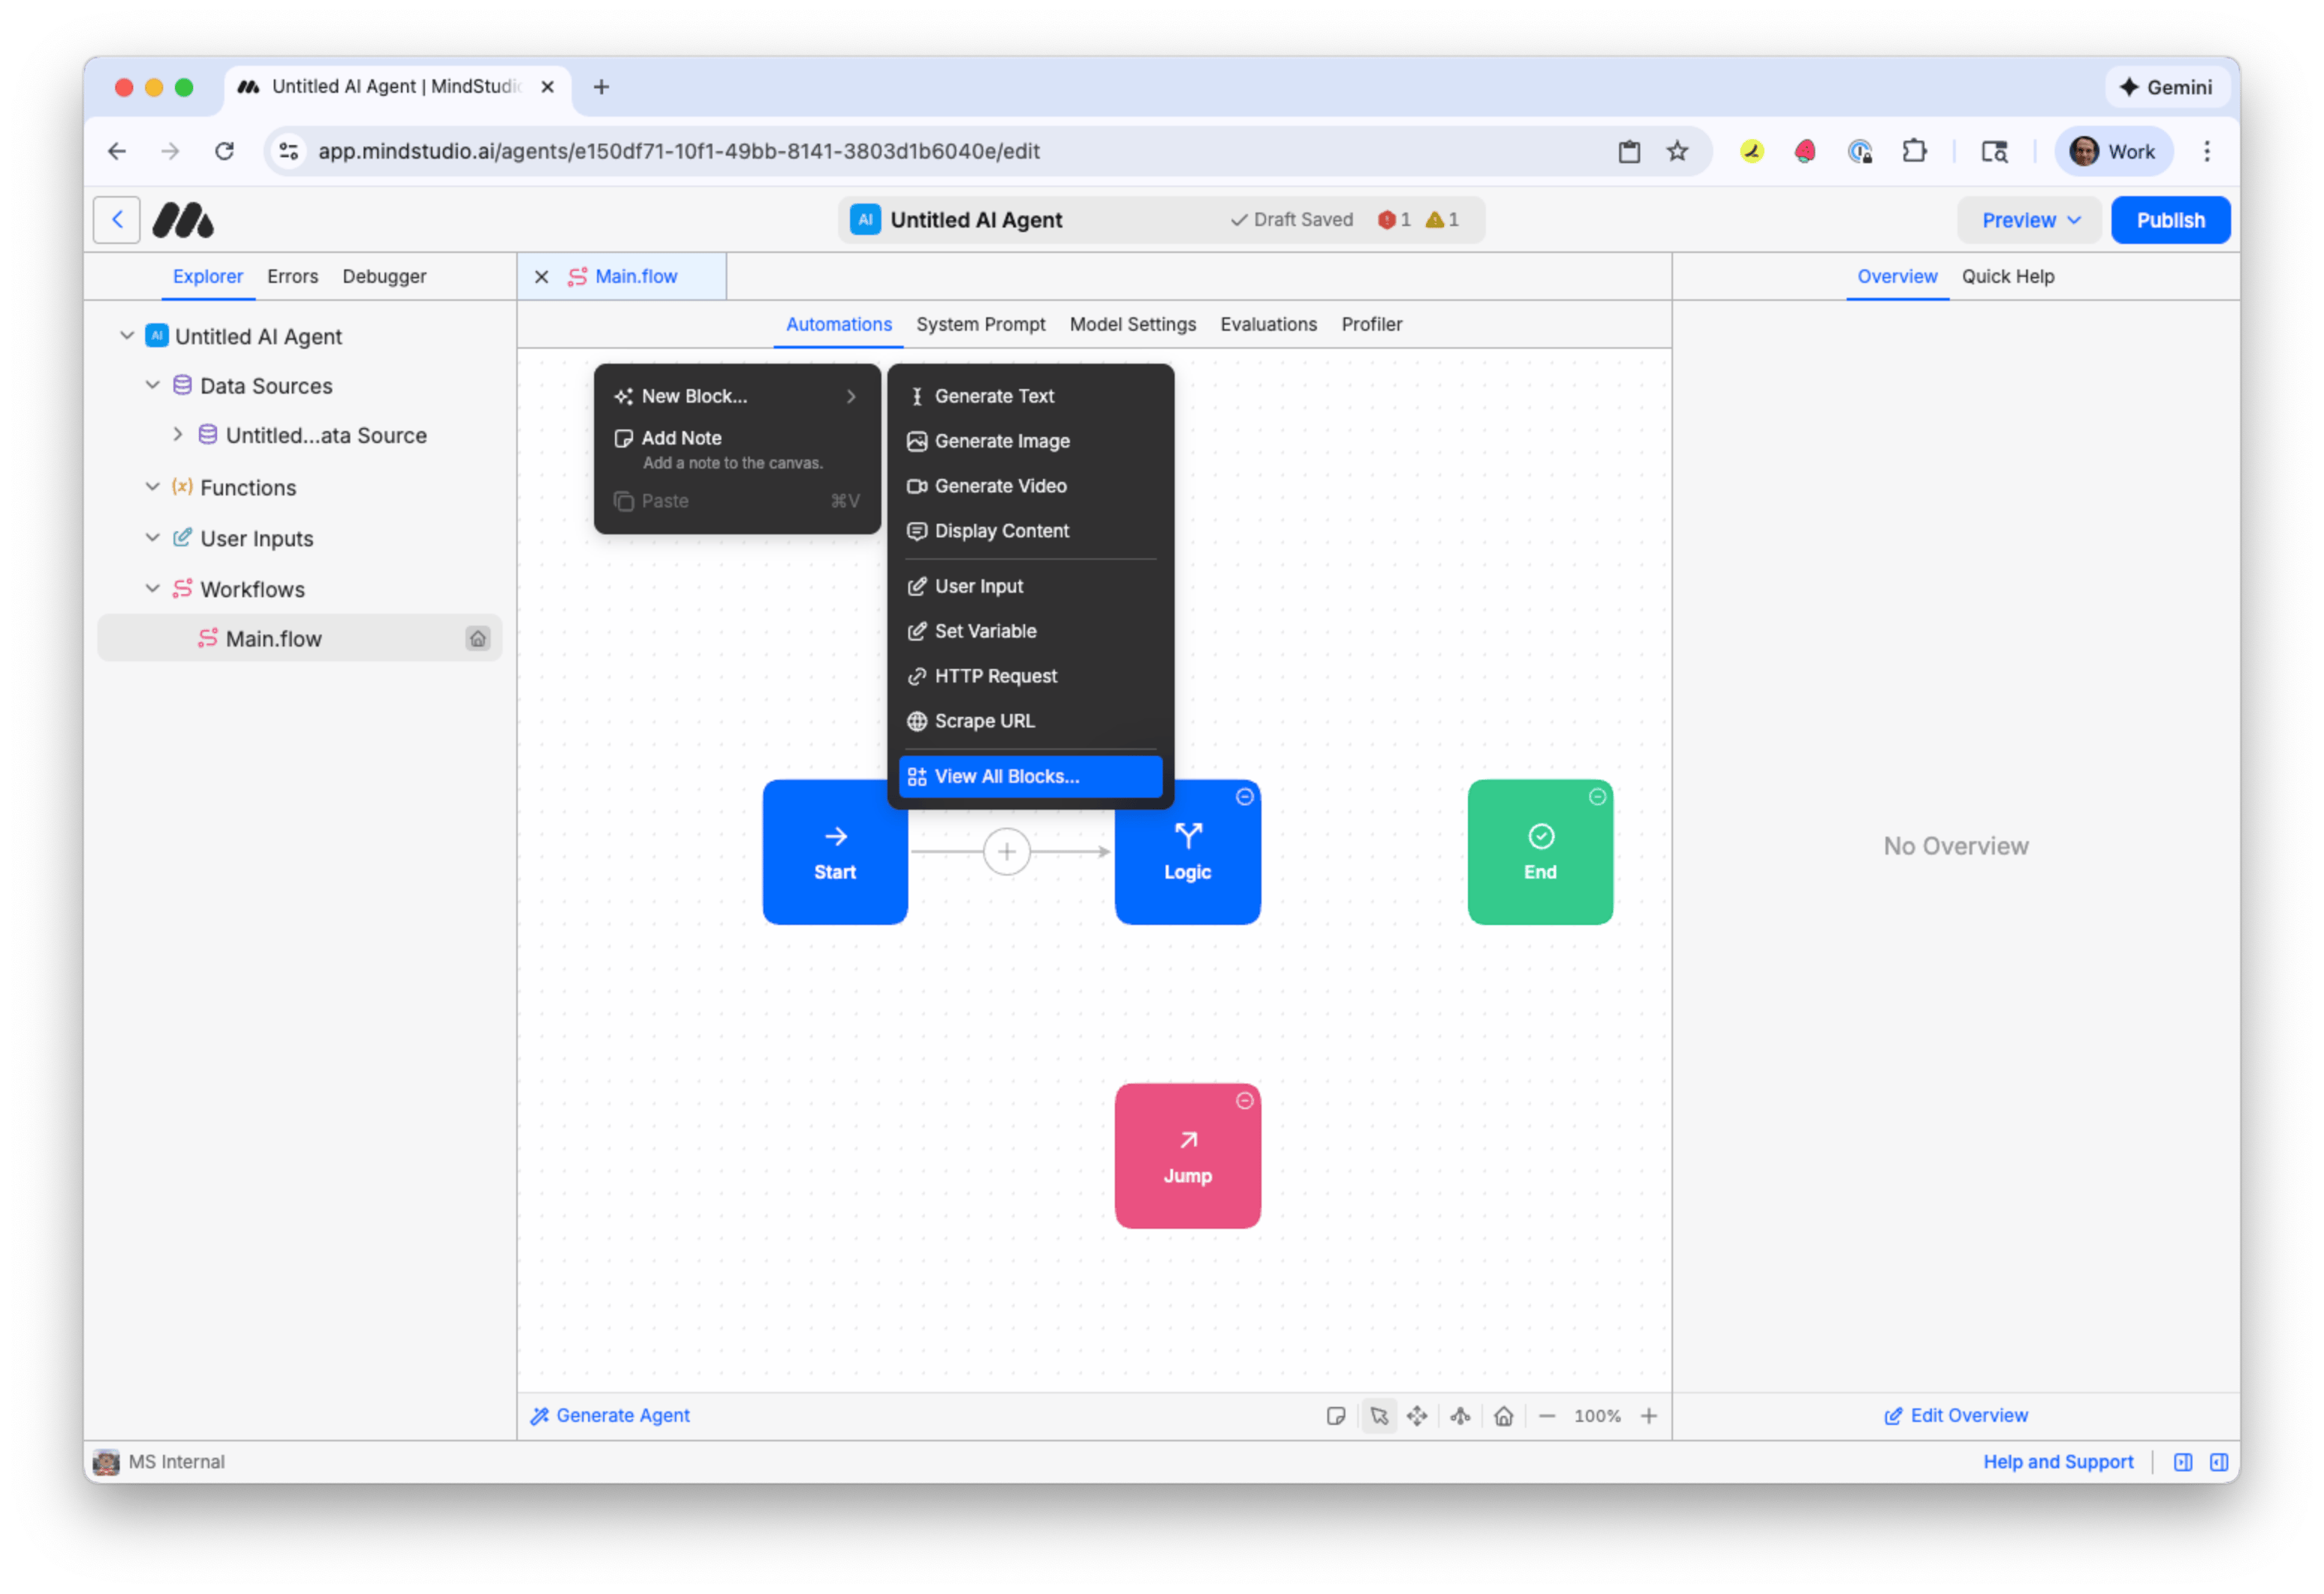
- Search again for “Jump” in the search field, and then select the “Jump” block.
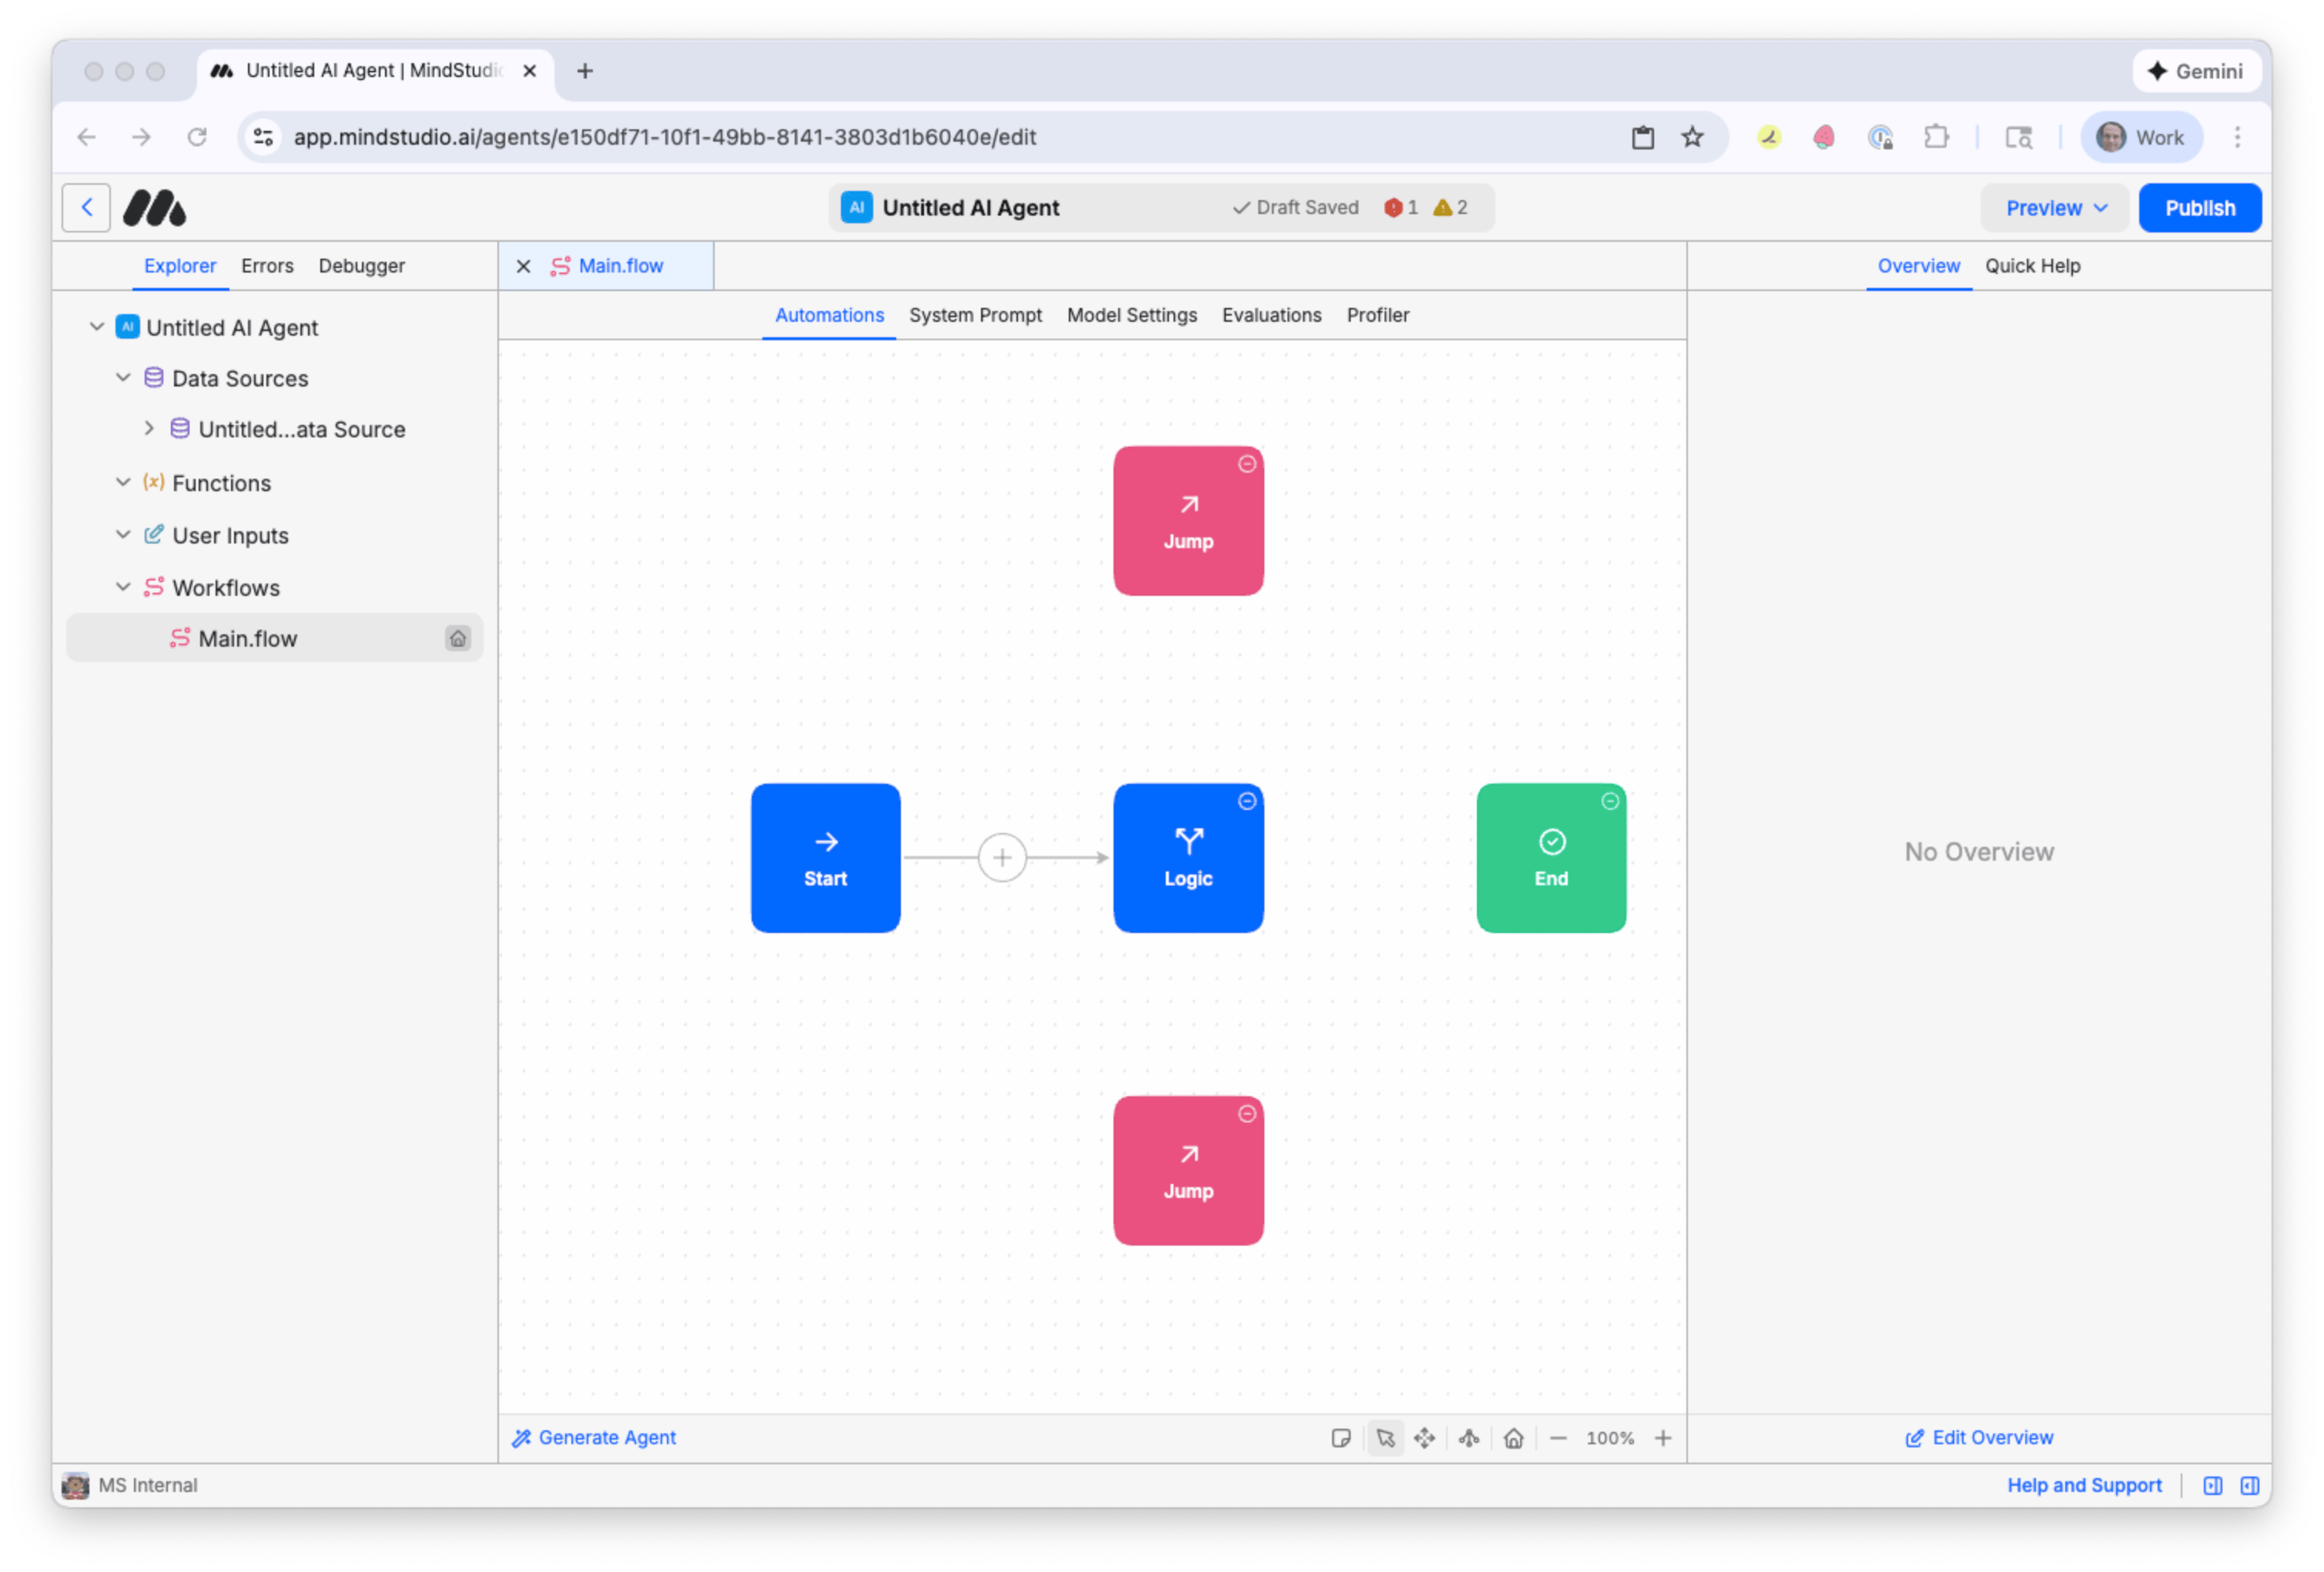
Now that we have two “Jump” blocks in our MindStudio workflow, we will add two additional workflows to our agent: one to process positive-sentiment comments and another for negative-sentiment comments.
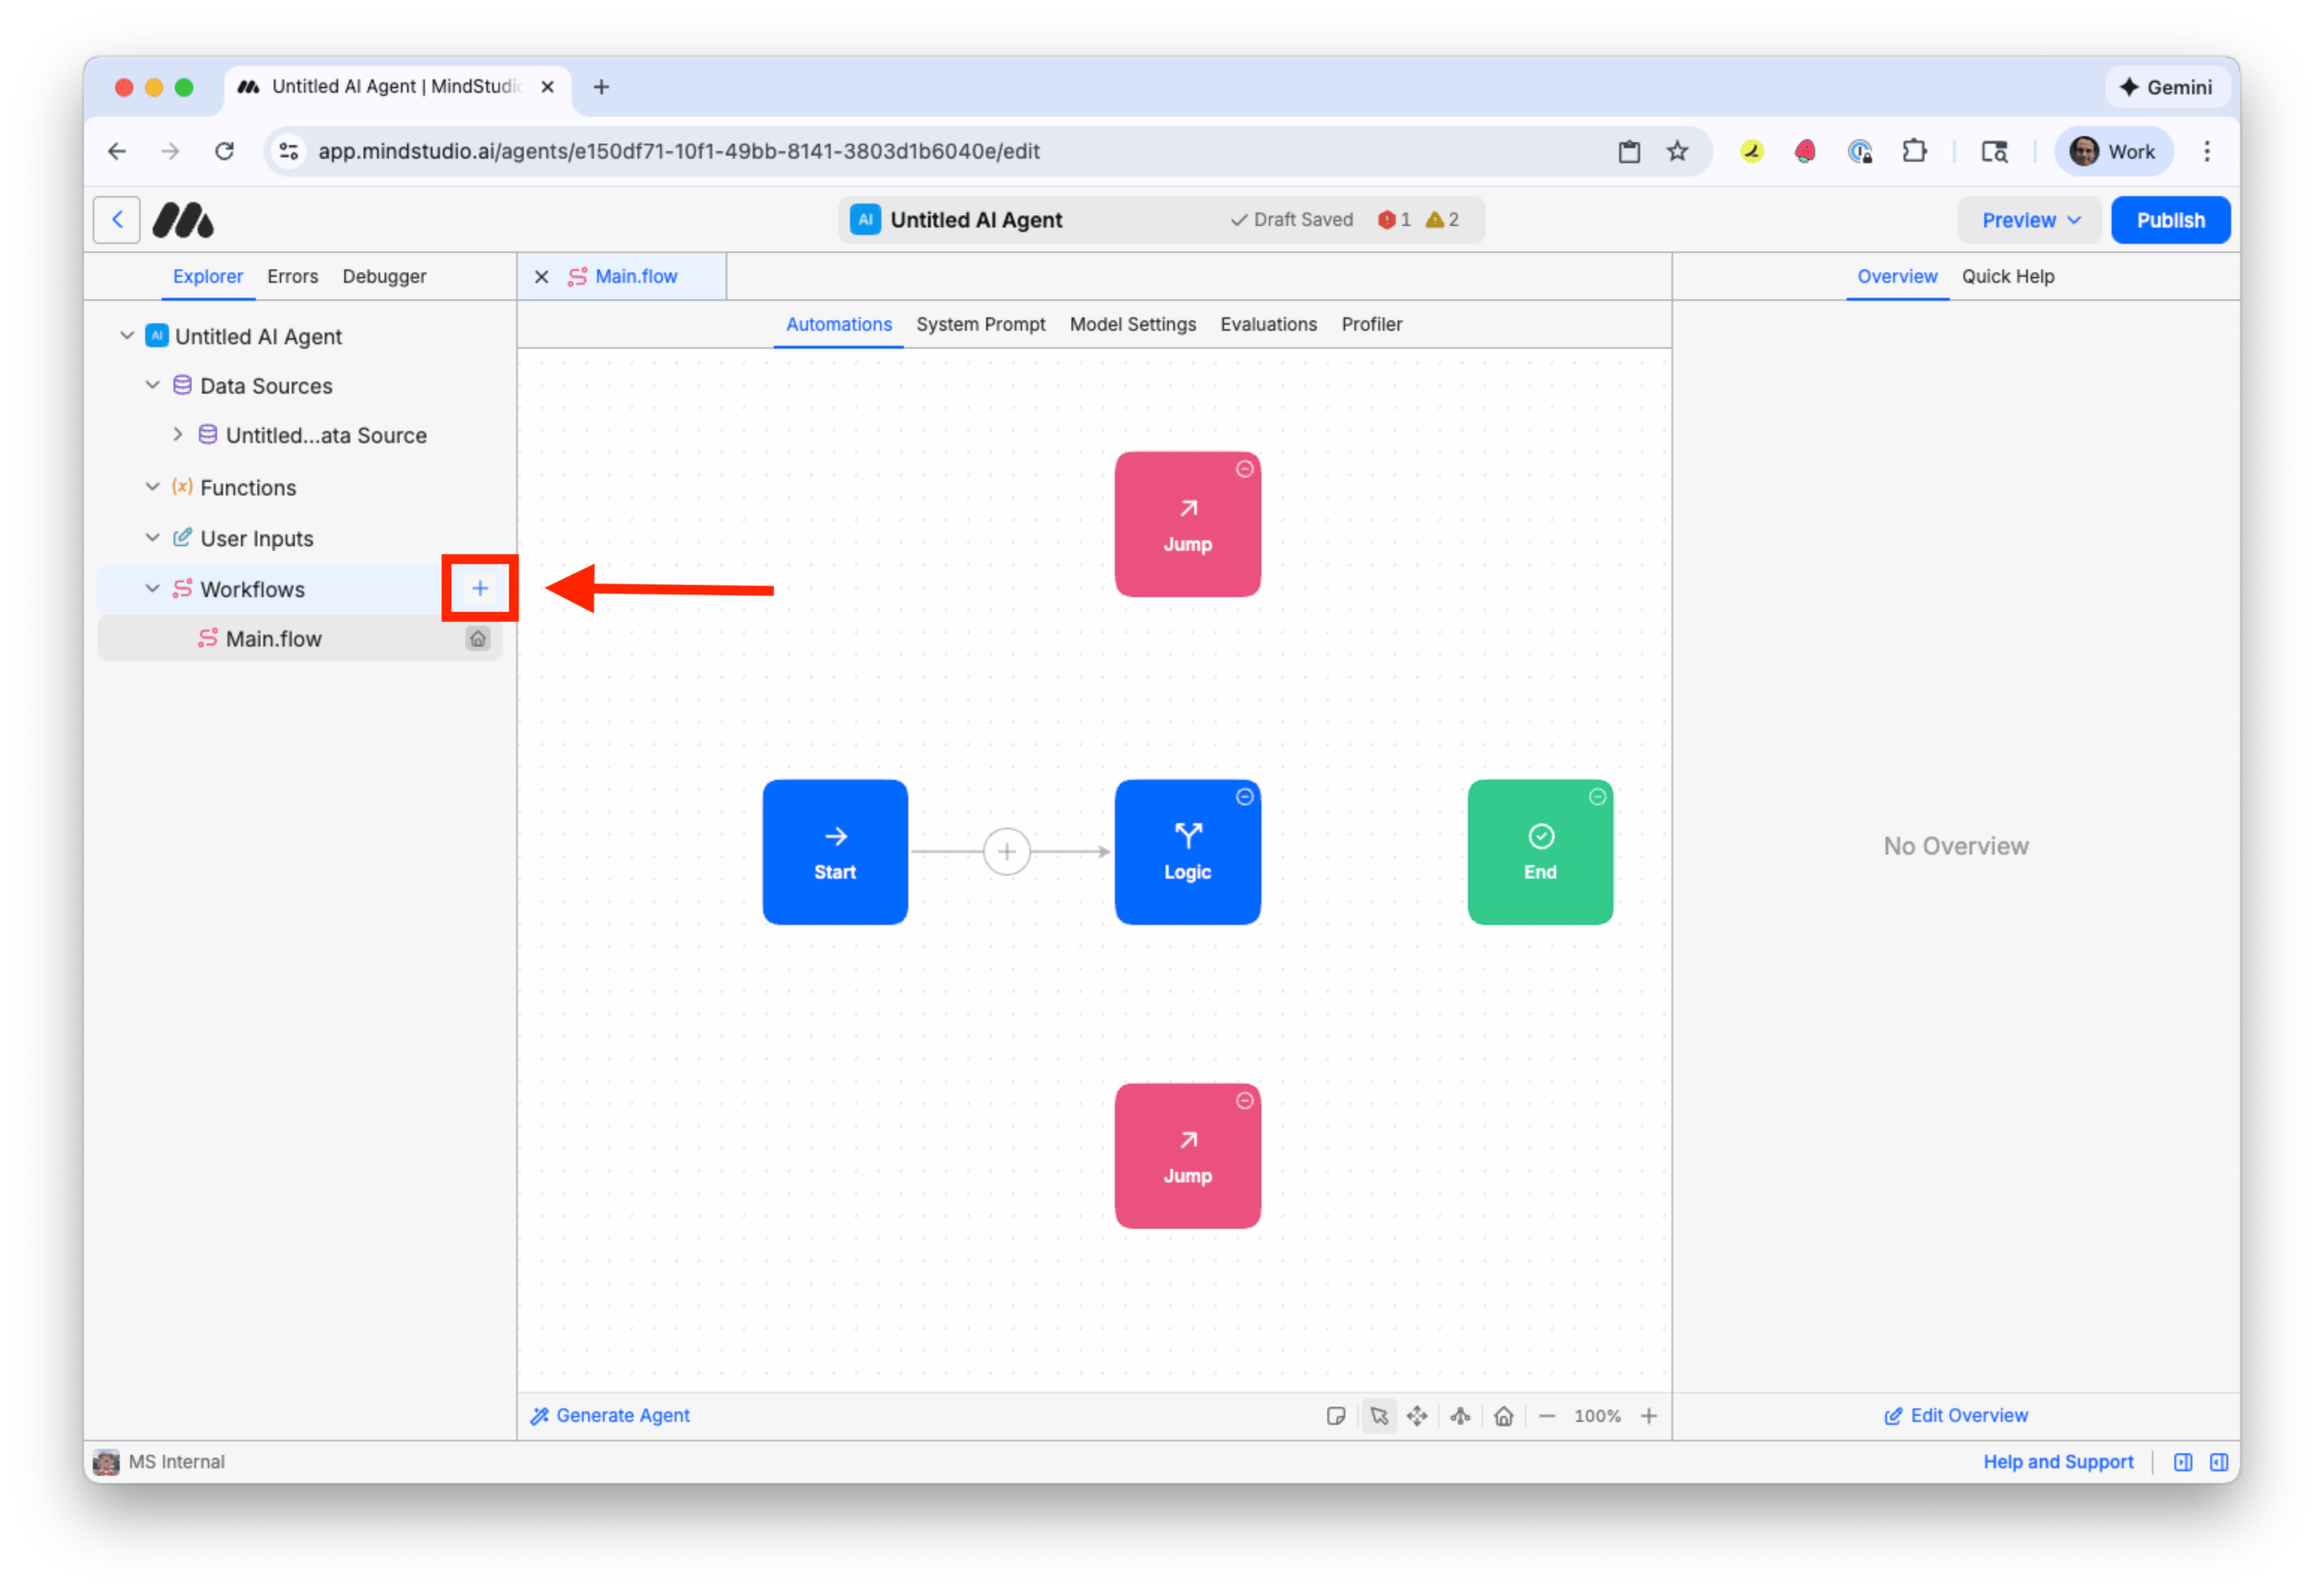
BUILD THE “POSITIVE SENTIMENT” WORKFLOW
Follow these steps to build the “positive sentiment” workflow.
- Click the “+” icon beside “Workflows” in the “Explorer” panel to add another workflow.
- Right-click on the new workflow, and then select “Rename” to rename this workflow.
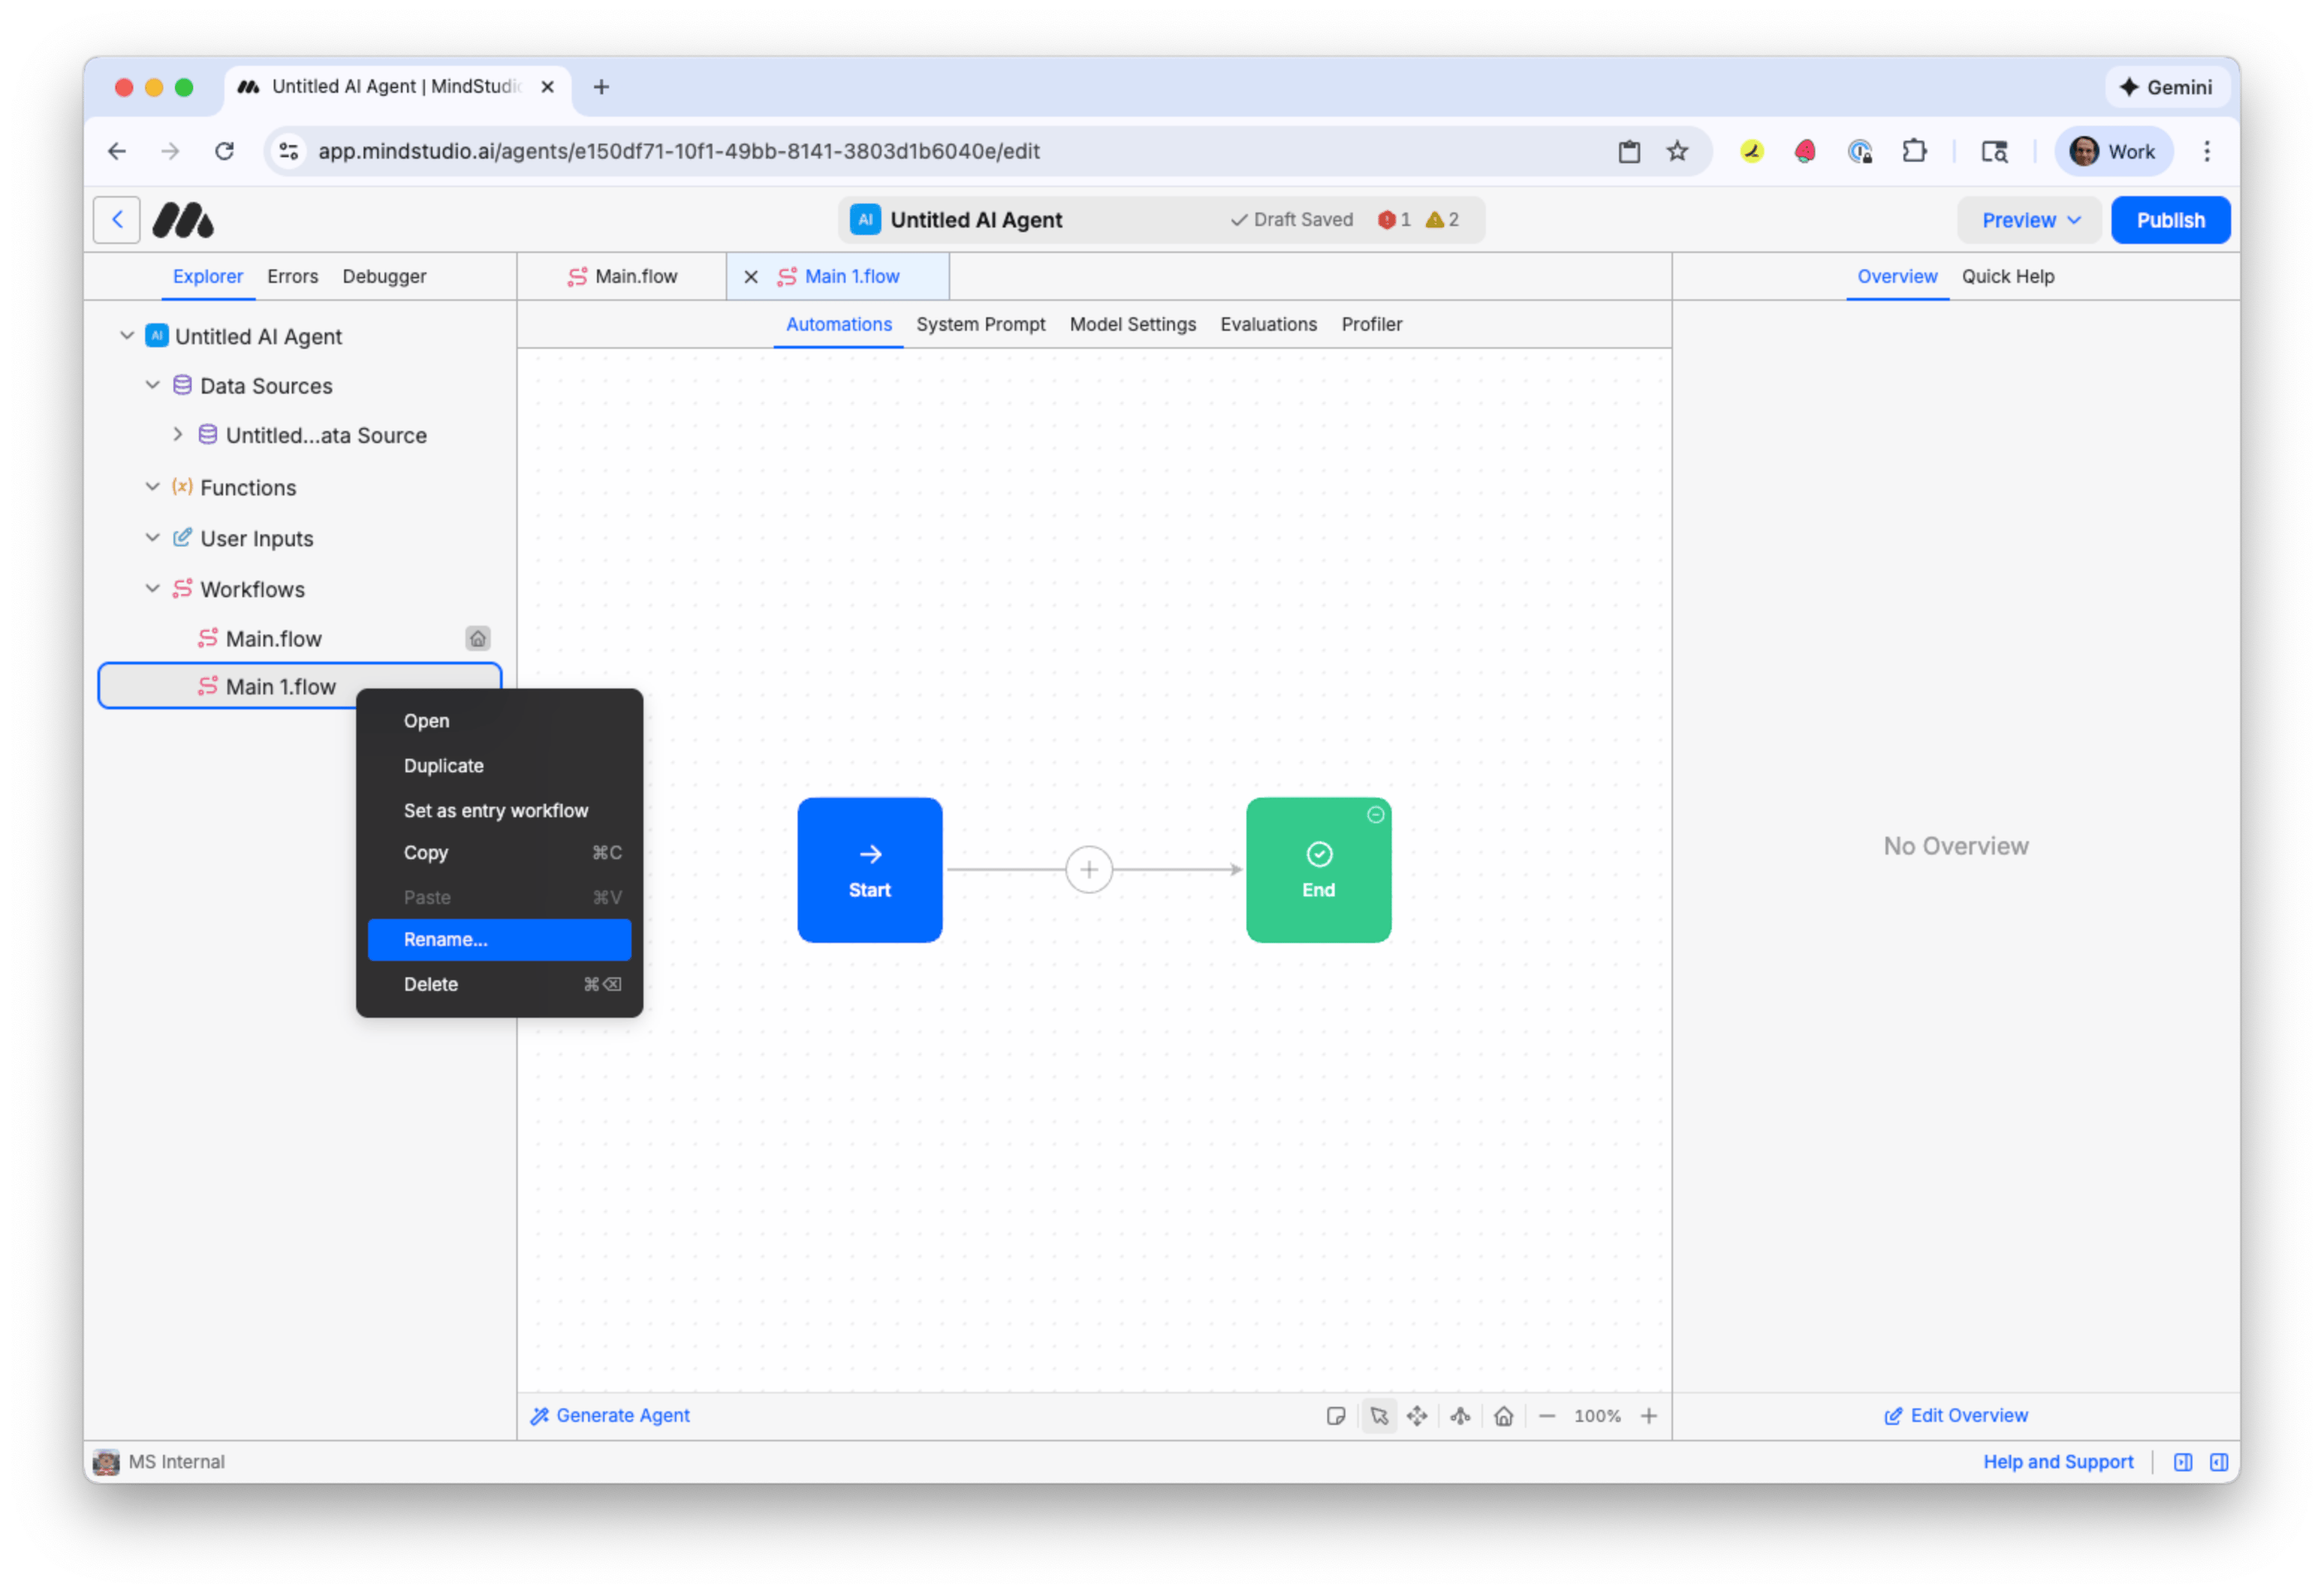
- Rename this workflow to “positive”.
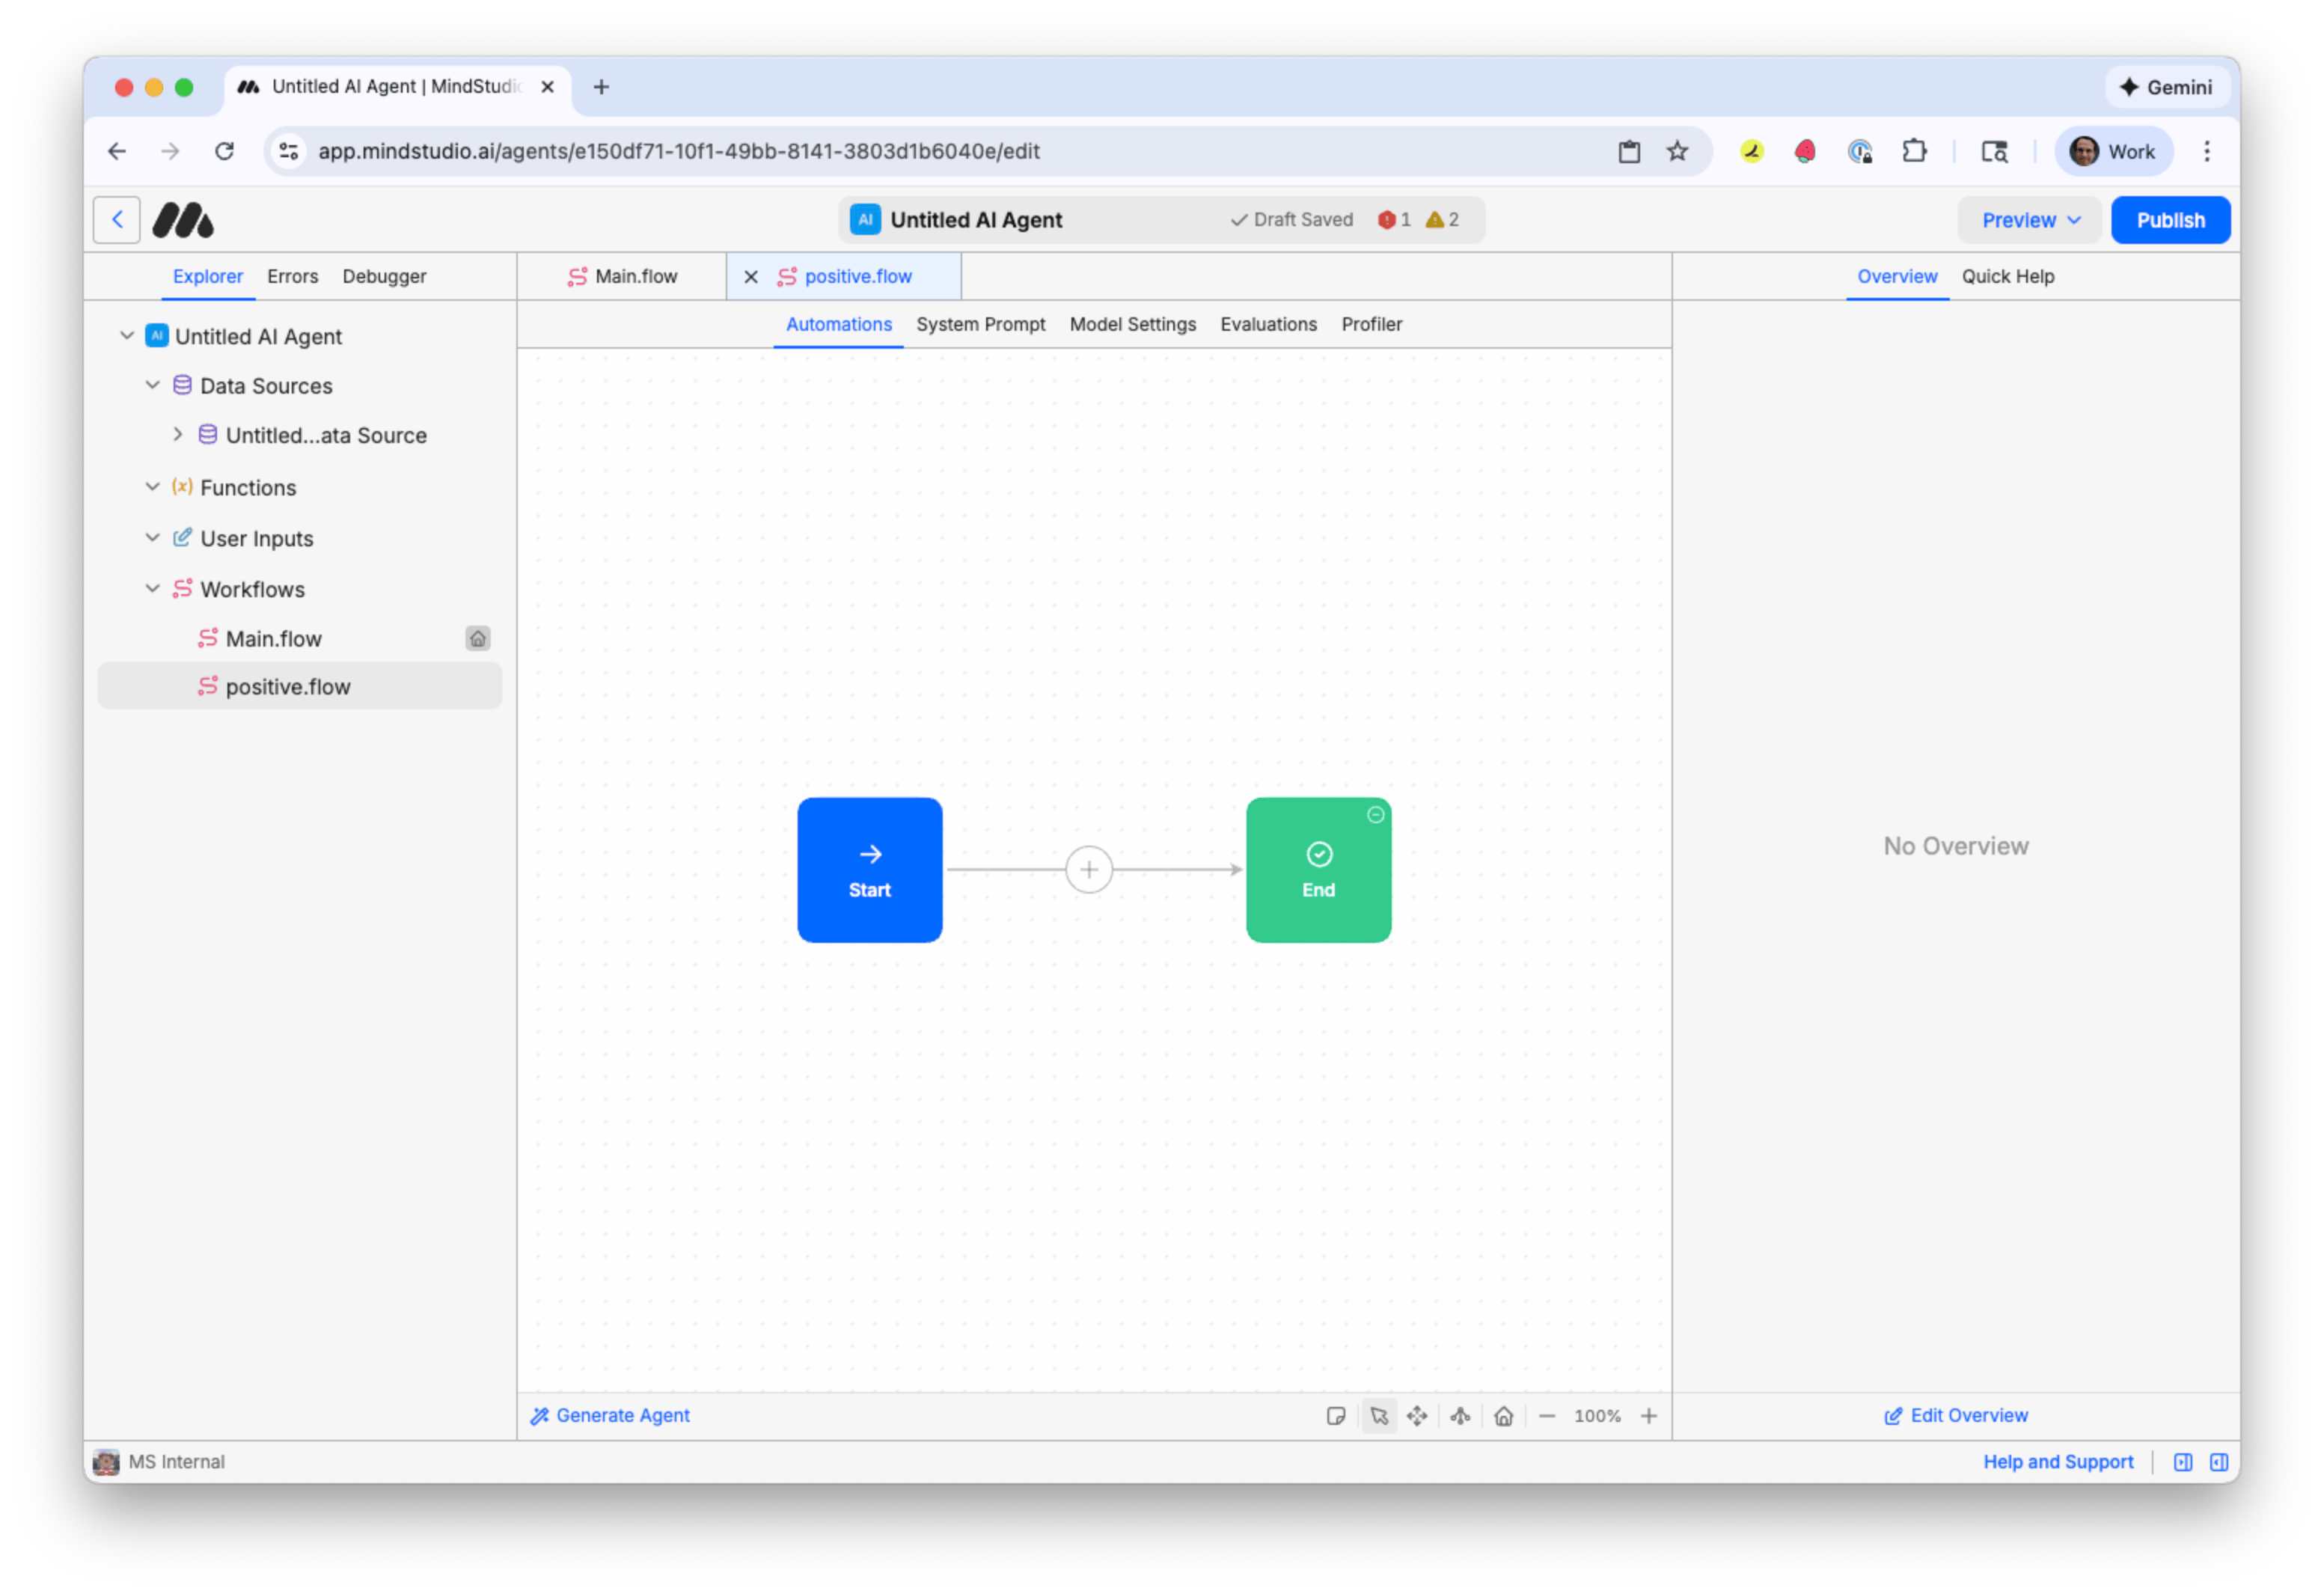
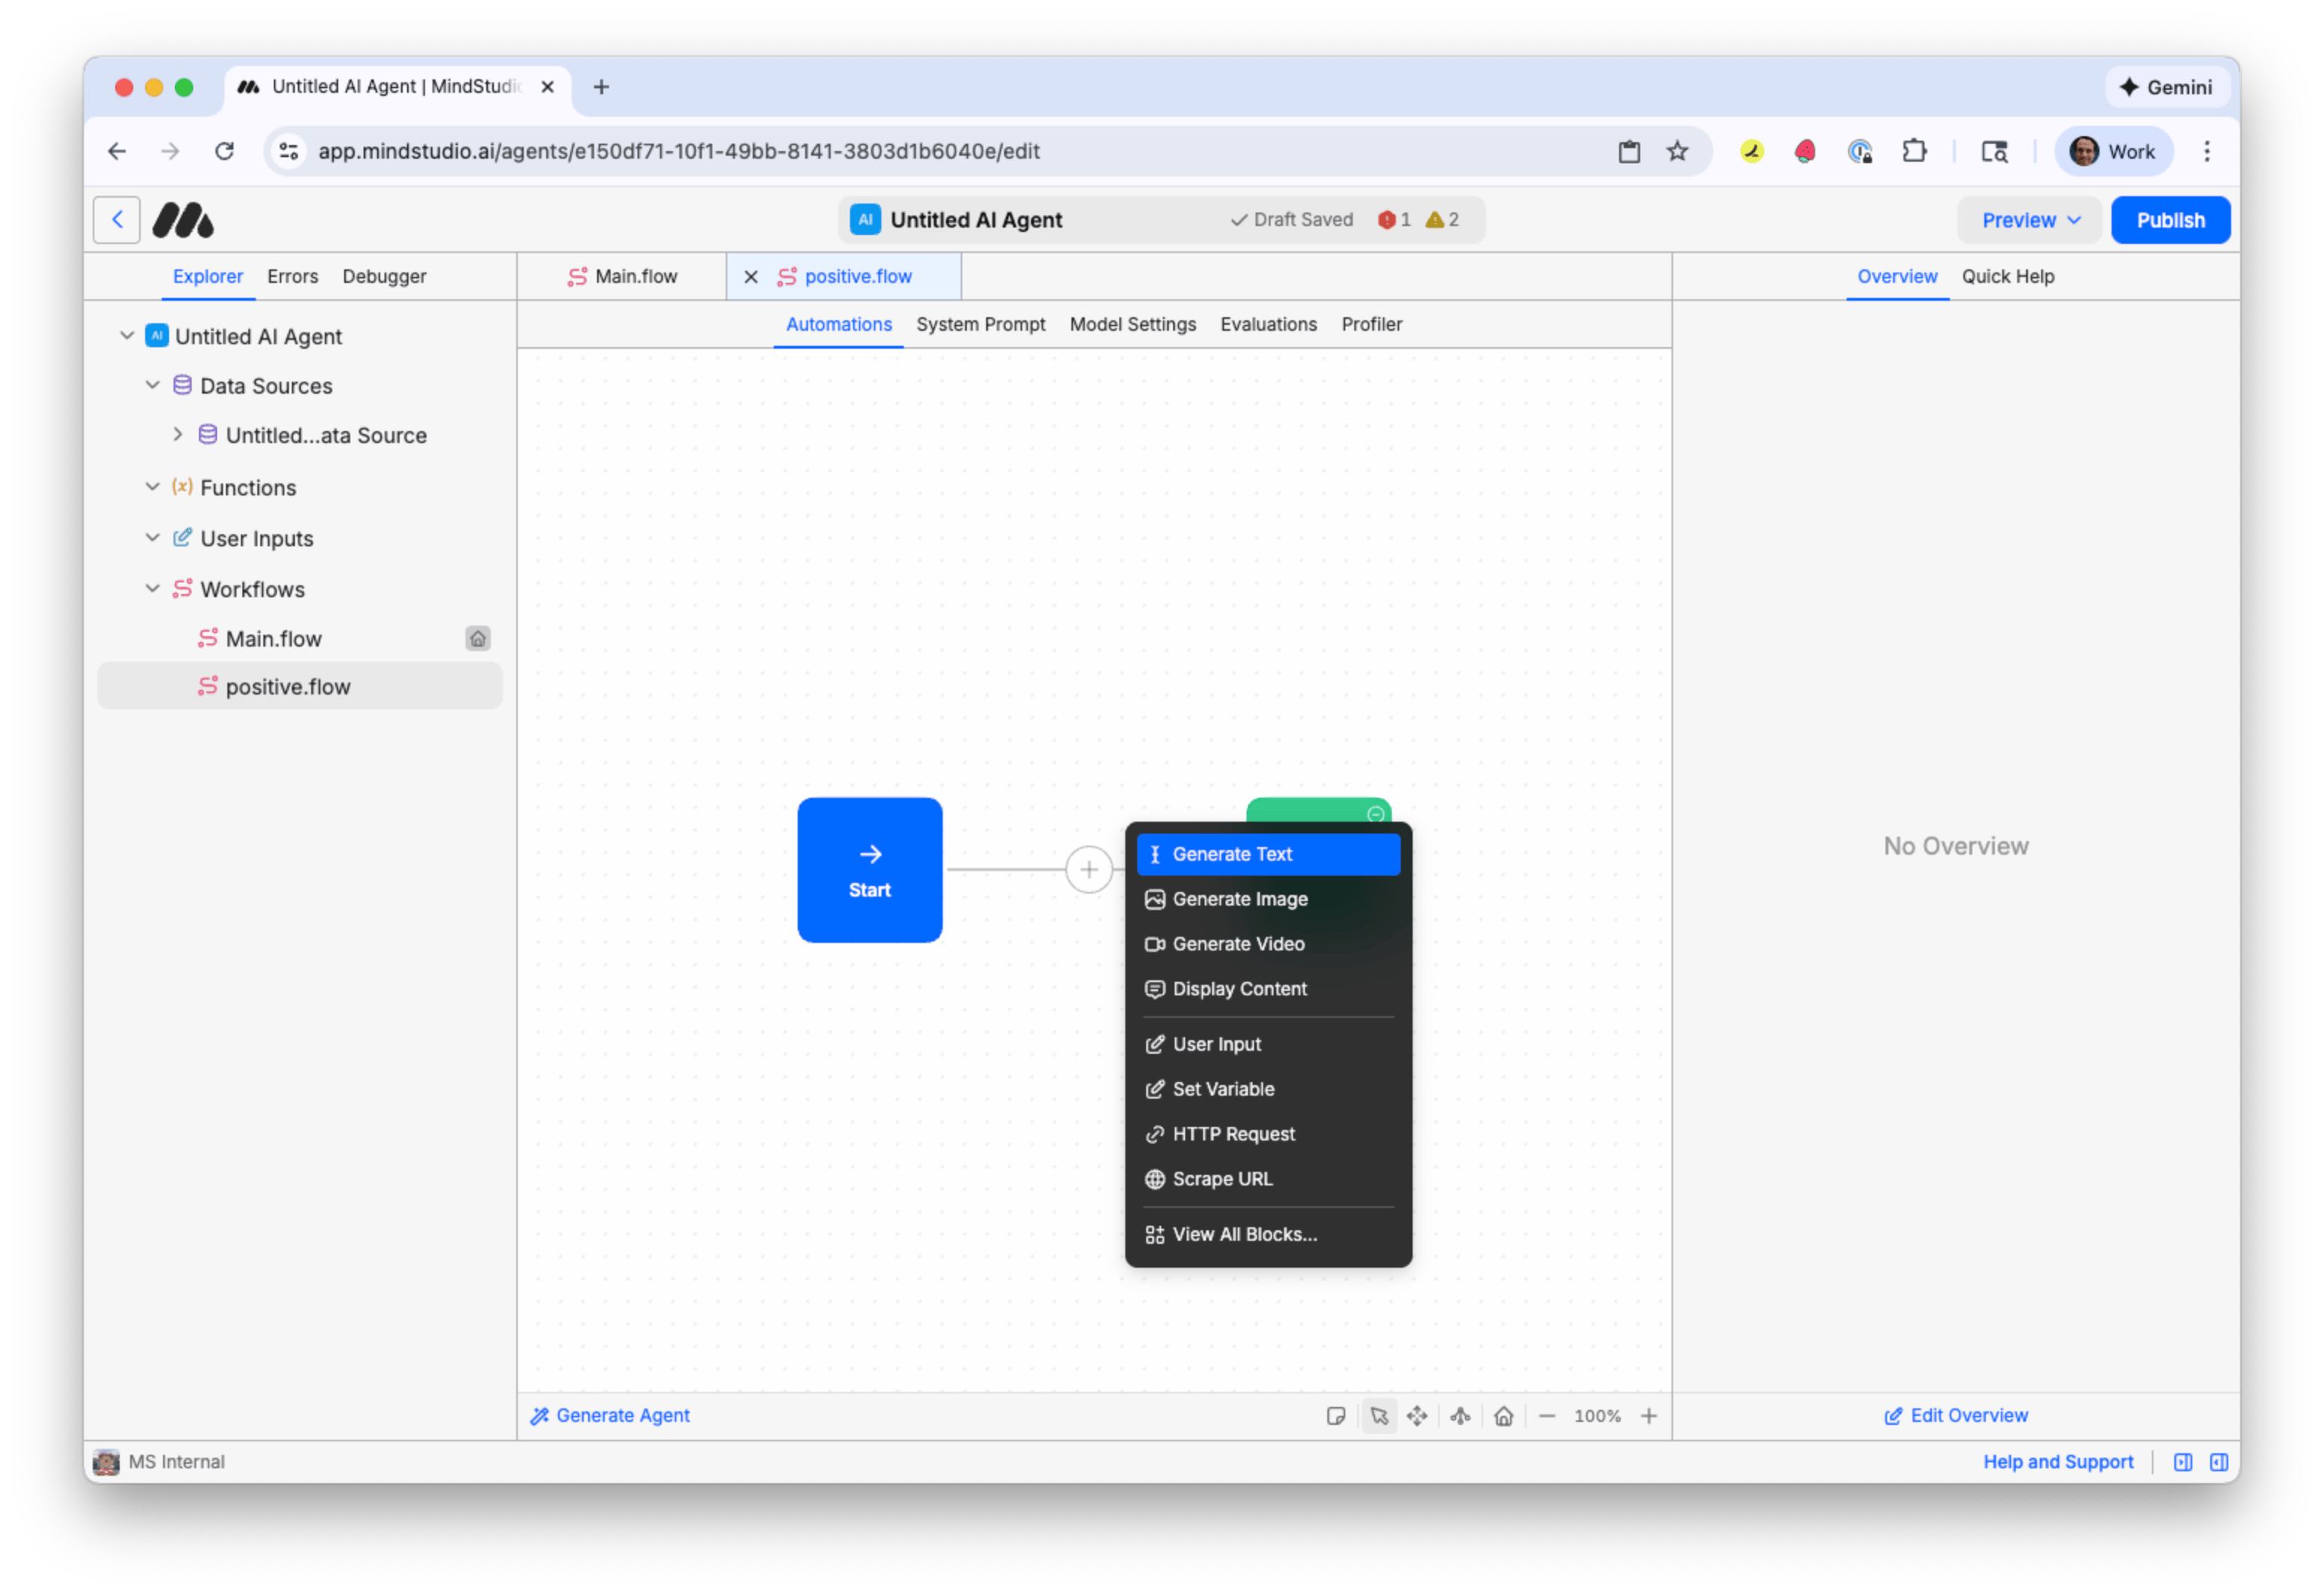
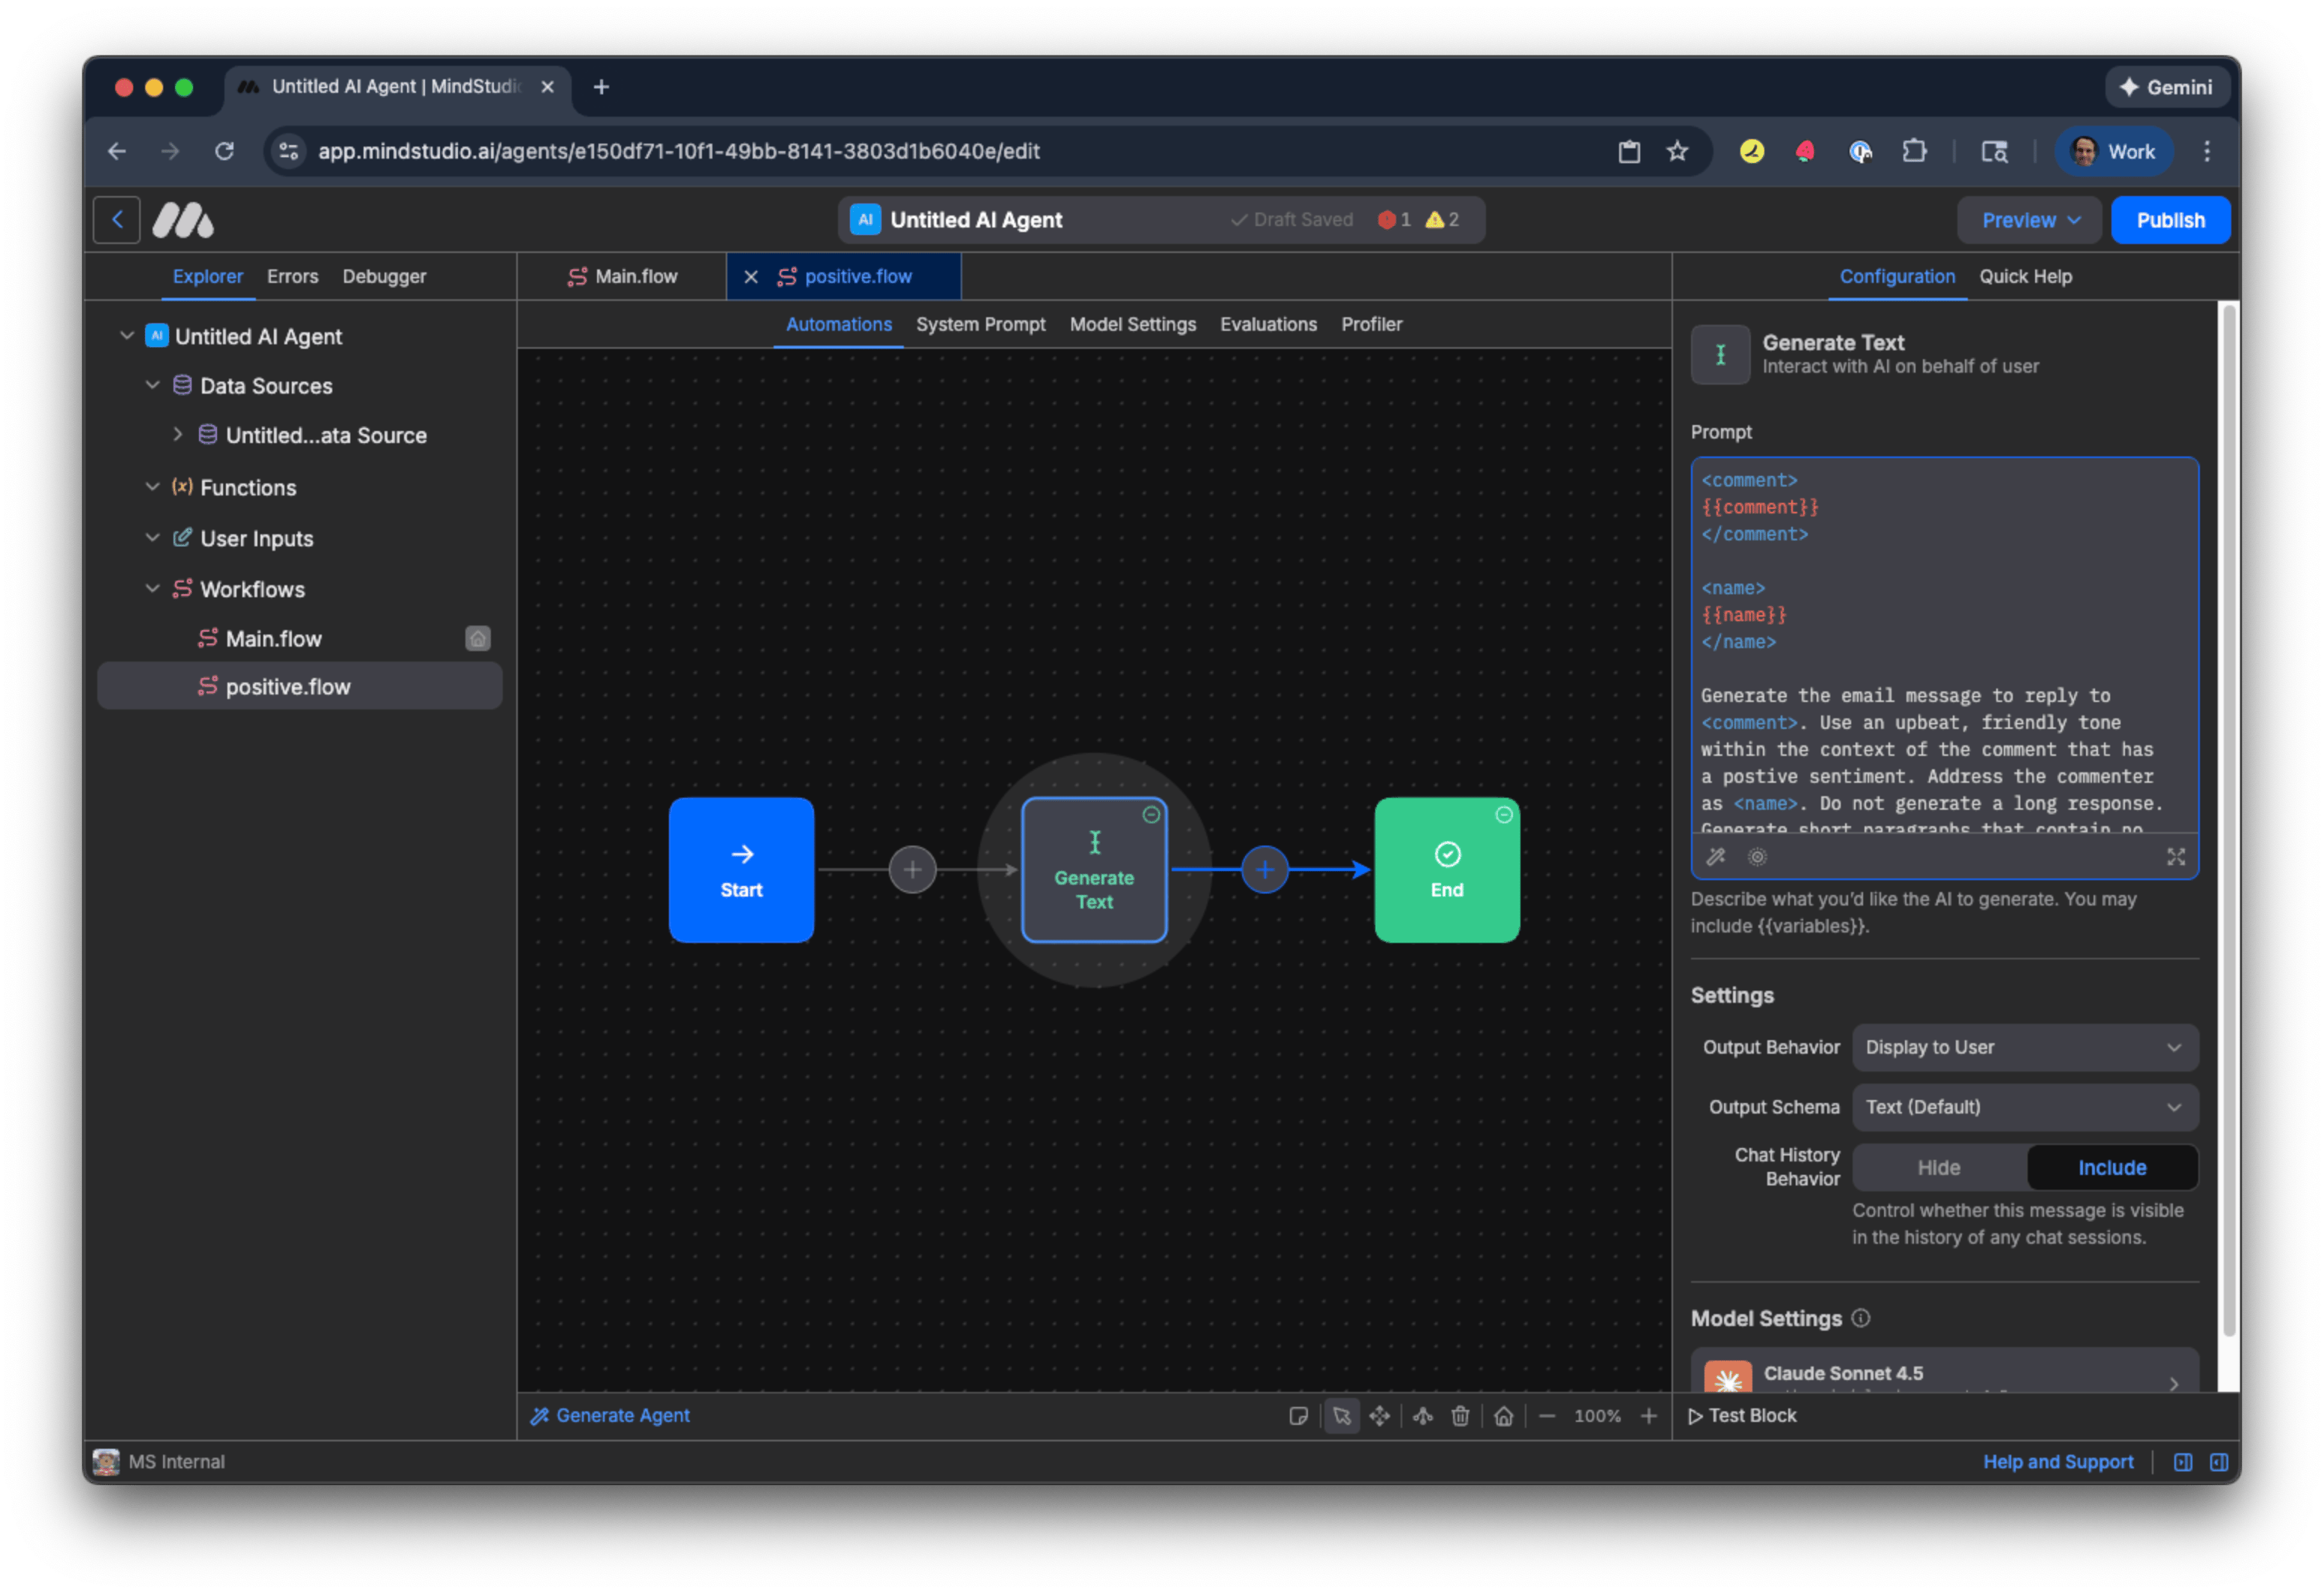
- Let’s build the “positive” workflow first, then duplicate it to make changes for the “negative” workflow. Click the + button to add a new block and choose “Generate Text”.
- Add in “Prompt” the following prompt that will generate an upbeat response to the positive comment.

Generate the email message to reply to
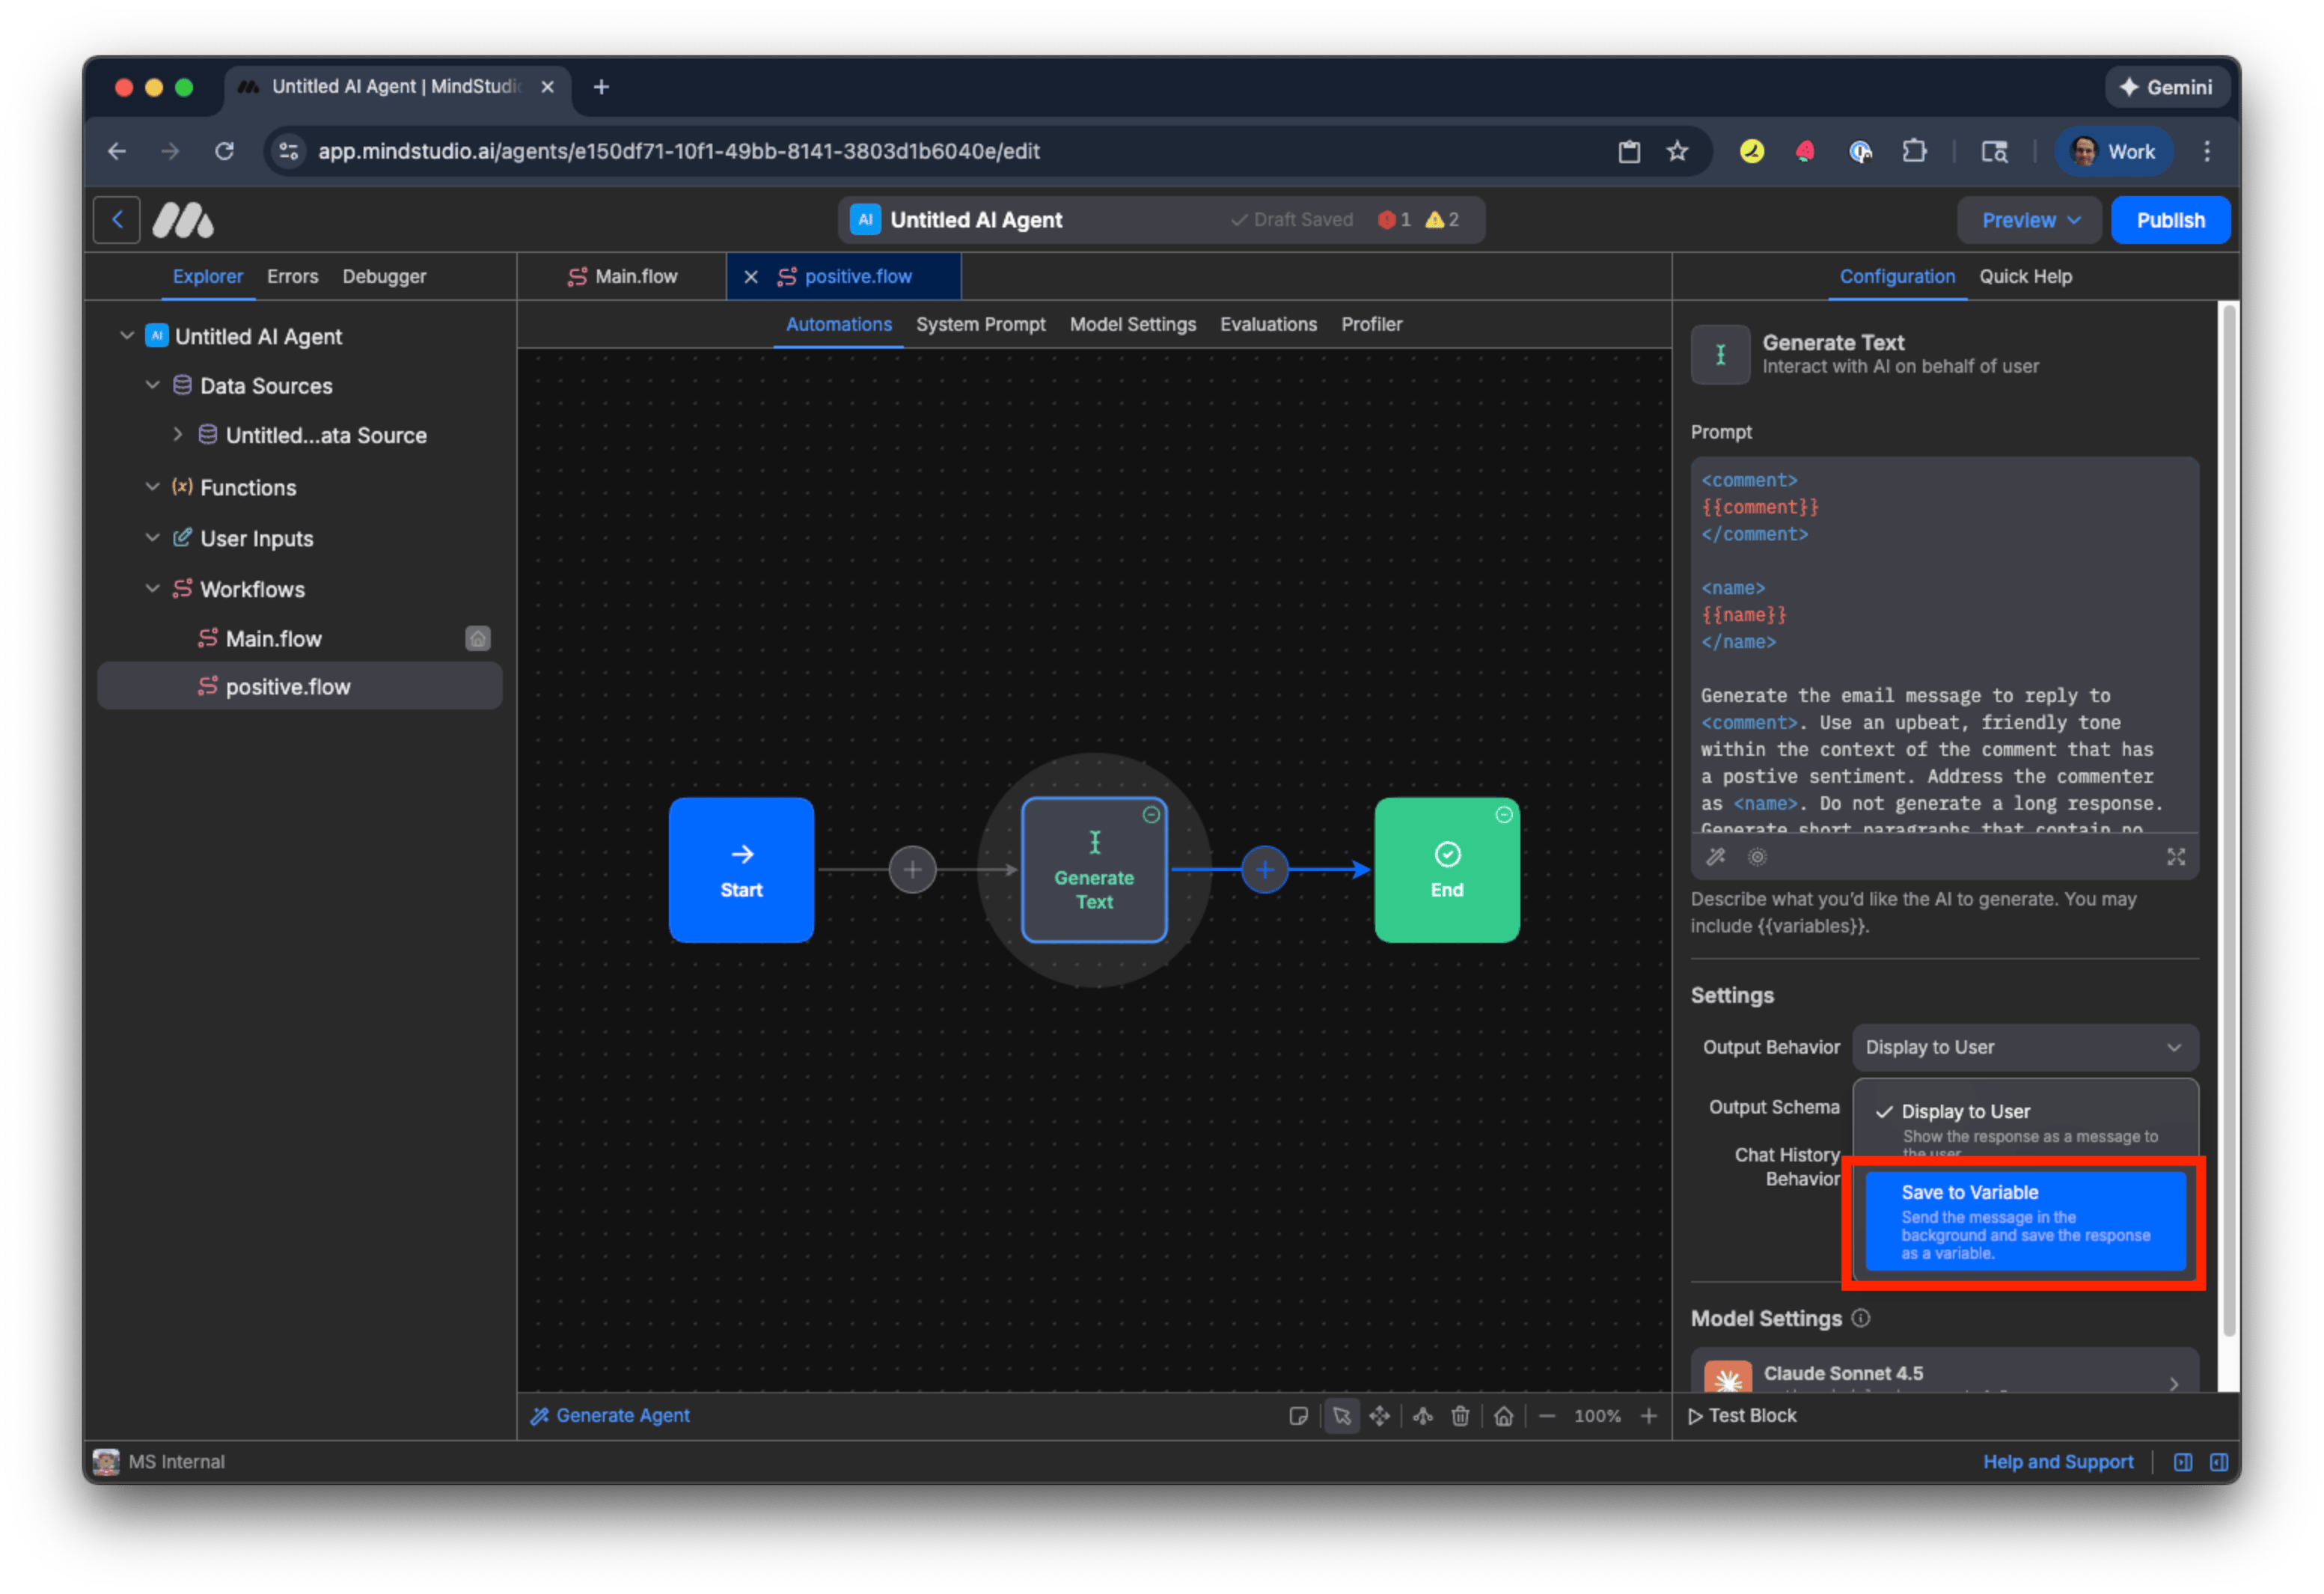
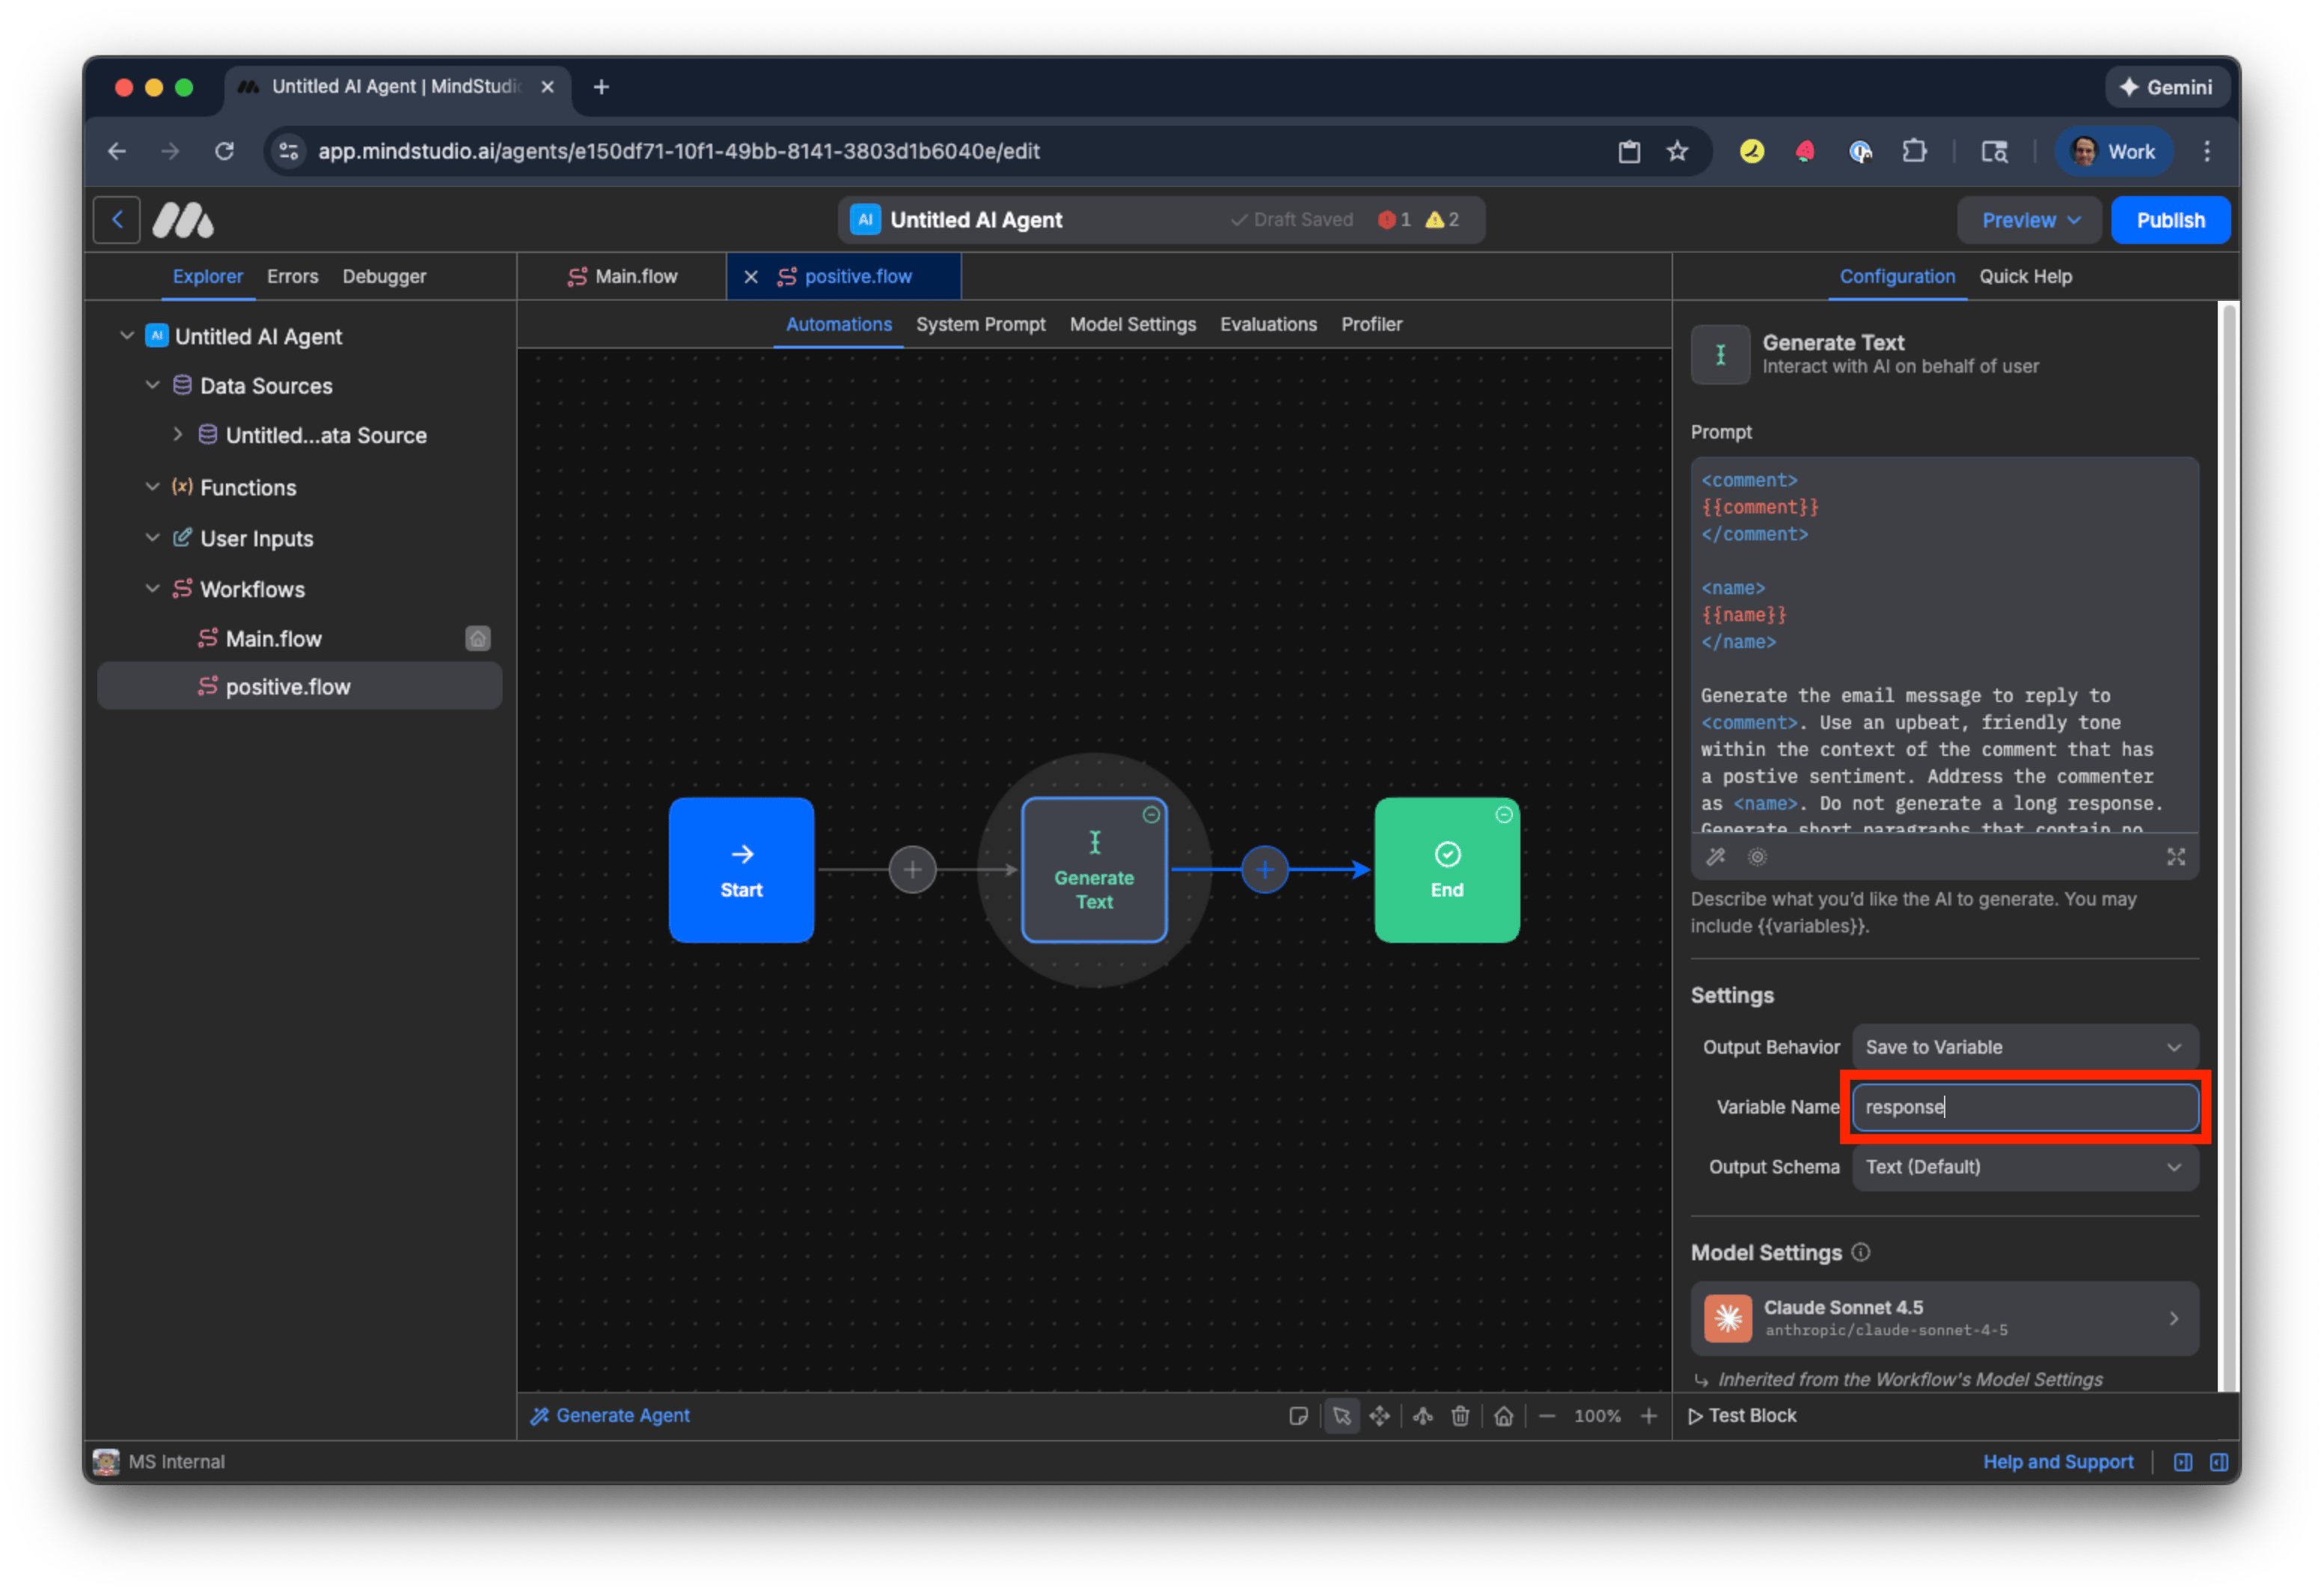
- In “Output Behavior” select “Save to Variable”.
- In the “Variable Name” setting, add “response”.
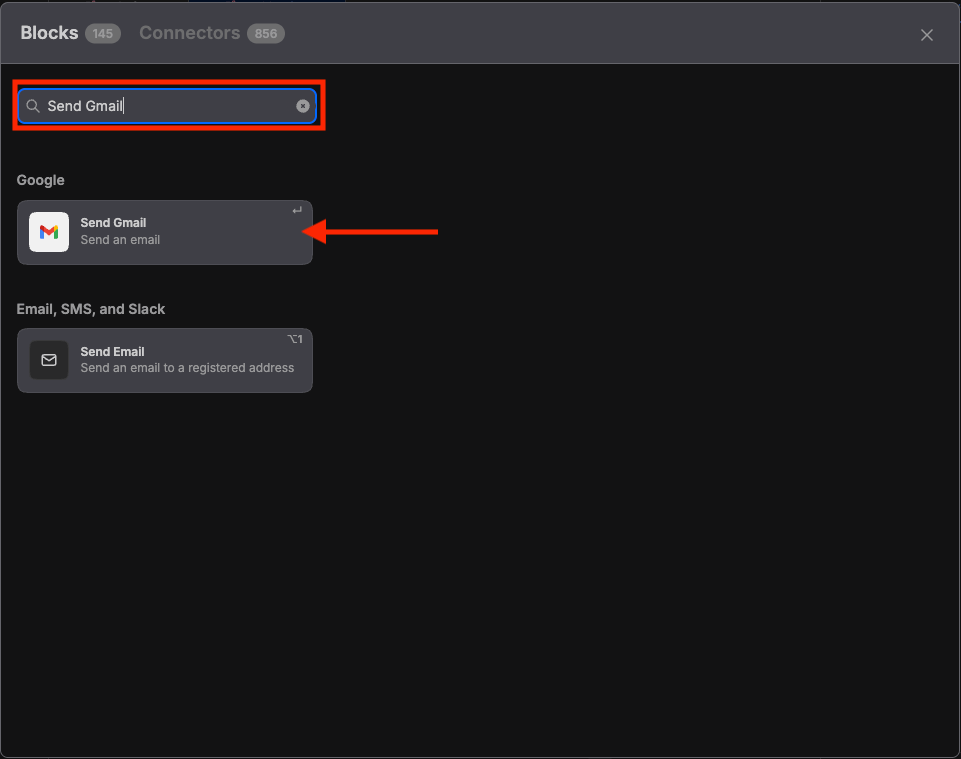
- Click the + button after the “Generate Text” block and choose “View All Blocks”.
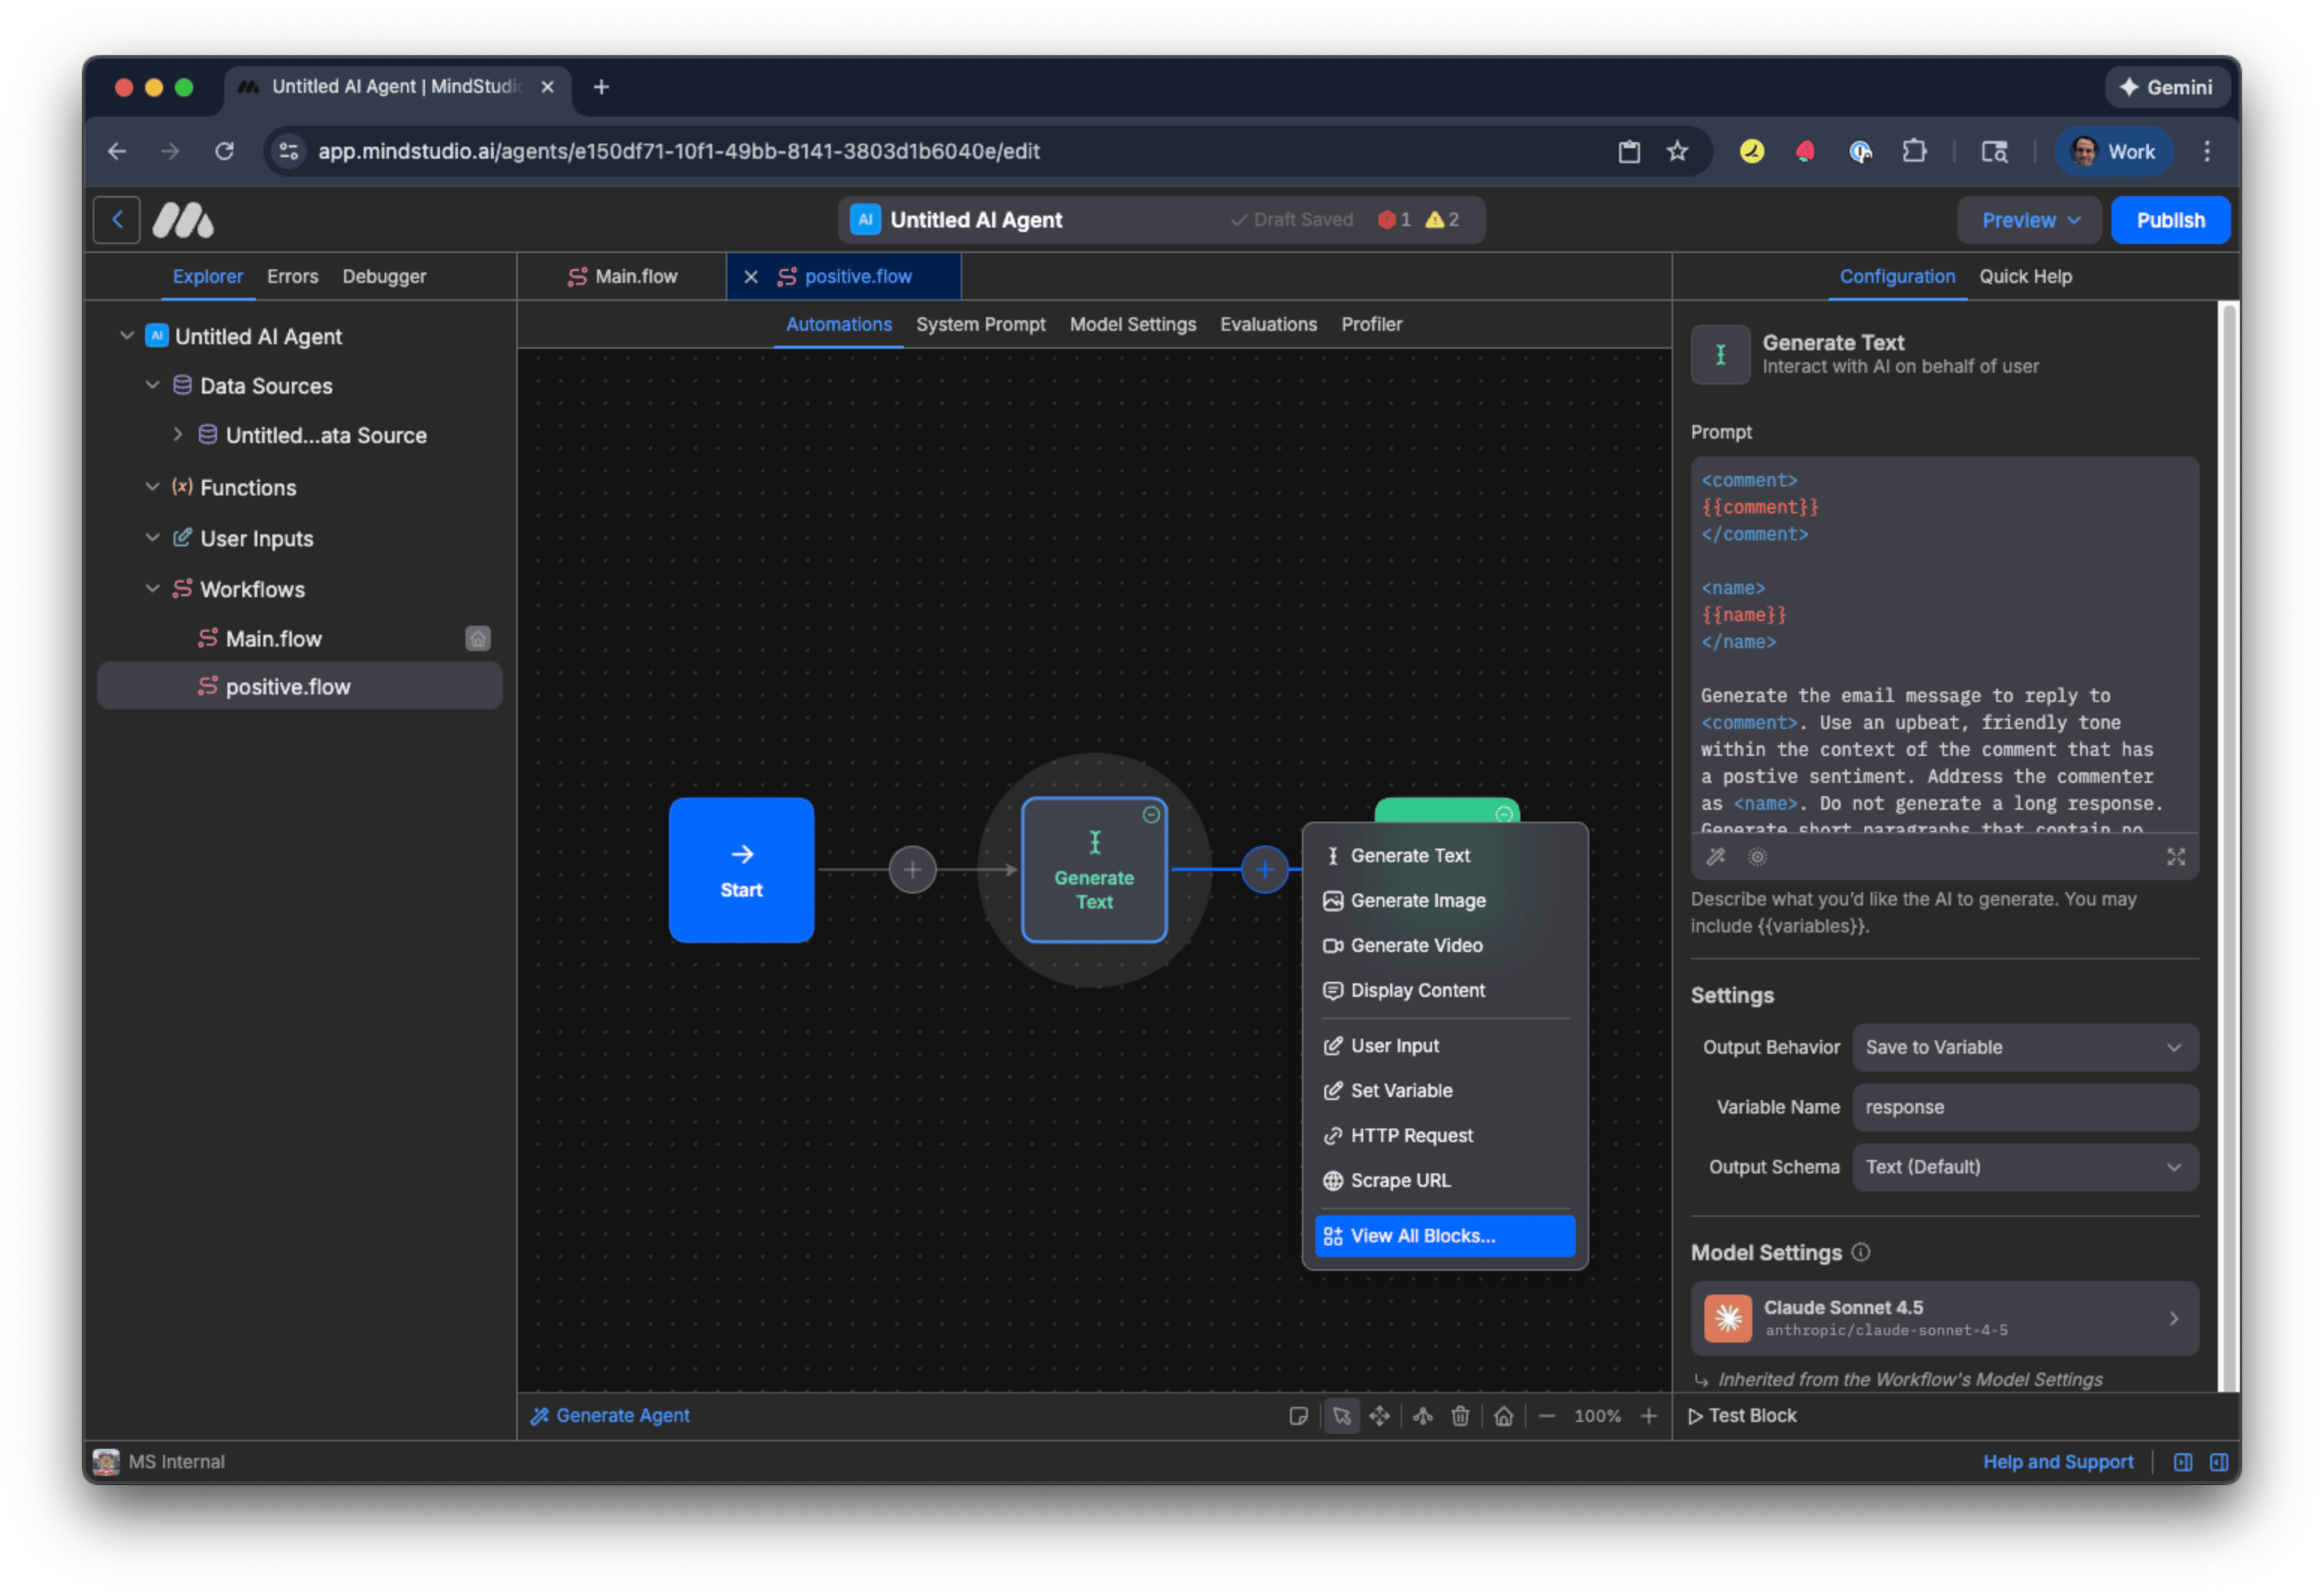
- Search for “Send Gmail” in the search field, and then select the “Send Gmail” block.
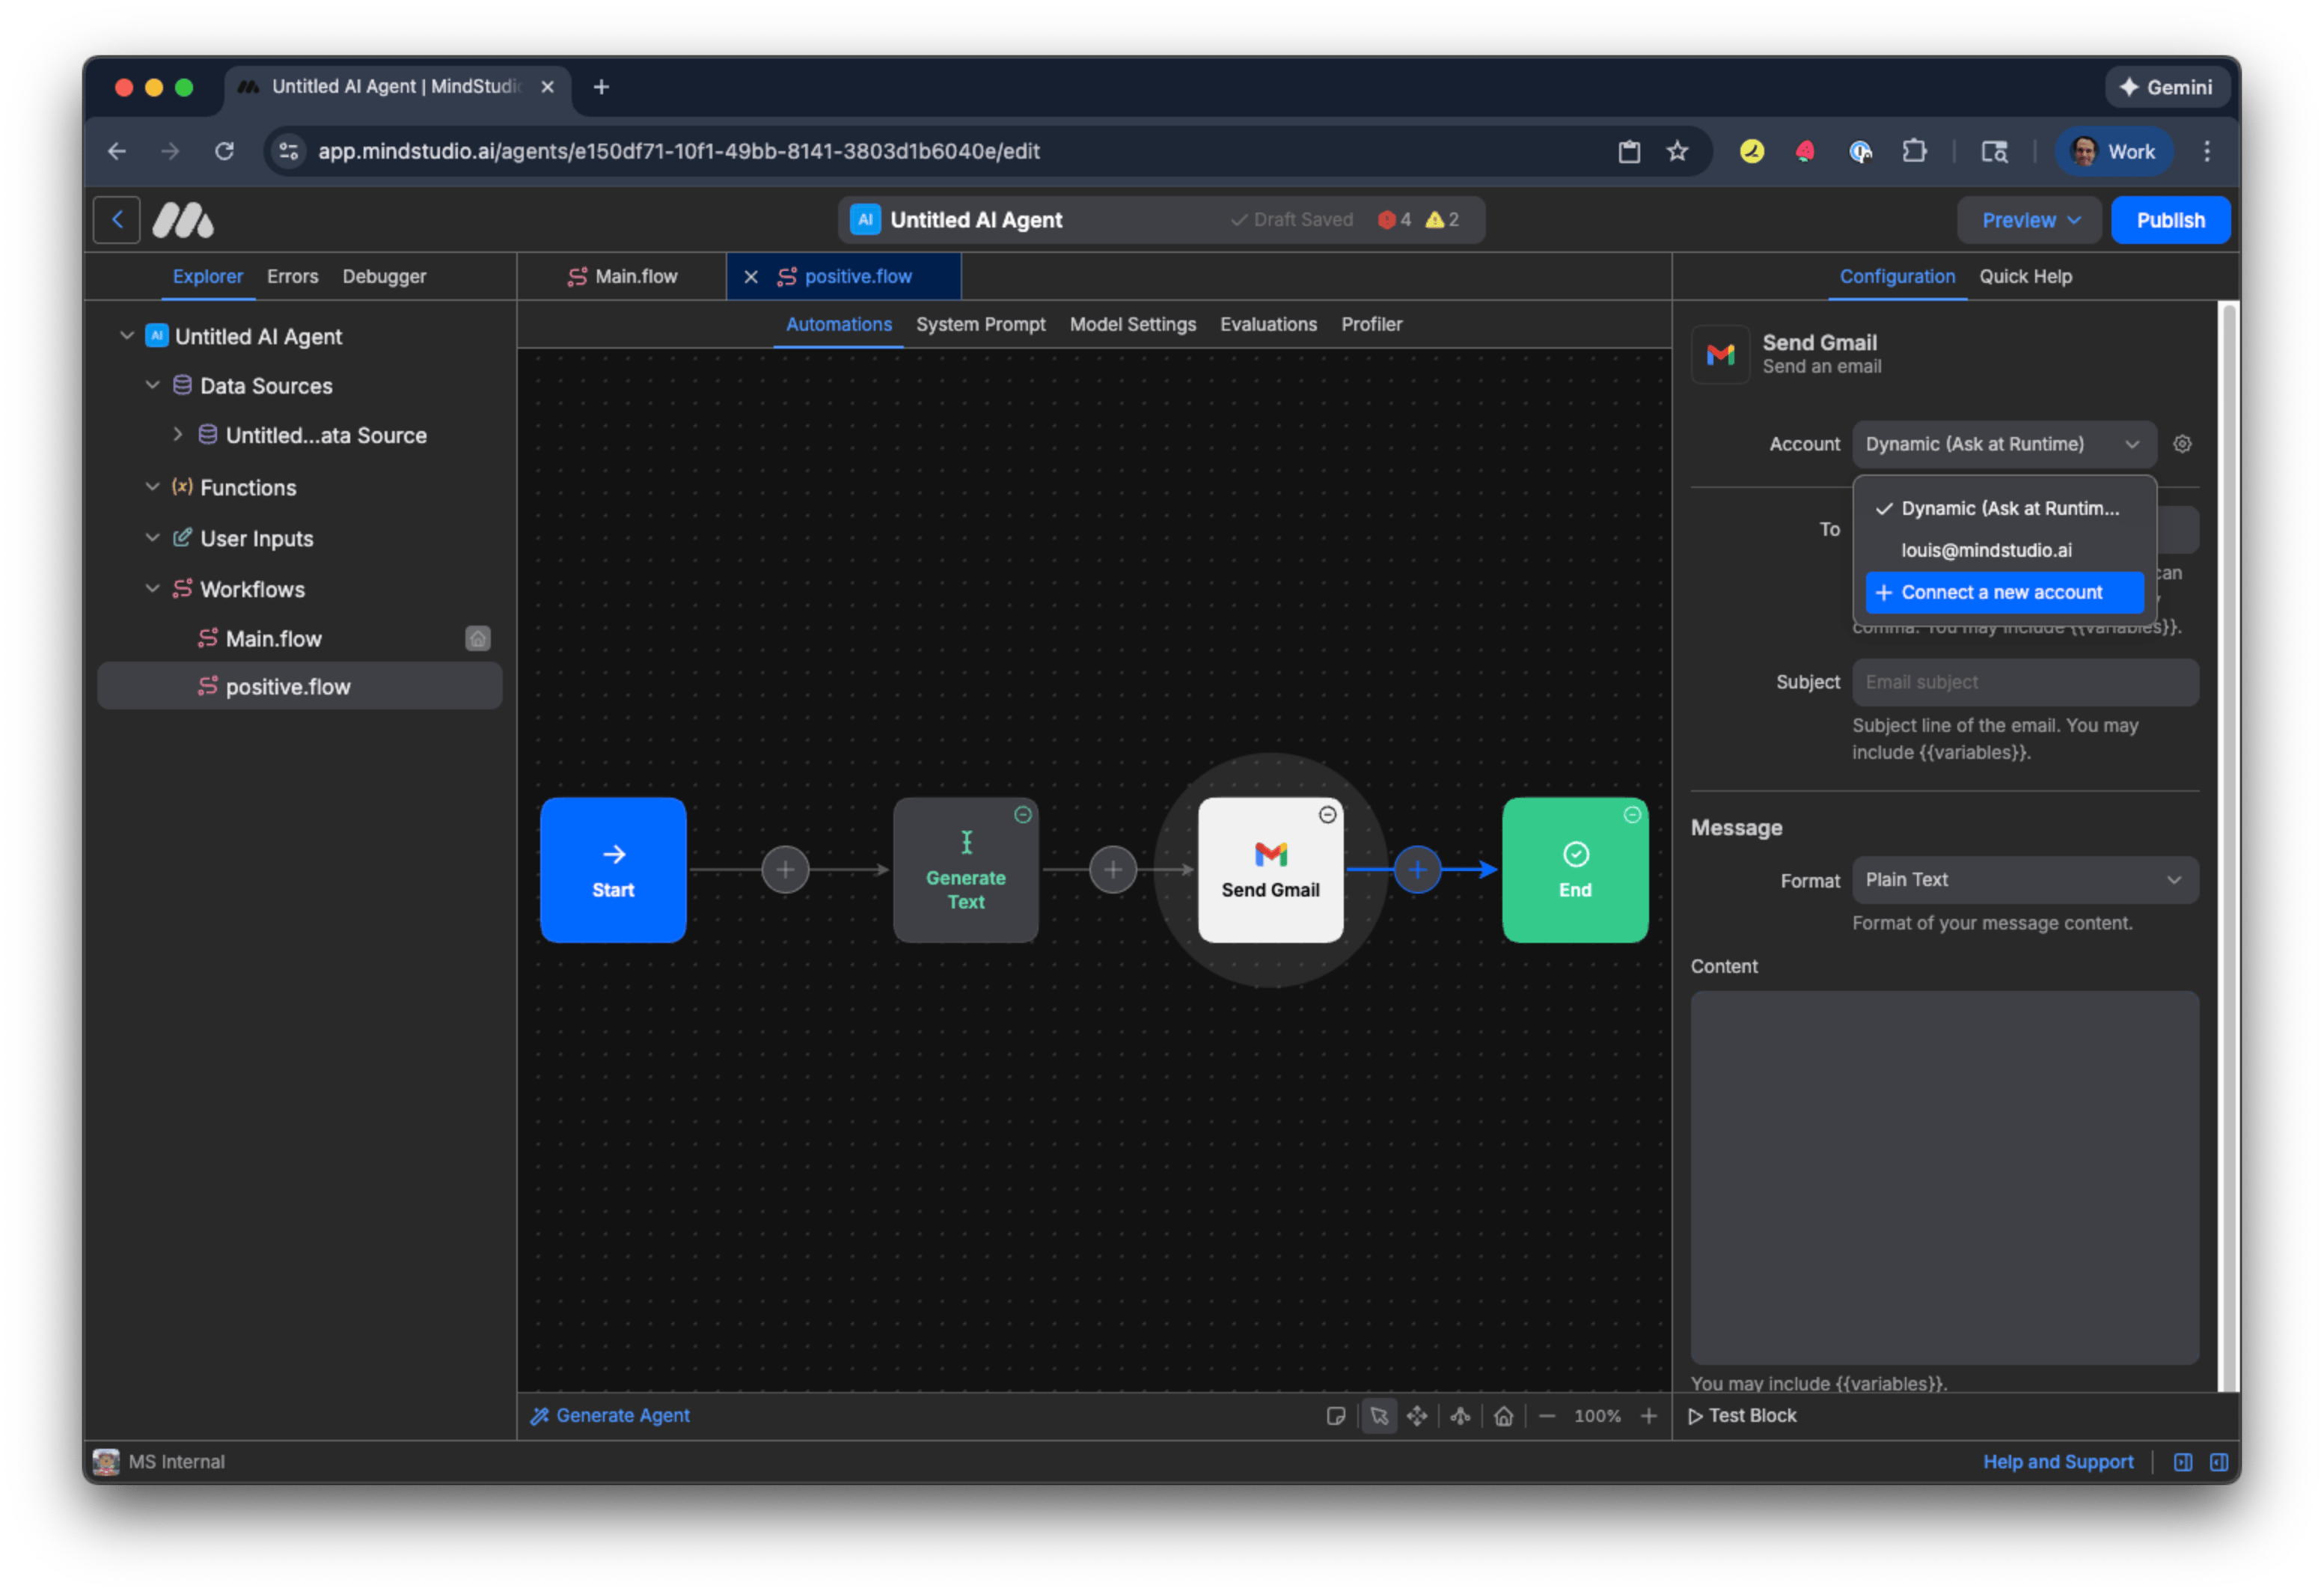
- In the “Account” setting, select your email address that is connected to the Send Gmail block, then skip to step X. If this is the first time you are connecting the “Send Gmail” block to your email account, select “Connect a new account”.
-
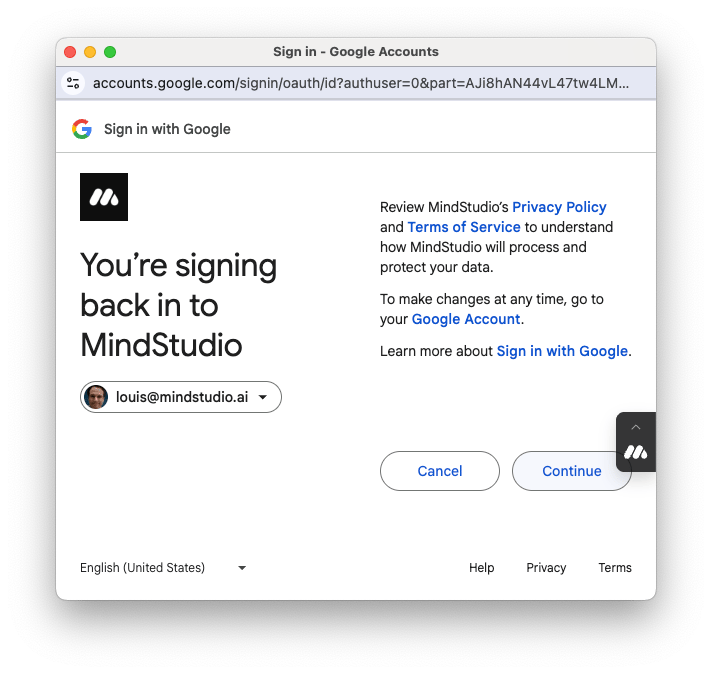
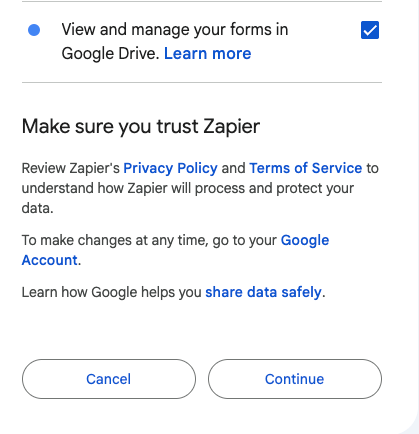
Enter your email address to connect to the “Send Gmail” block, then click “Continue”. Complete the connection. When the connection procedure is complete, your email address displays in the “Account” setting.
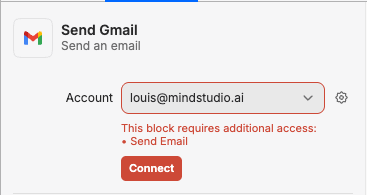
-
After making the initial connection to the “Send Gmail” block, additional access is required upon first-time connection. Click “Connect” to grant the “Send Email” permission.
- Select your email address that you connected to the “Send Gmail” block.
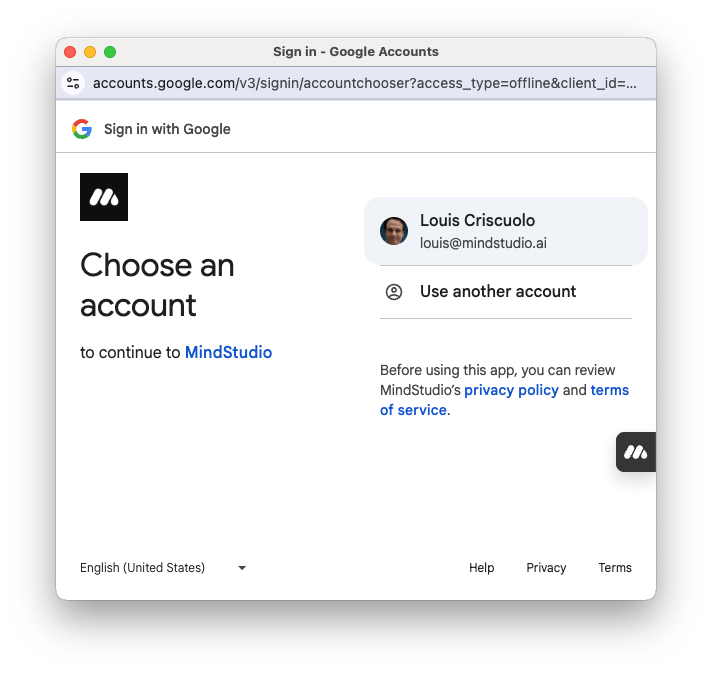
- Click “Continue”, then allow MindStudio to send emails with your Google account.
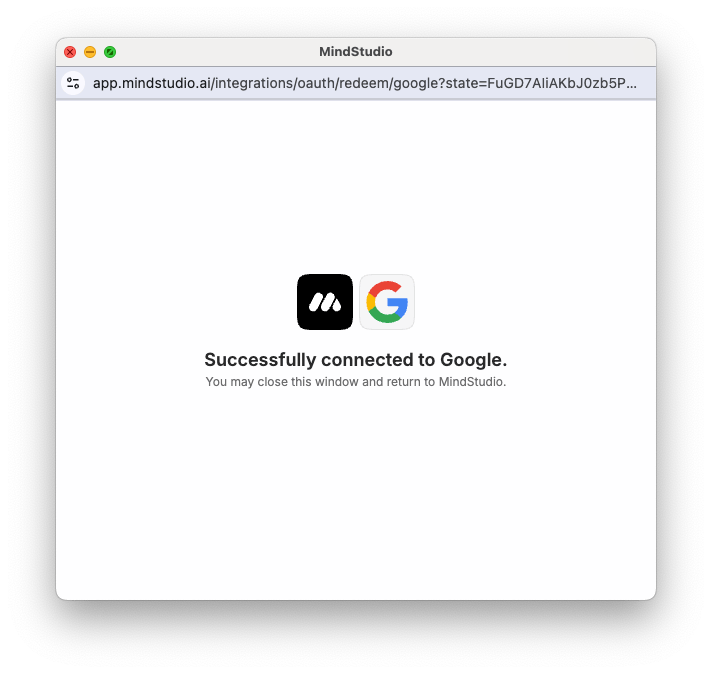
- Close the window after successfully connecting to Google.
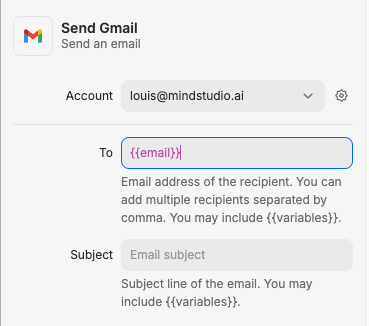
- Add “{{email}}” in the “To” setting. This is the variable that will store the commenter’s email address.
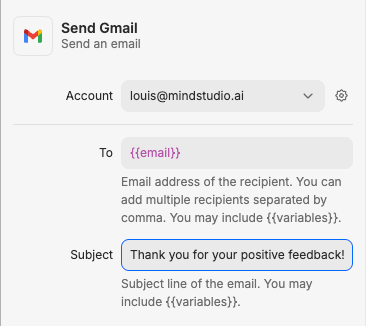
- In the “Subject” setting, add an email subject that indicates gratitude and excitement for the user’s positive comment. For example, “Thank you for your positive feedback!”
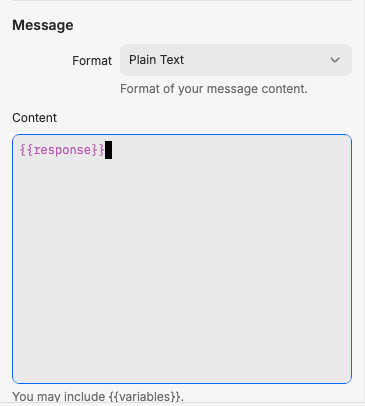
- Add “{{response}}” in the “Content” setting. This variable will contain the message from the “Generate Text” block to respond to the commenter’s positive comment.
The “positive sentiment” workflow is complete. Let’s duplicate this workflow for the “negative sentiment” workflow to save us time building it. We will only make specific changes to that workflow.
BUILD THE “NEGATIVE SENTIMENT” WORKFLOW
Follow these steps to build the “negative sentiment” workflow:
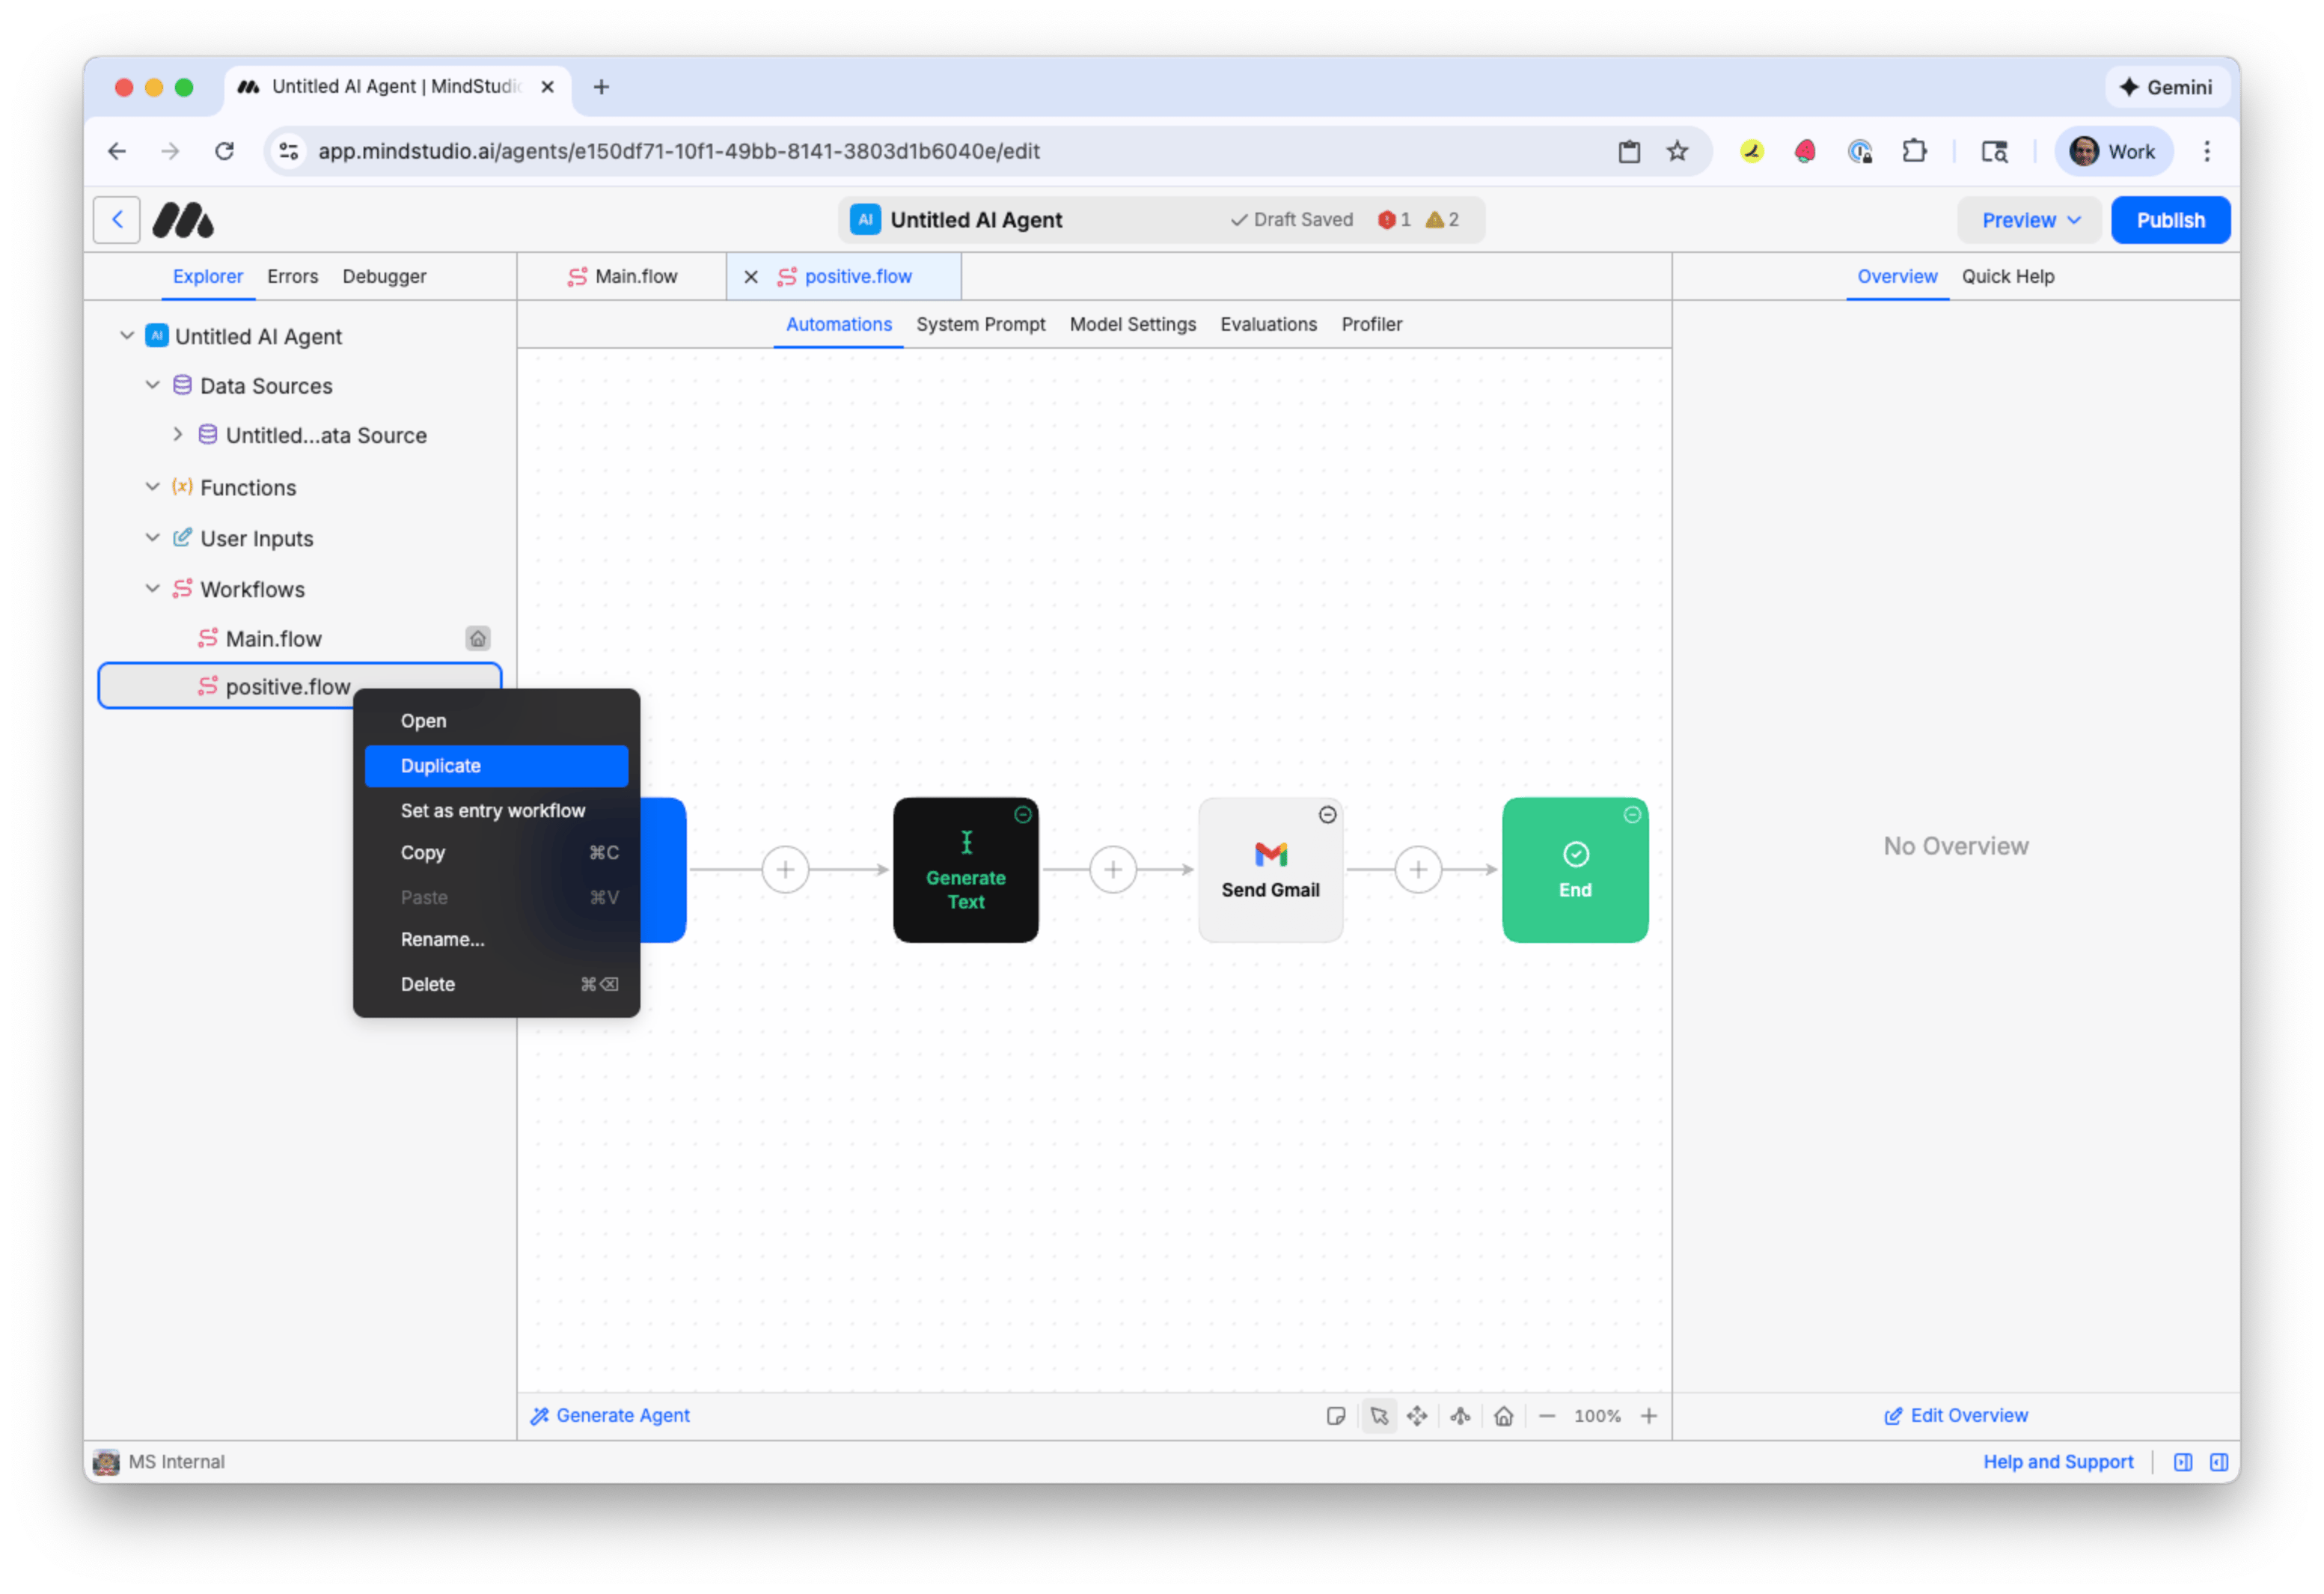
- Right-click on the “positive.flow” workflow in the “Explorer” panel, and then select “Duplicate”.
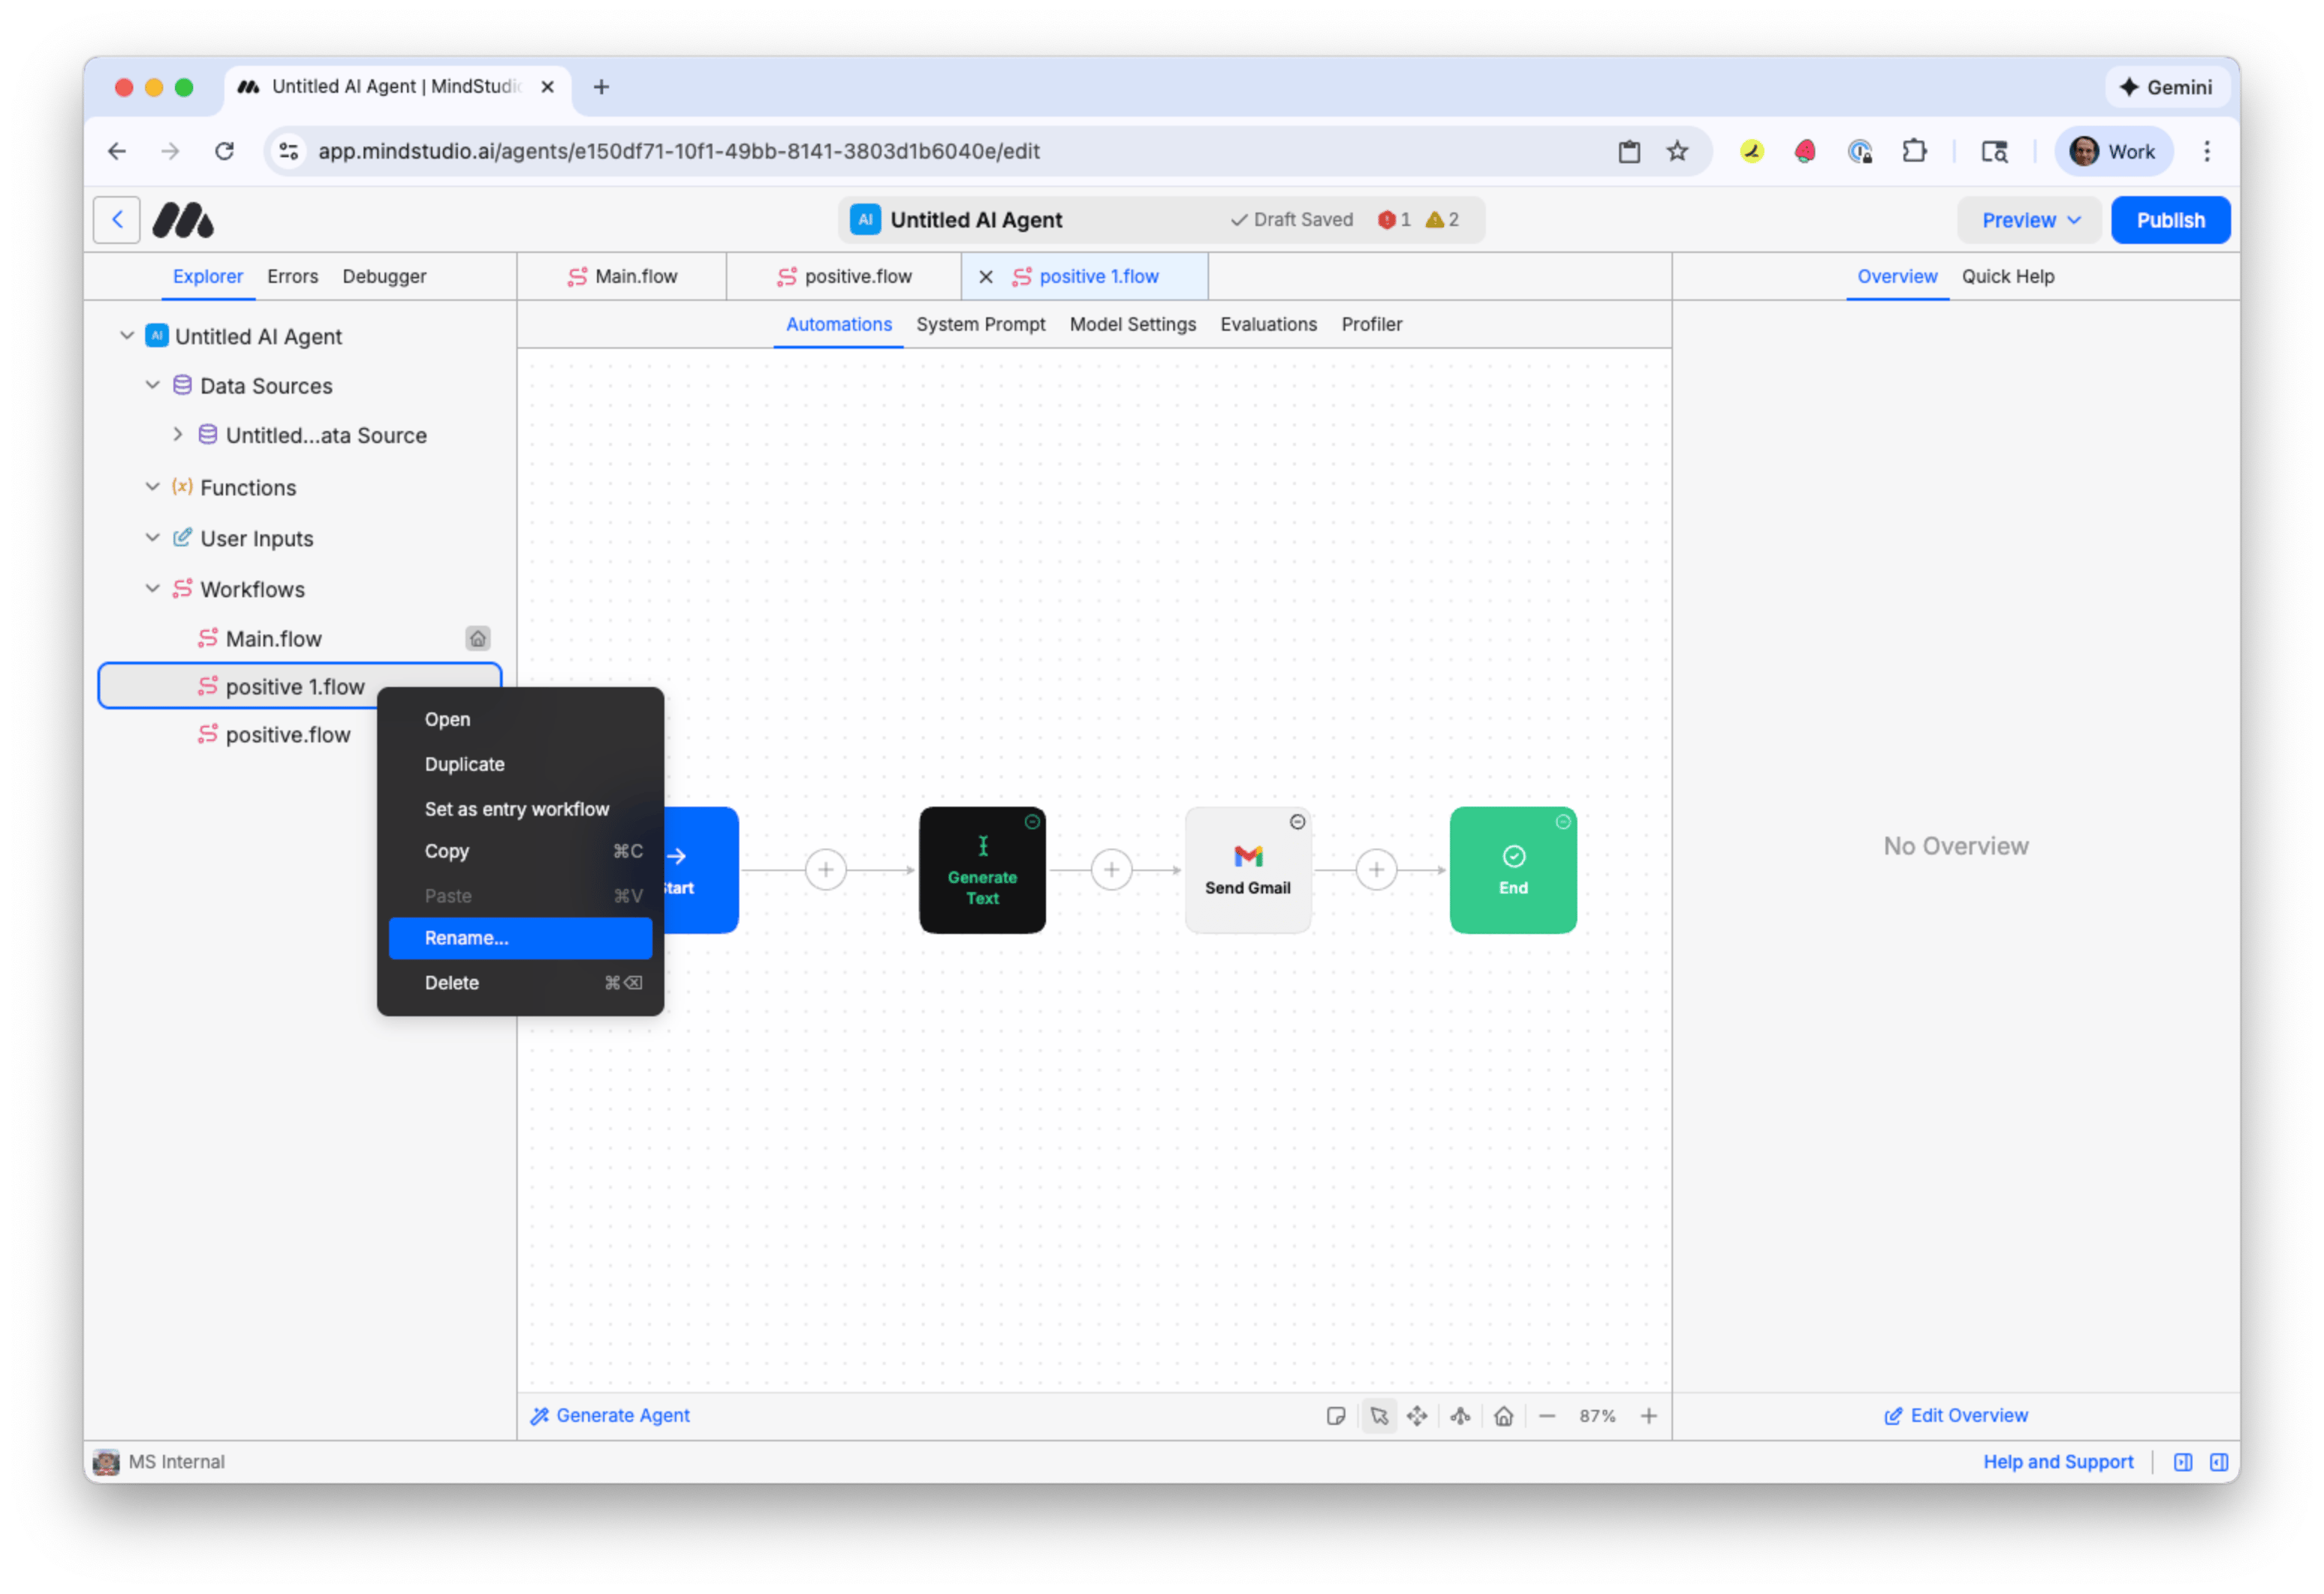
- Right-click on the “positive 1.flow” workflow, then select “Rename”. Rename this to “negative”.
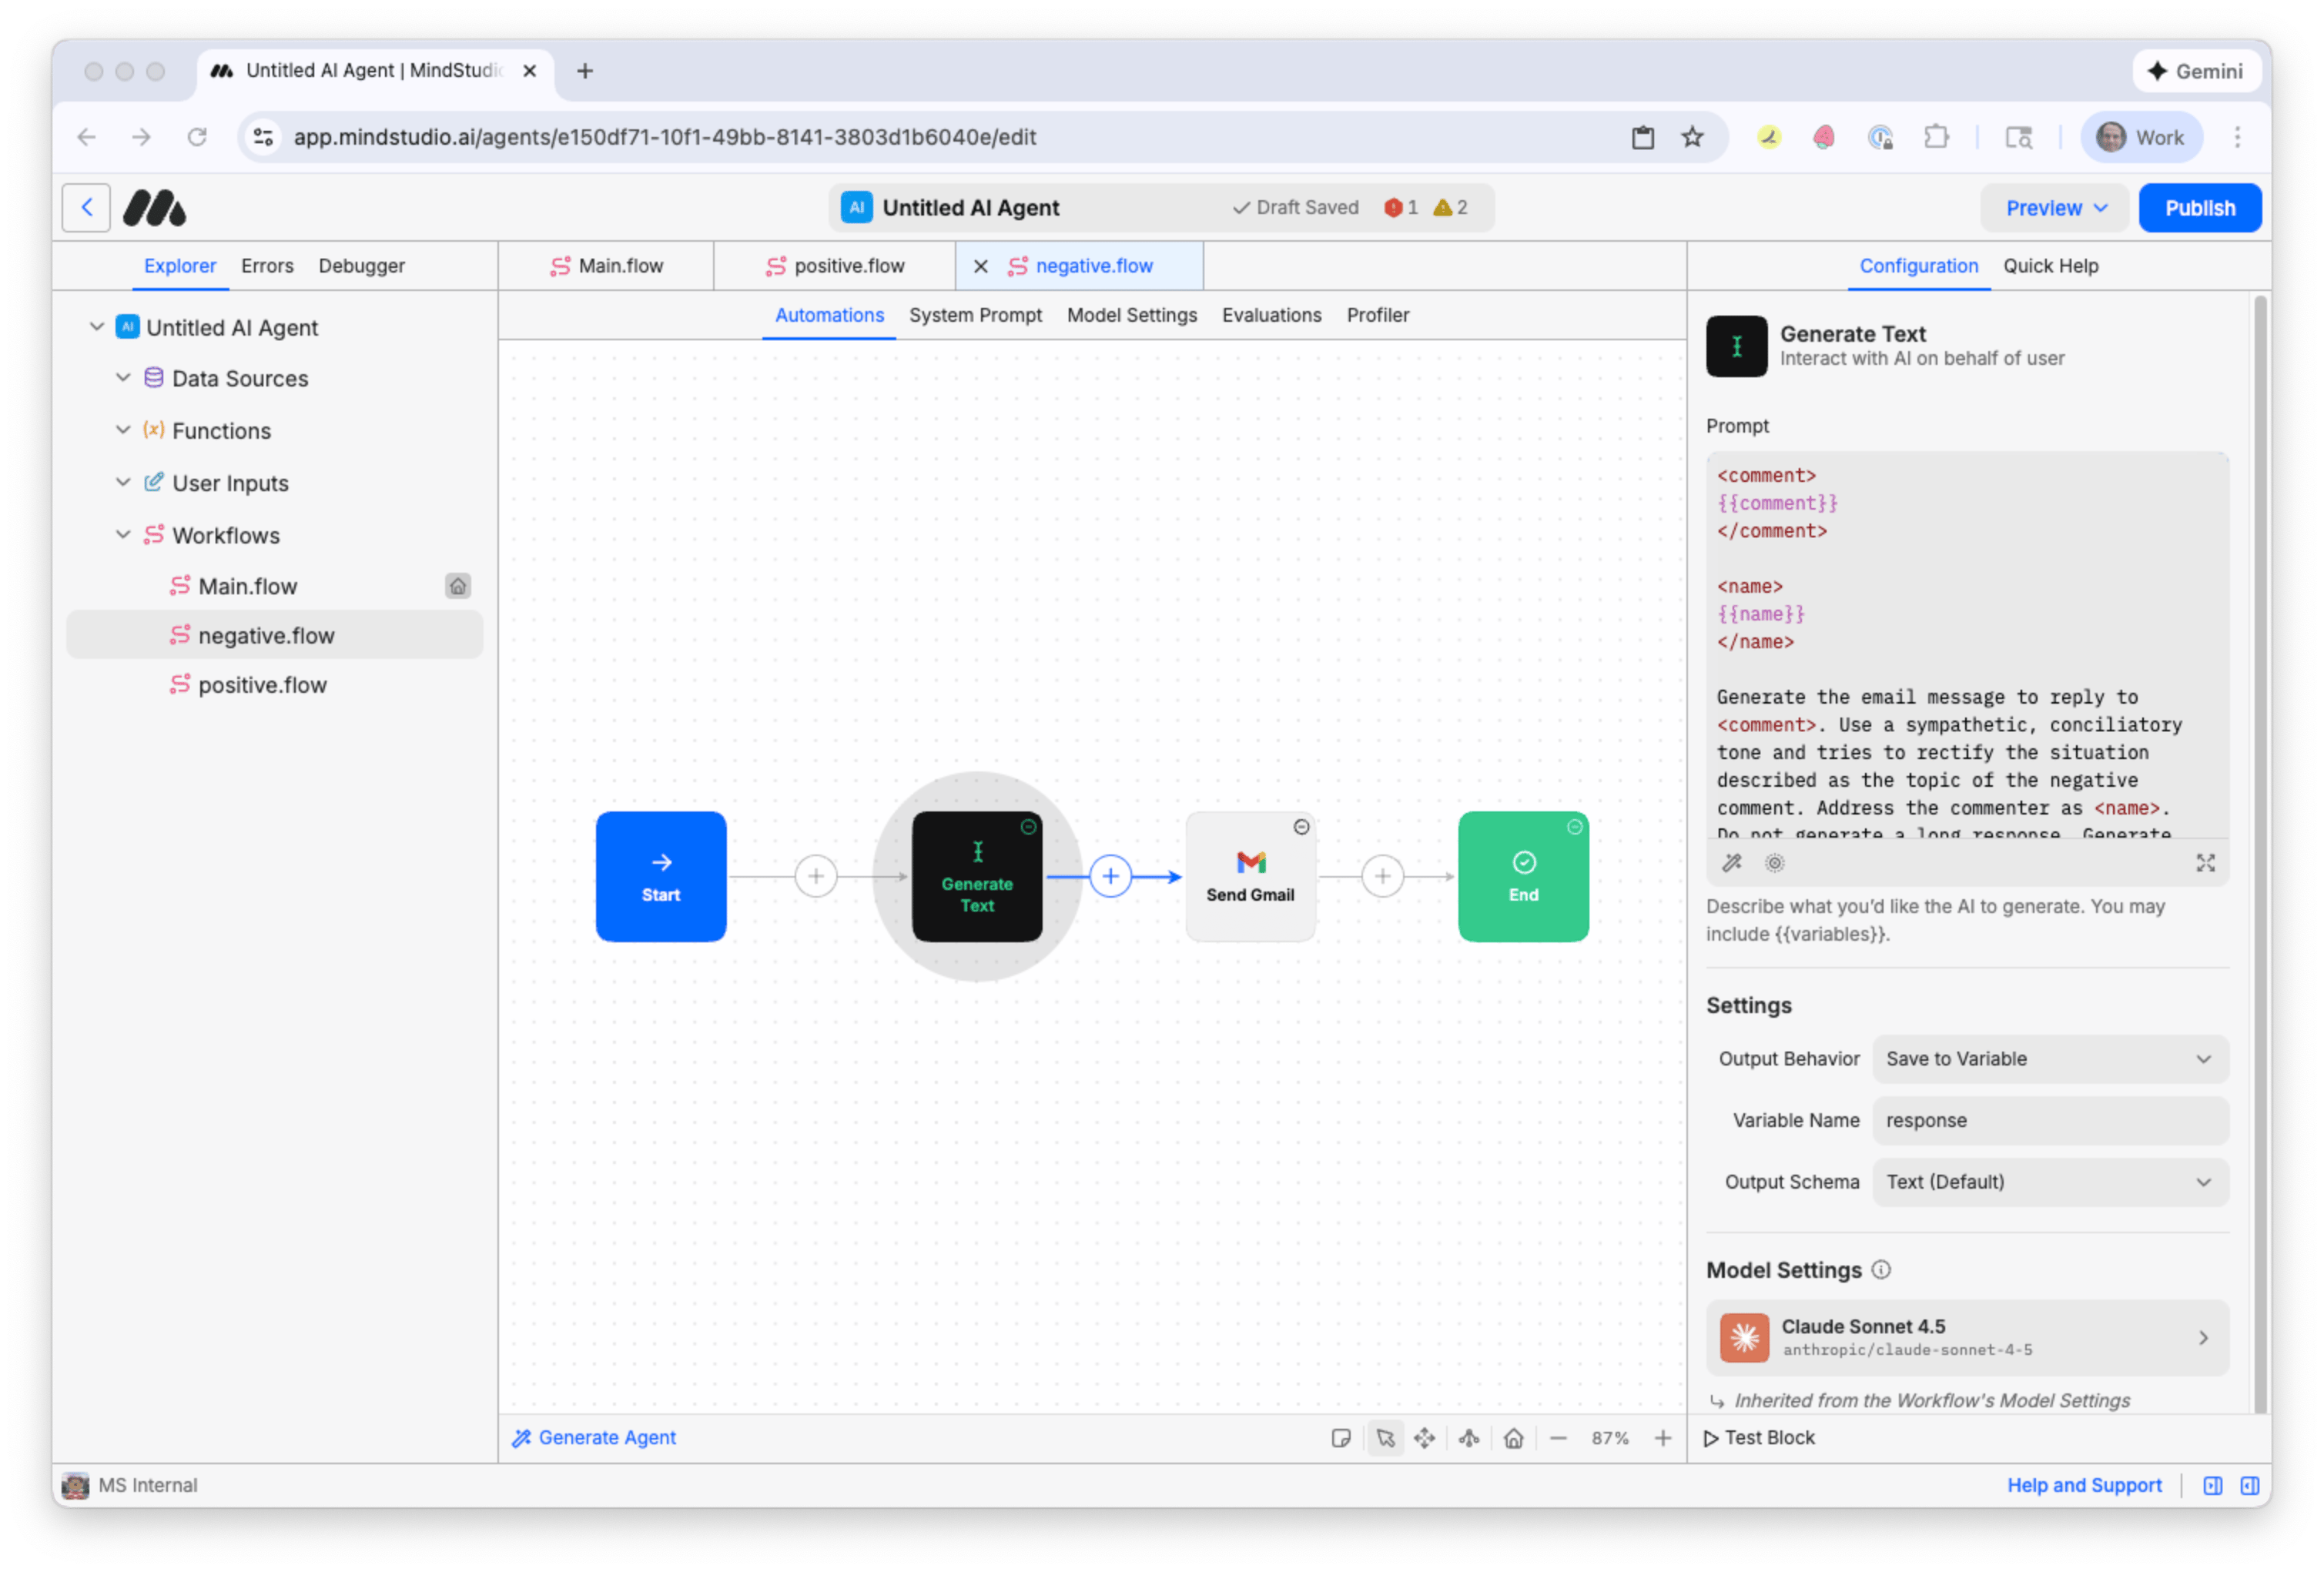
- Select the “Generate Text” block, and then revise the prompt:
Generate the email message to reply to
-
Select the “Send Gmail” block.
-
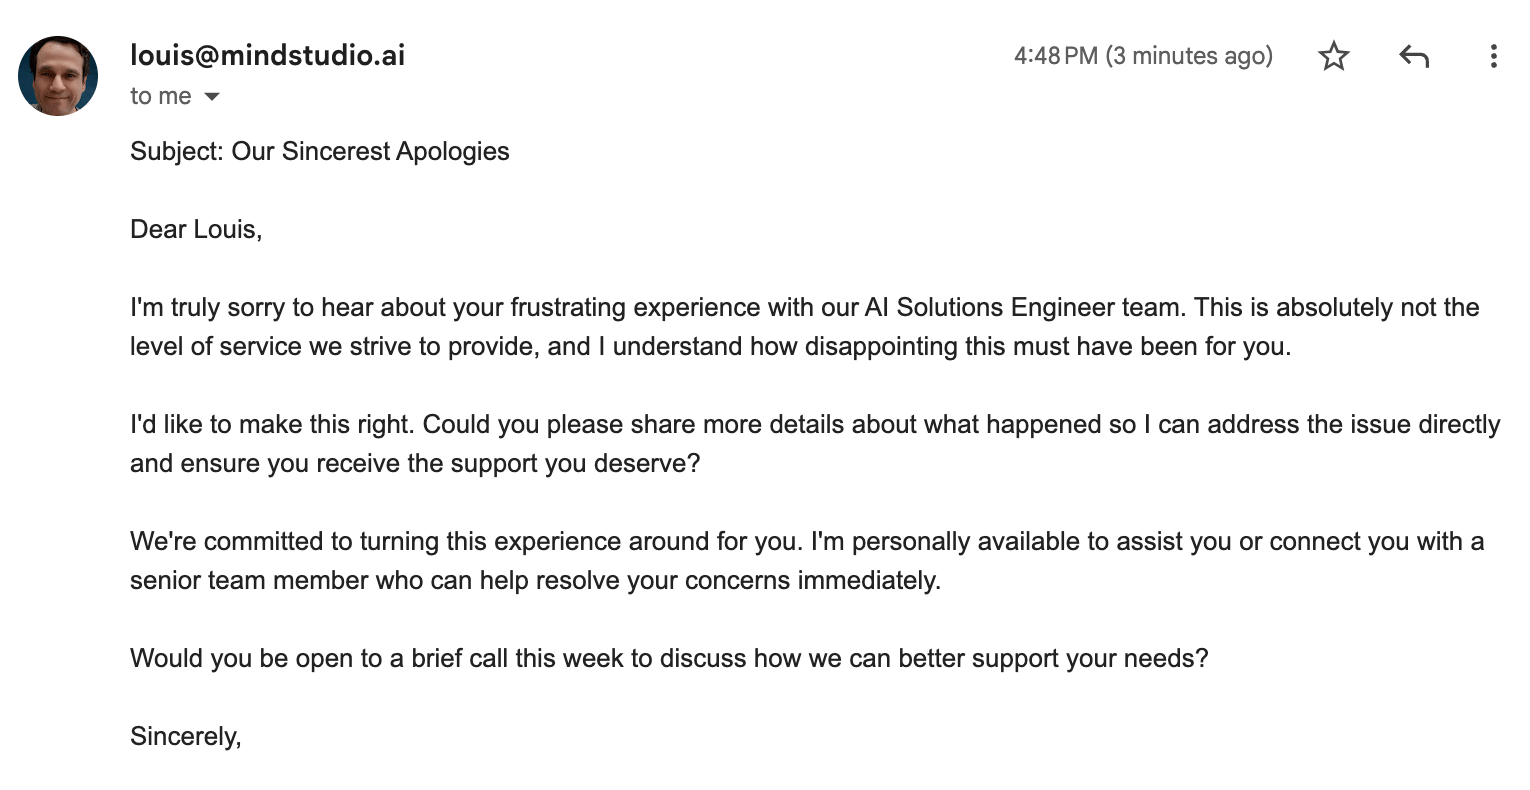
In the “Subject” setting, revise the email subject that indicates reconciliation for the user’s negative comment. For example, “I’m sorry for your negative experience. Thank you for reaching out.”
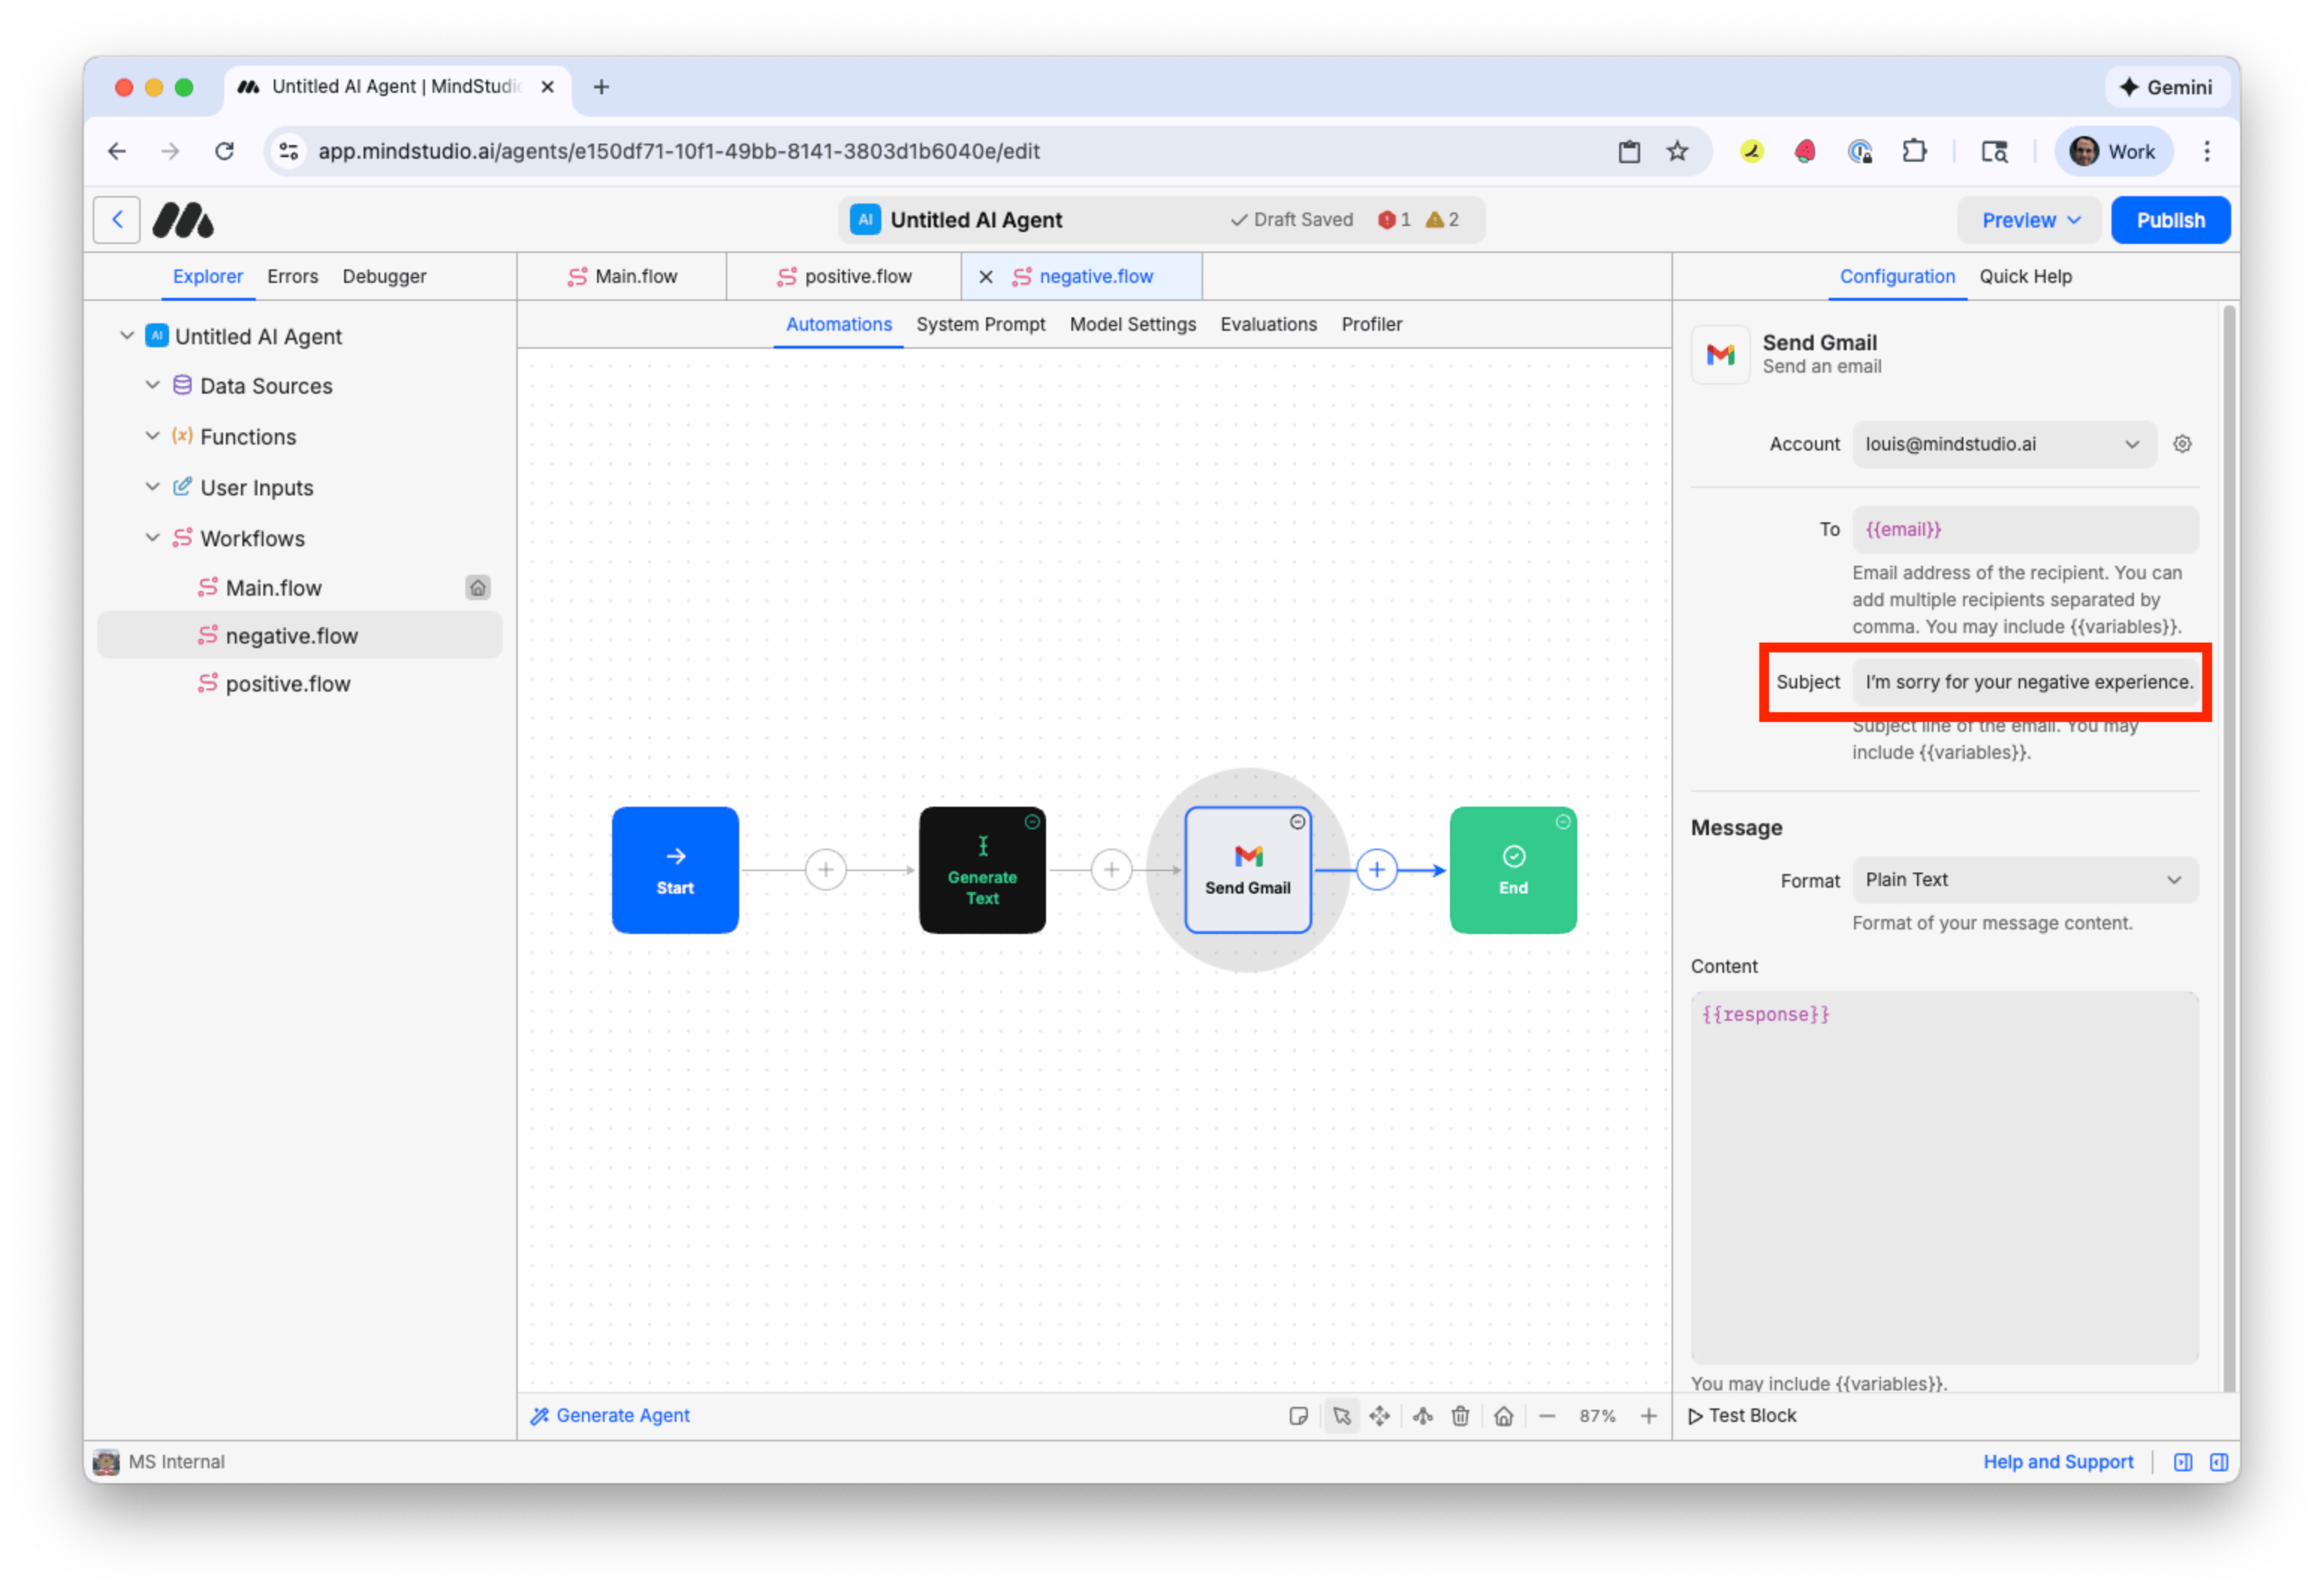
The workflow to process negative comments is ready.
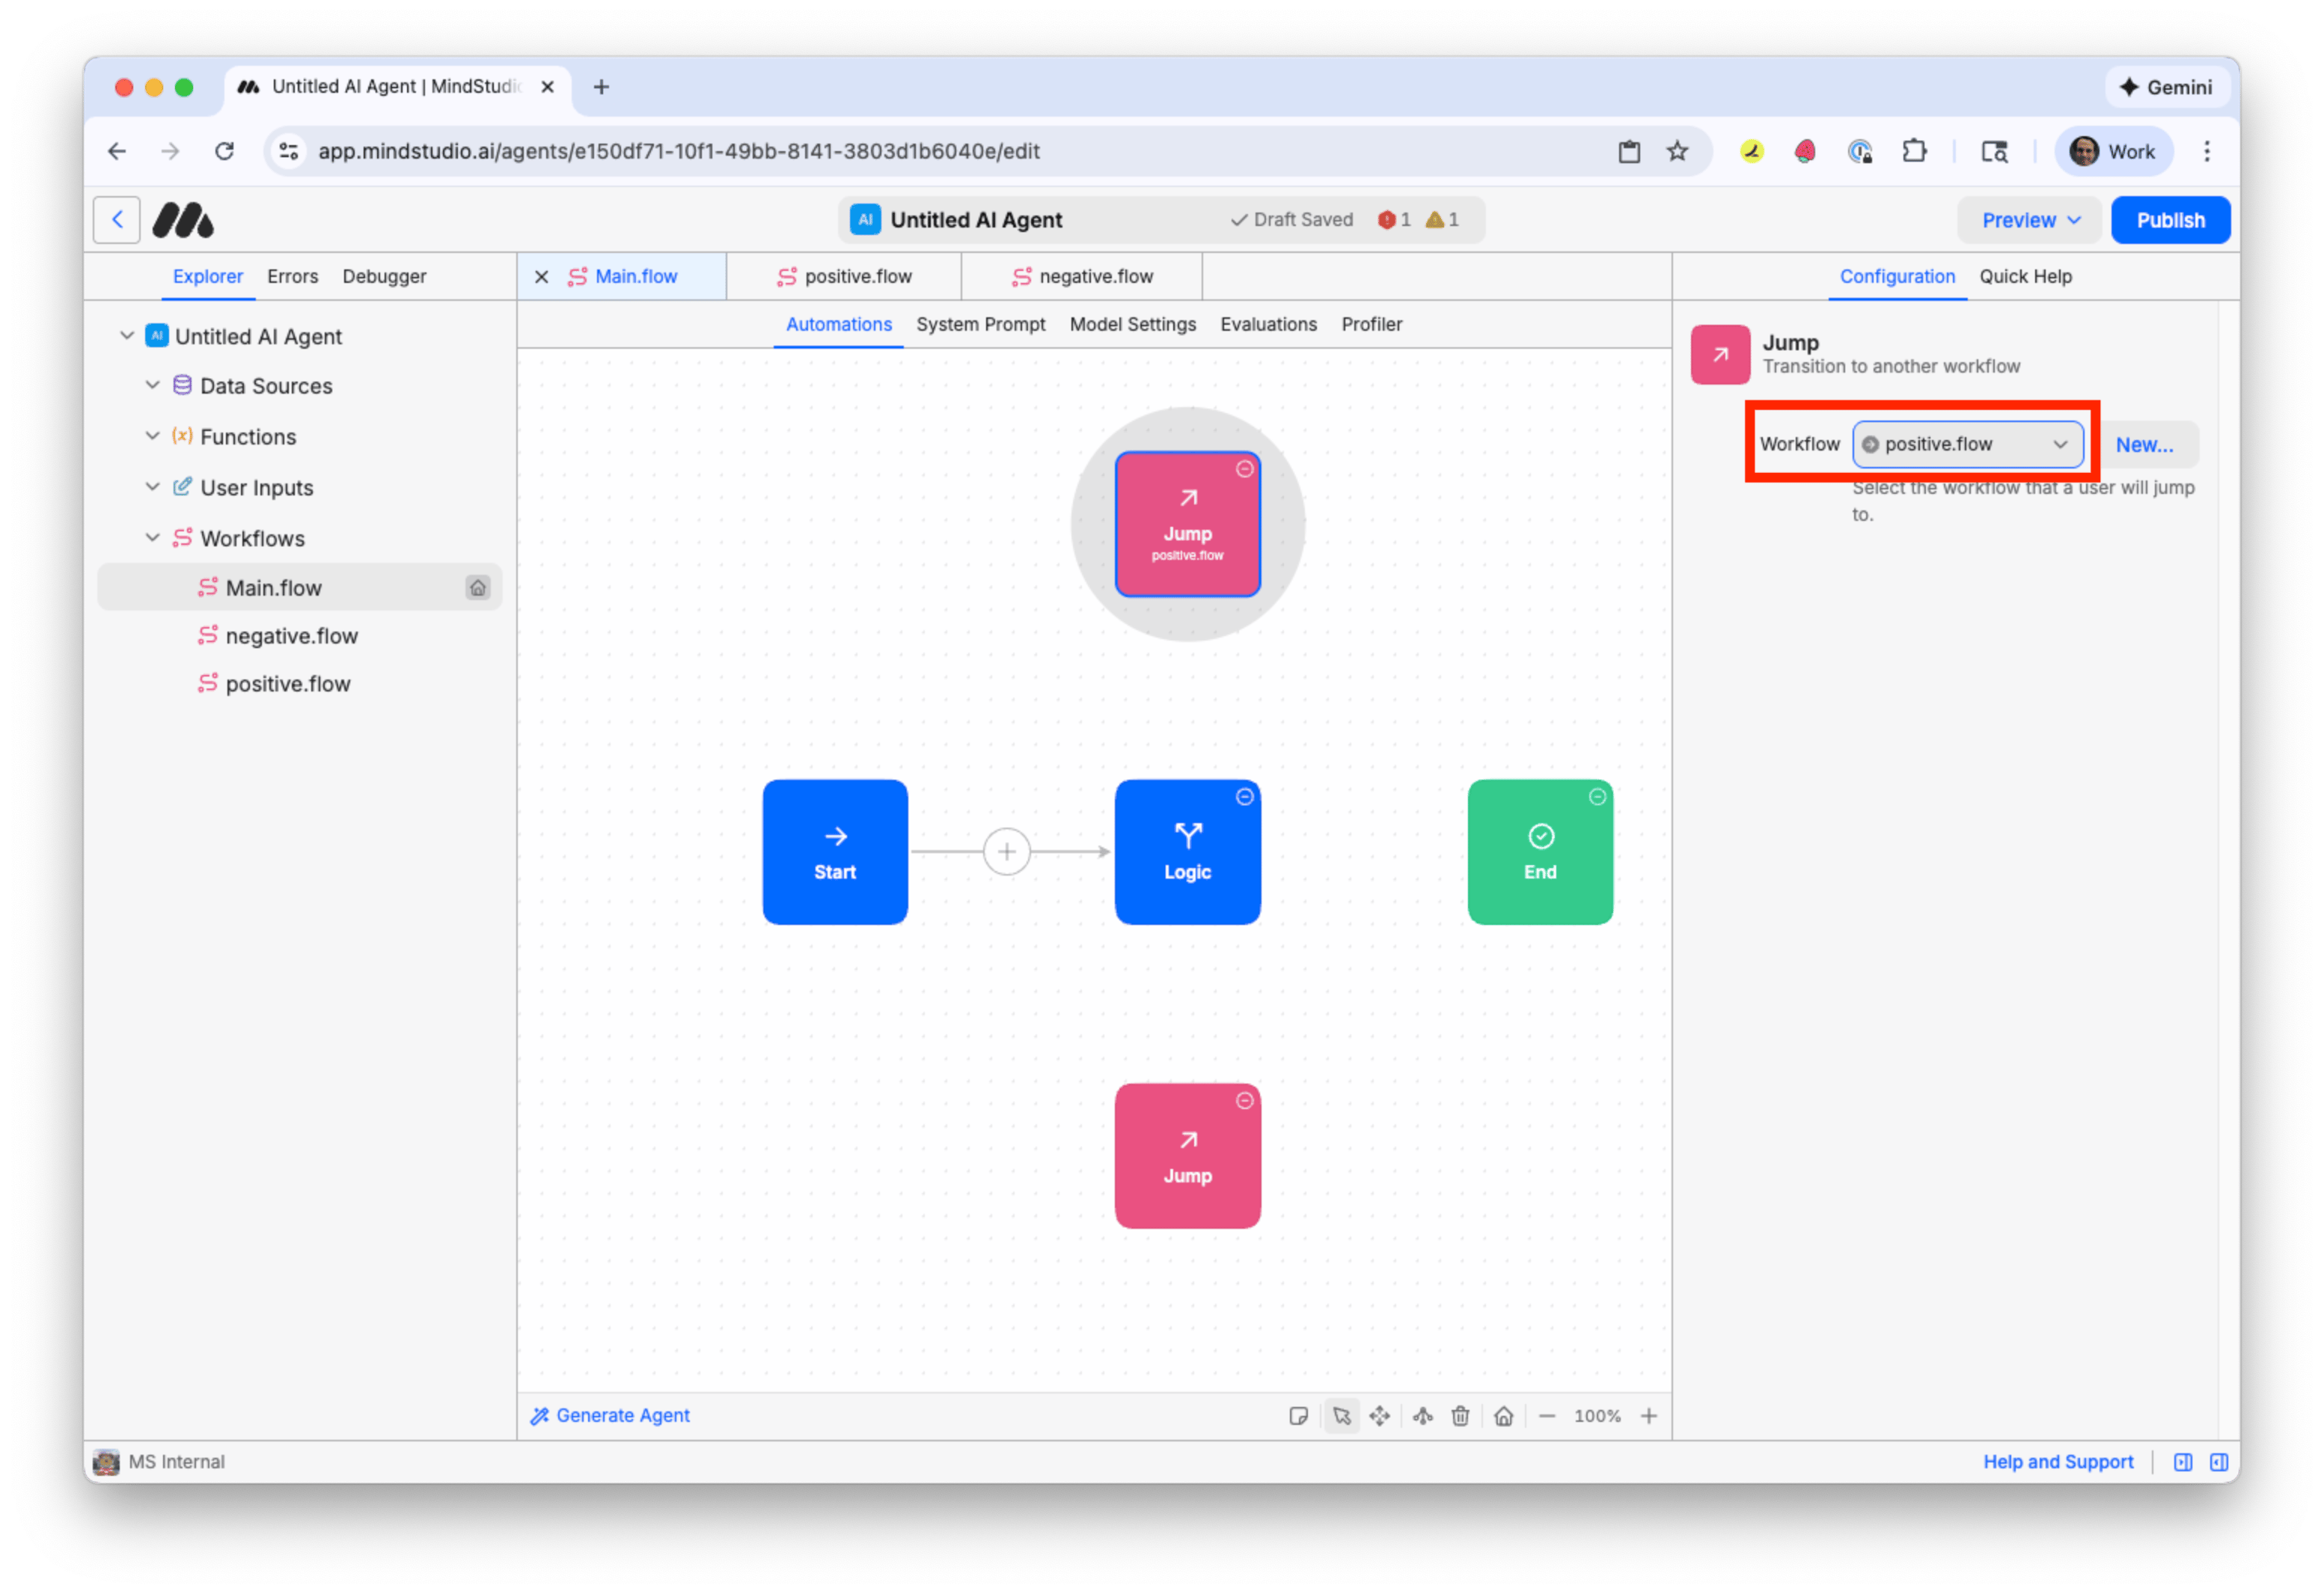
CONFIGURE THE “JUMP” BLOCKS FROM “MAIN.FLOW”
Now that each workflow is built, let’s connect to them from the “Jump” blocks in “Main.flow”. Follow these steps:
- Click “Main.flow” from the “Explorer” panel.
-
Click the topmost “Jump” block. Let’s connect this to the “positive.flow” workflow that processes positive comments.
-
Click “Workflow”, and then select “positive”.
Seven tools to build an app. Or just Remy.
Editor, preview, AI agents, deploy — all in one tab. Nothing to install.
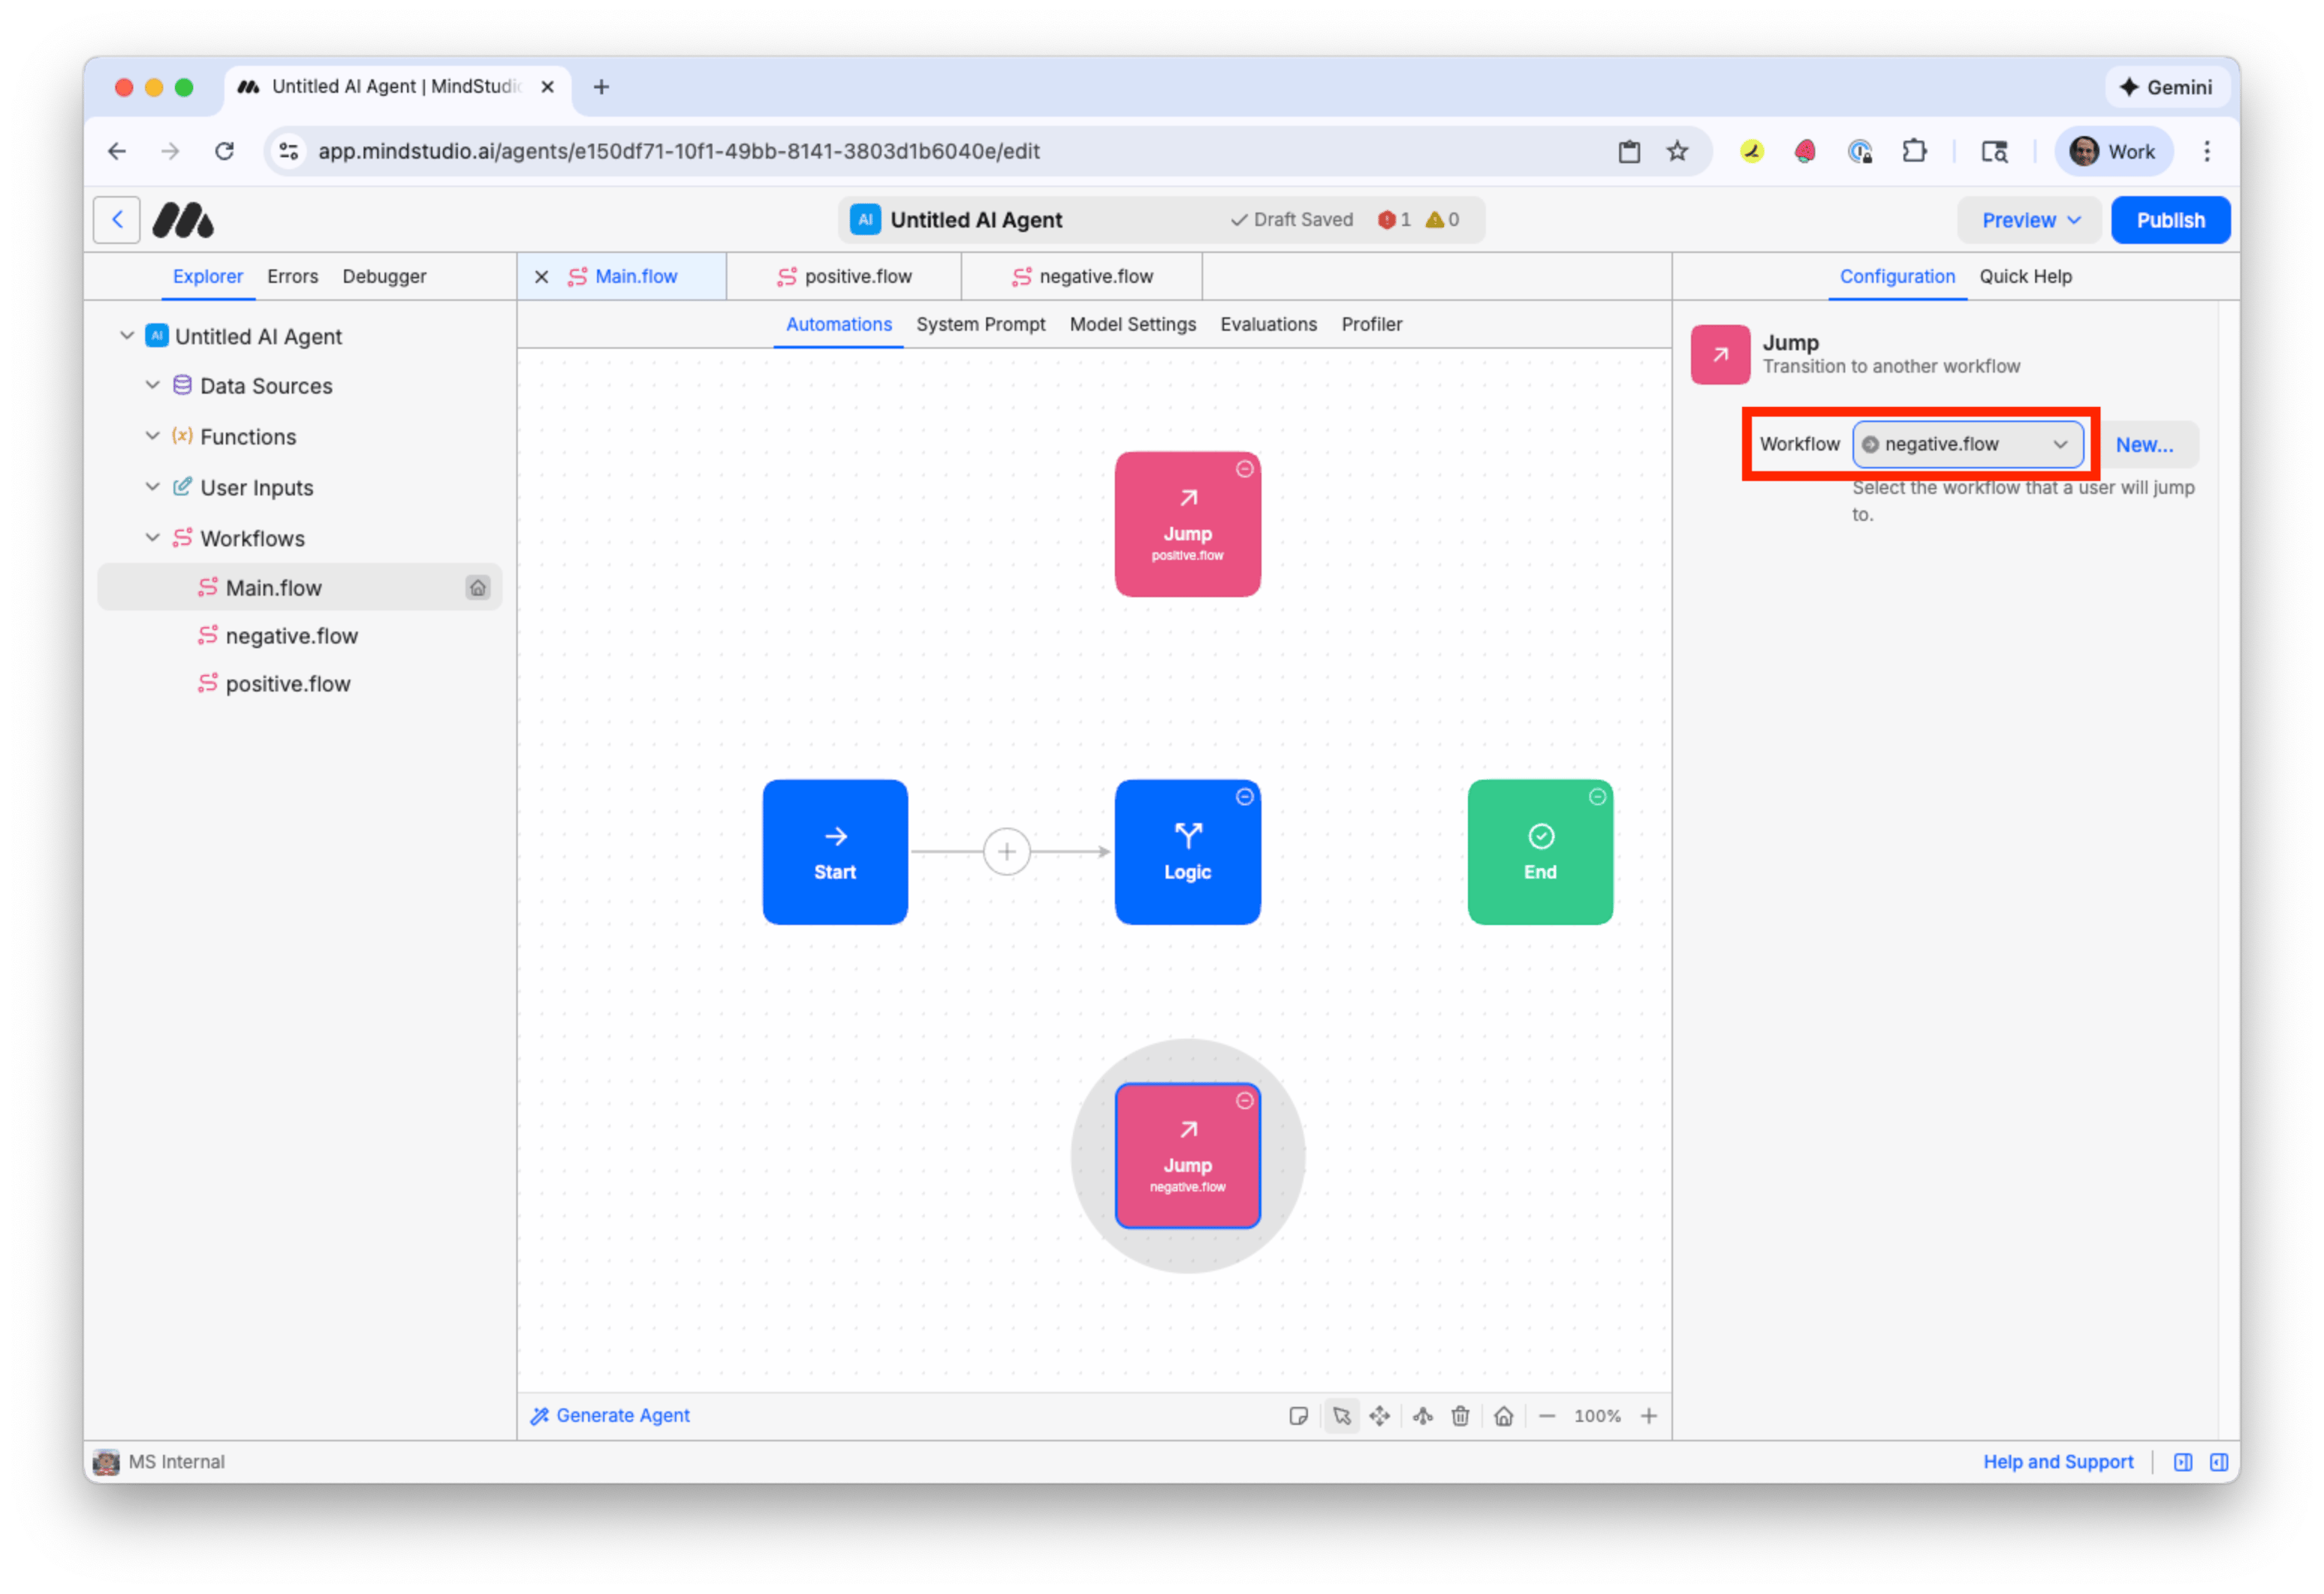
- Click the bottommost “Jump” block. Connect this to the “negative.flow” workflow that processes negative comments.
- Click the “Logic” block. In “Condition #1”, click the “Select Destination” link.

- Click the topmost “Jump” block, which jumps to the workflow that processes positive comments. This means that when the “Logic” block evaluates that the comment has a positive sentiment, then it transitions to the topmost “Jump” block. That “Jump” block then transitions to the “positive.flow” workflow.
- In “Condition #2”, click the “Select Destination” link.
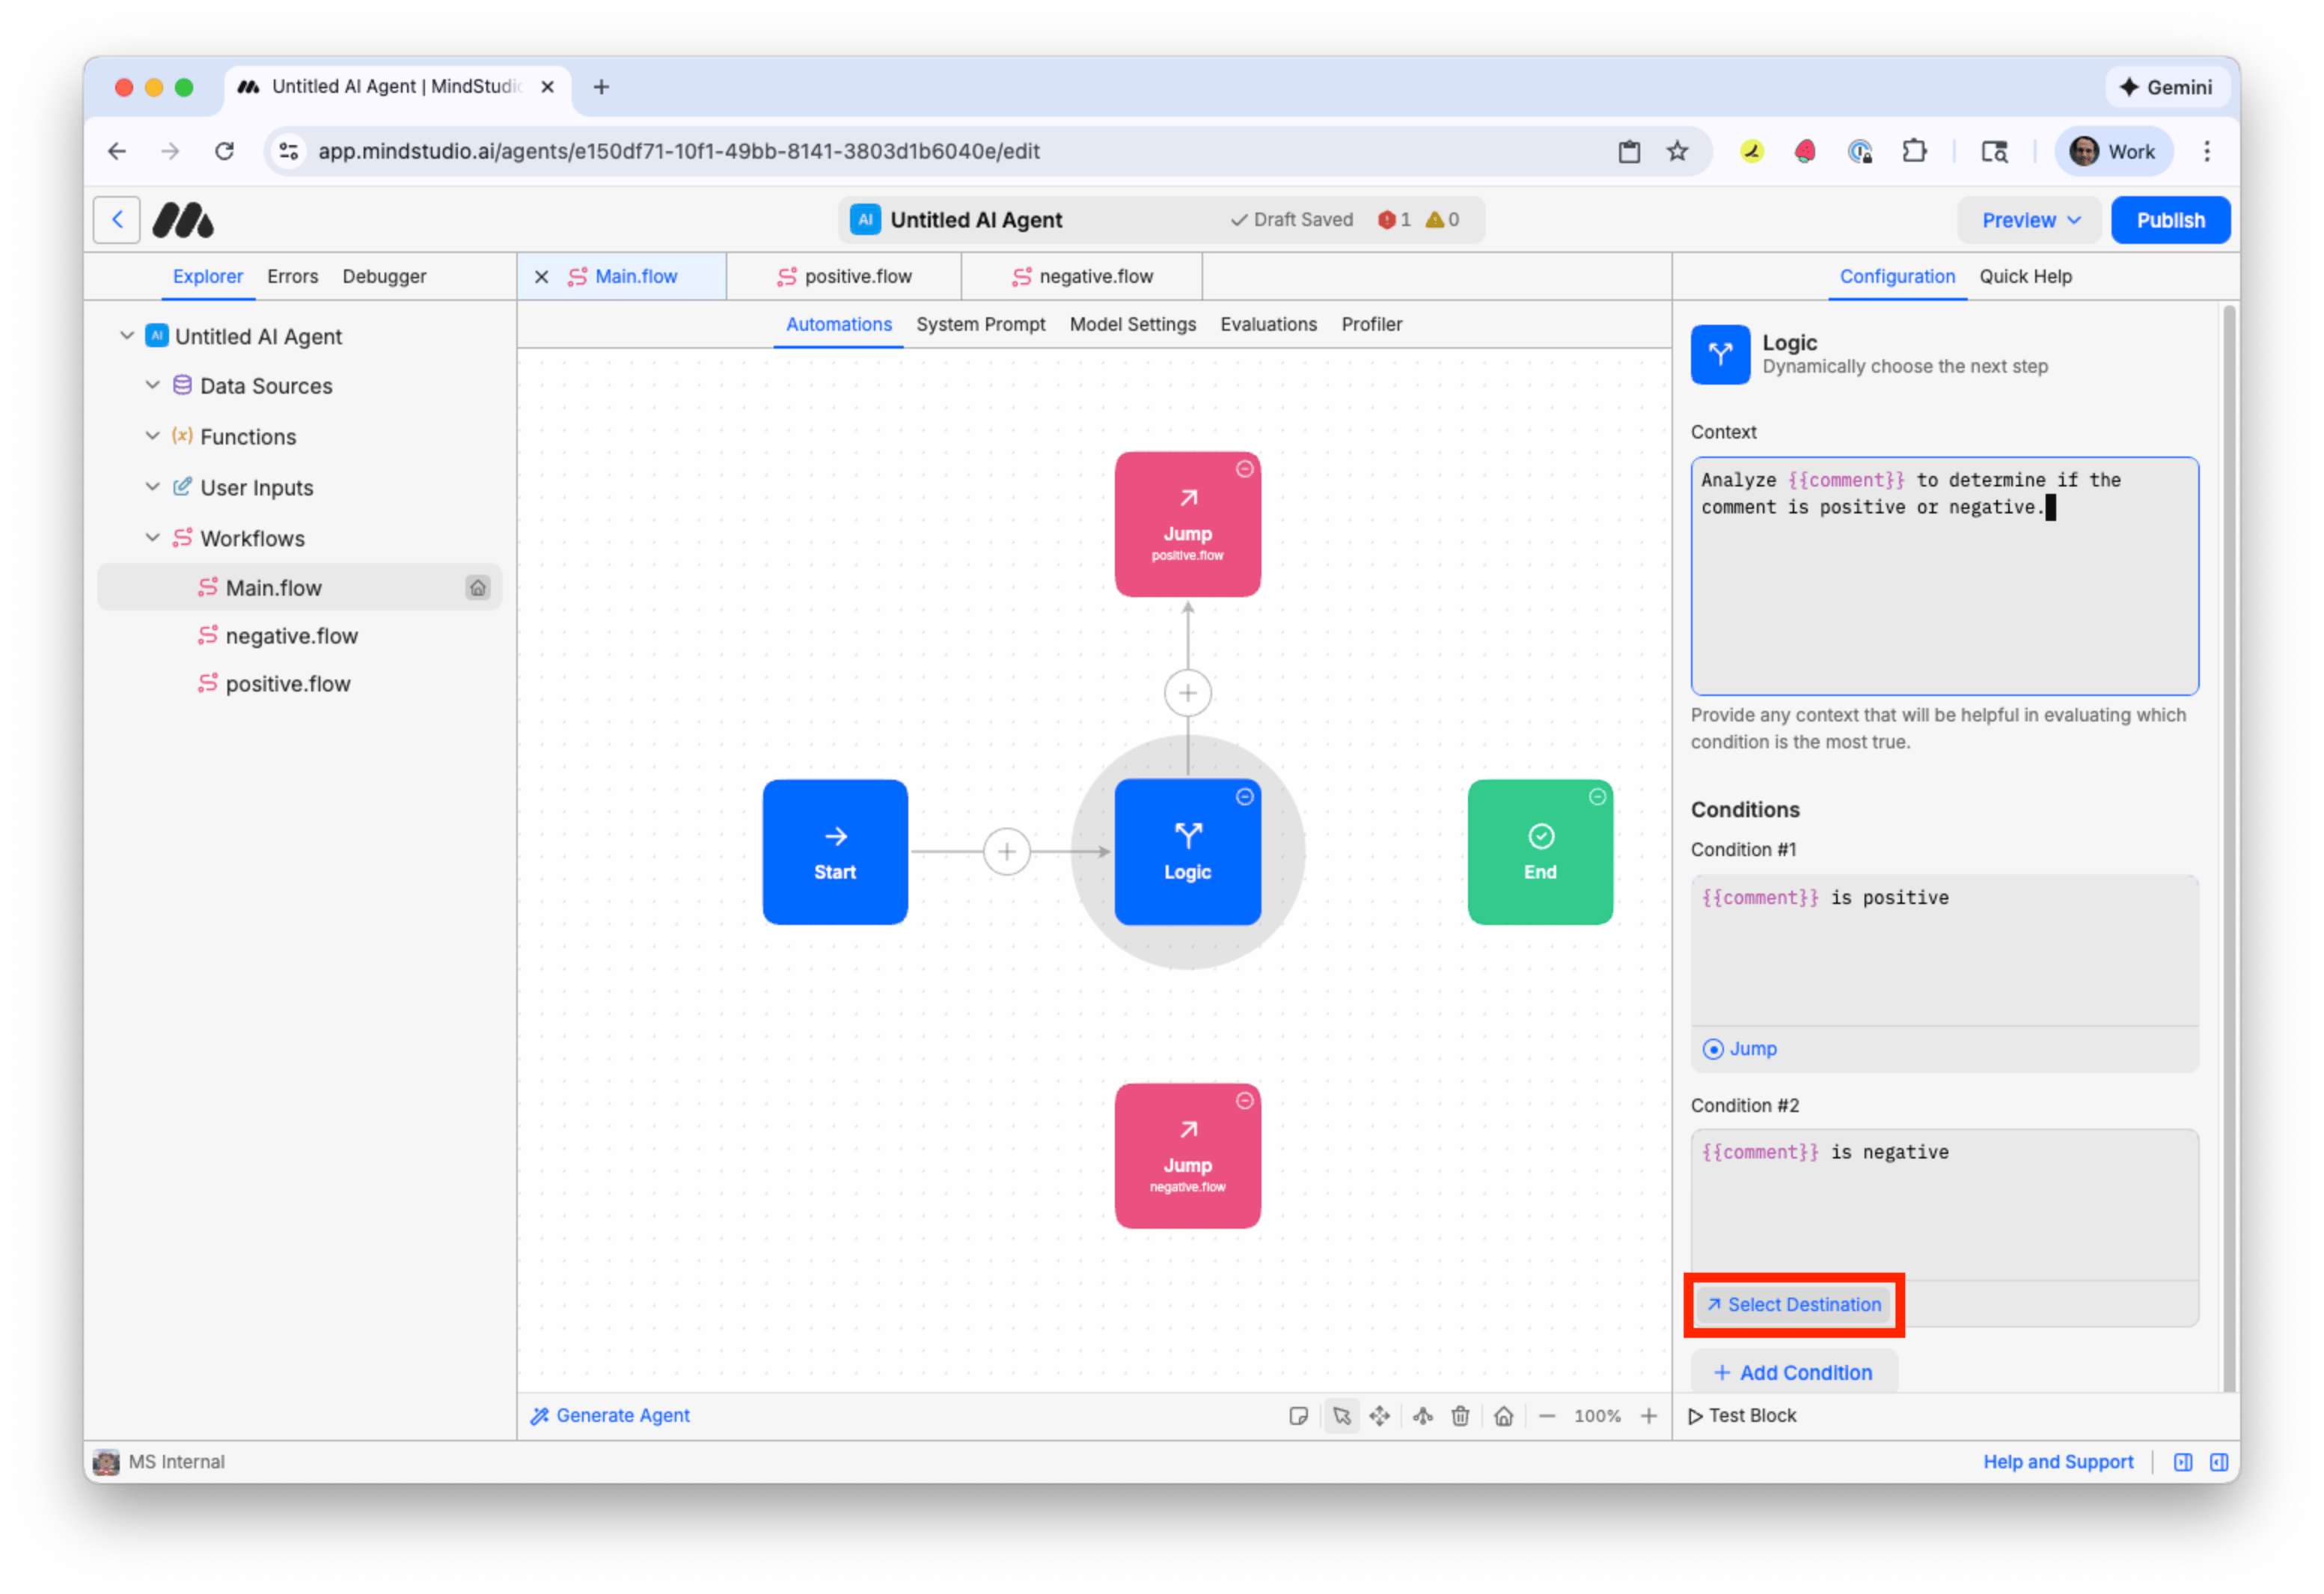
- Click the bottommost “Jump” block, which jumps to the workflow that processes negative comments. This means that when the “Logic” block evaluates that the comment has a negative sentiment, then it transitions to the bottommost “Jump” block. That “Jump” block then transitions to the “negative.flow” workflow.

You can design MindStudio AI agents to process as many conditions as you need. For example, you can add a condition if the comment was neutral. For this use case, we’ll build a MindStudio AI agent that processes only positive or negative user comments.
PUBLISH THE MINDSTUDIO AI AGENT
The MindStudio AI agent is built. Let’s name the AI agent and publish it. Publishing the agents makes it visible to Zapier, which will send the data from the Google Form submission to the MindStudio AI agent.
Follow these steps:
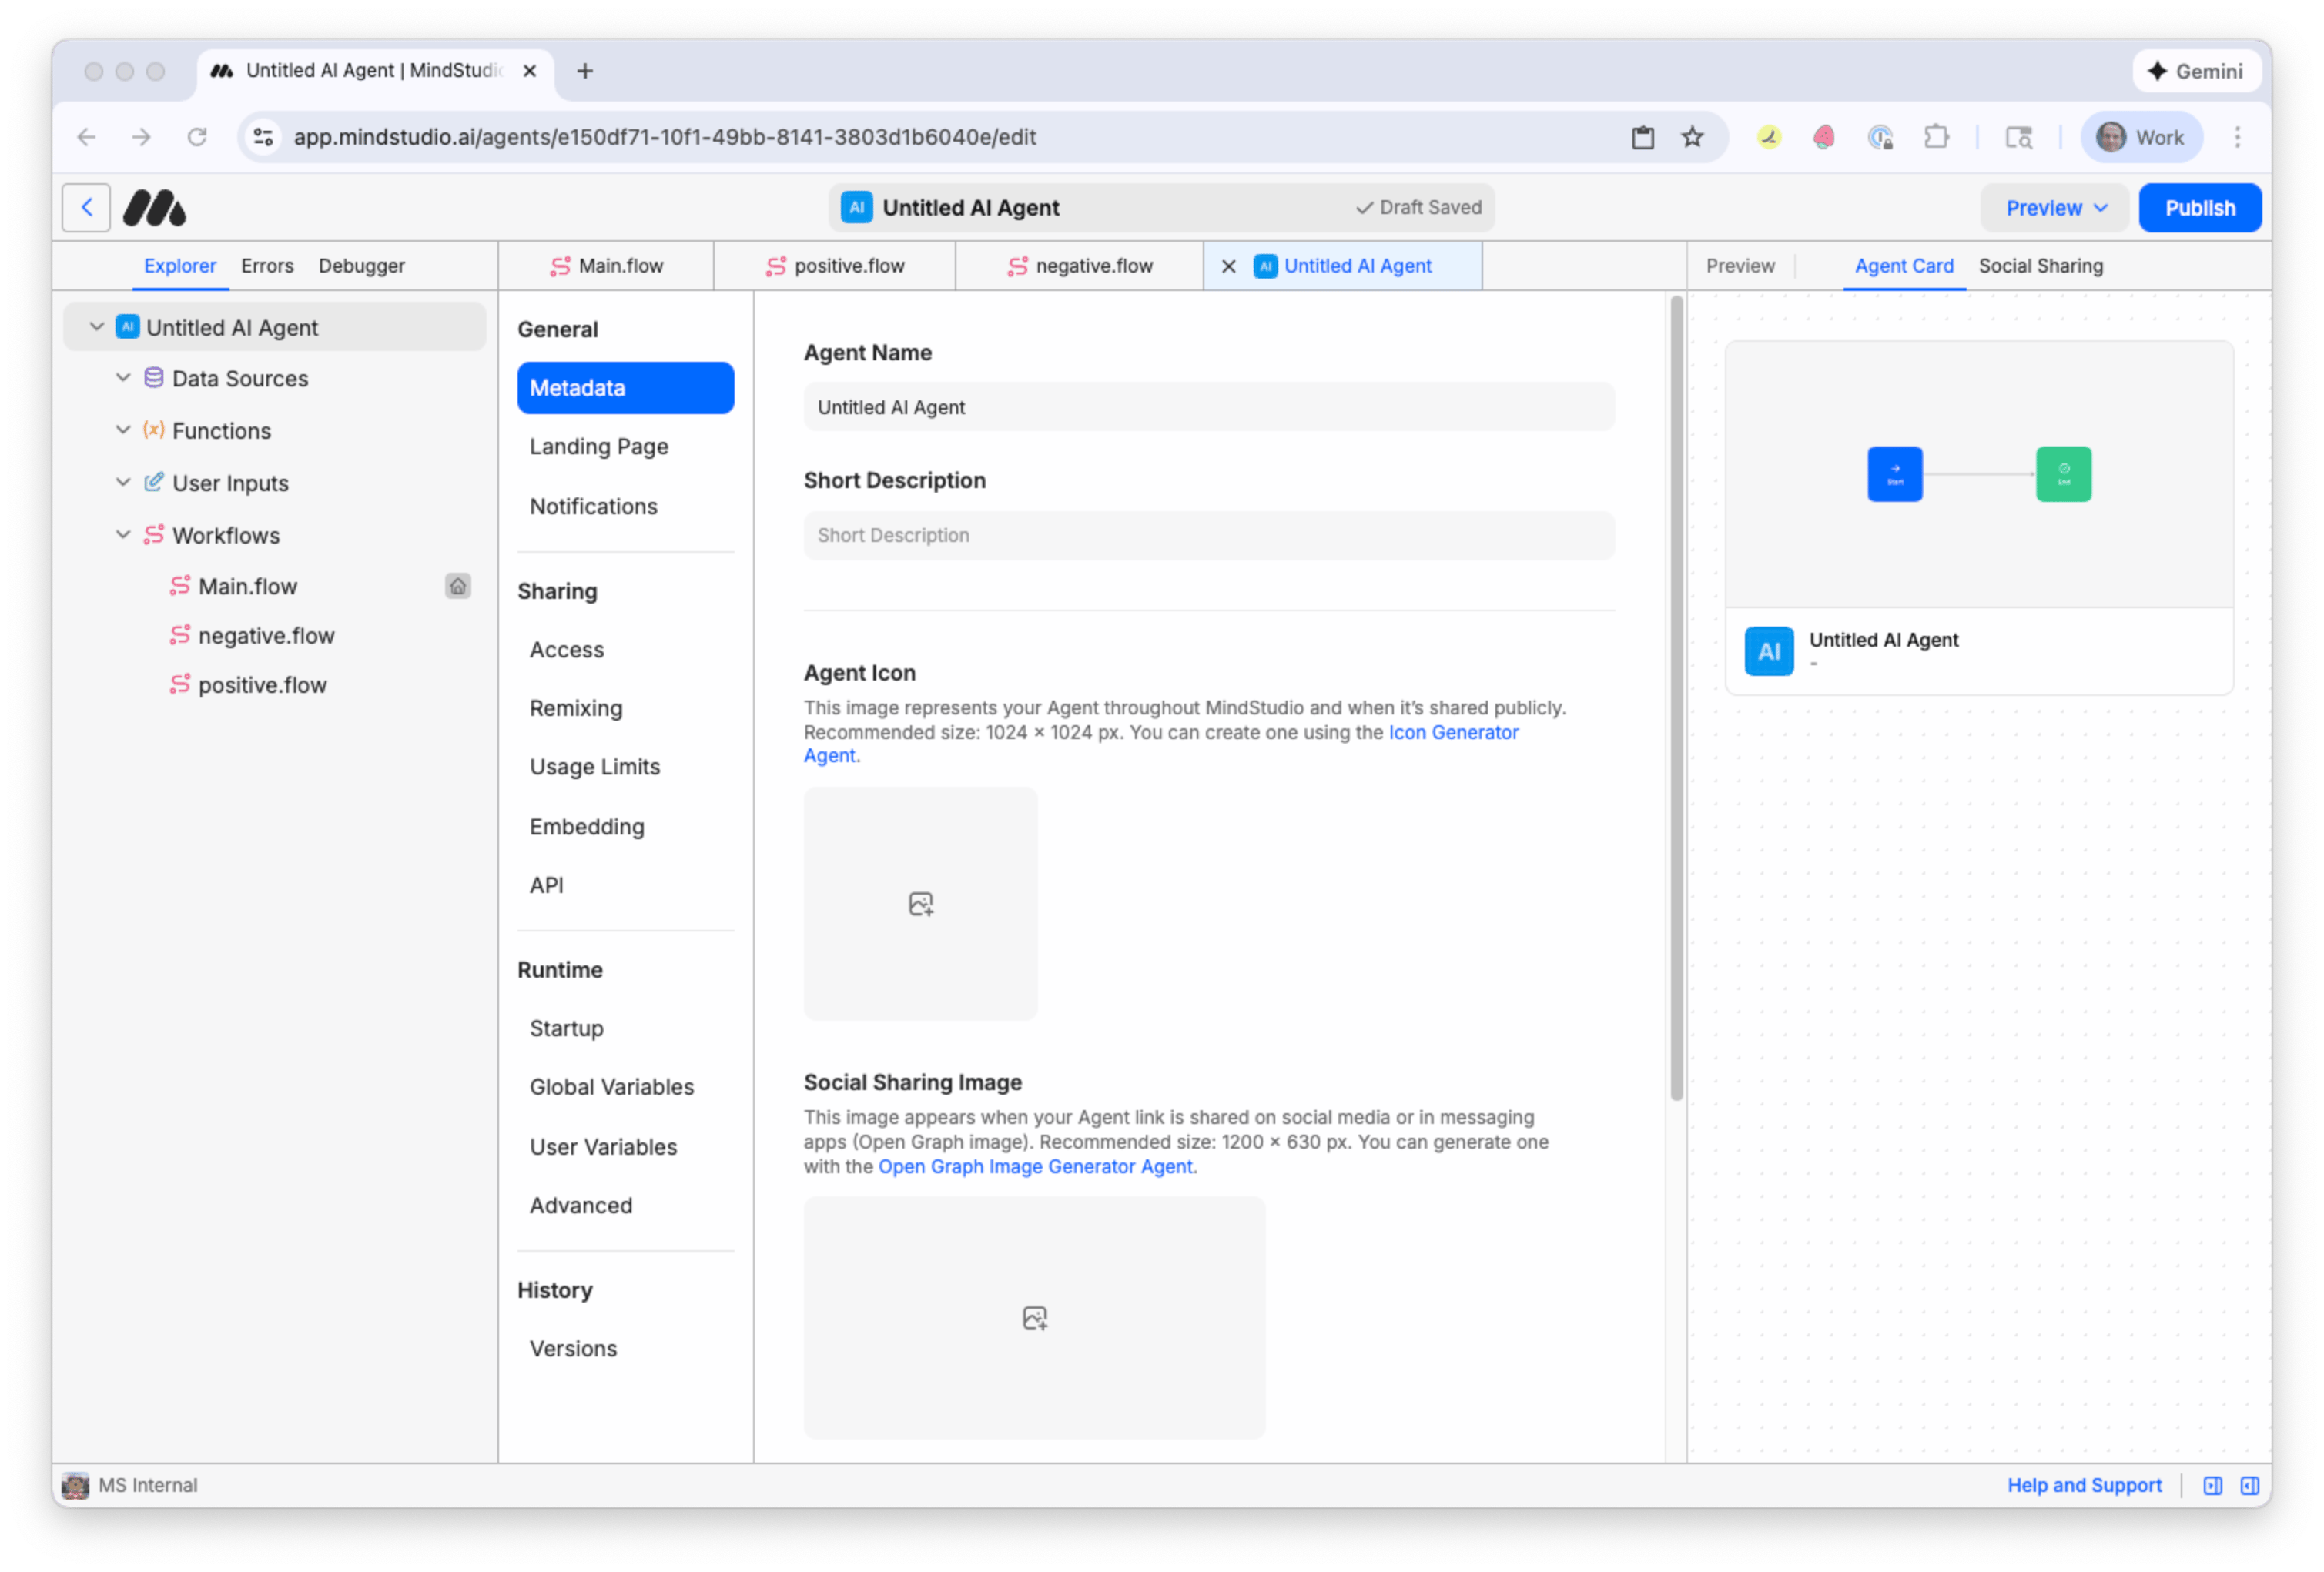
- Click “Untitled AI Agent” above the Automation Canvas.
-
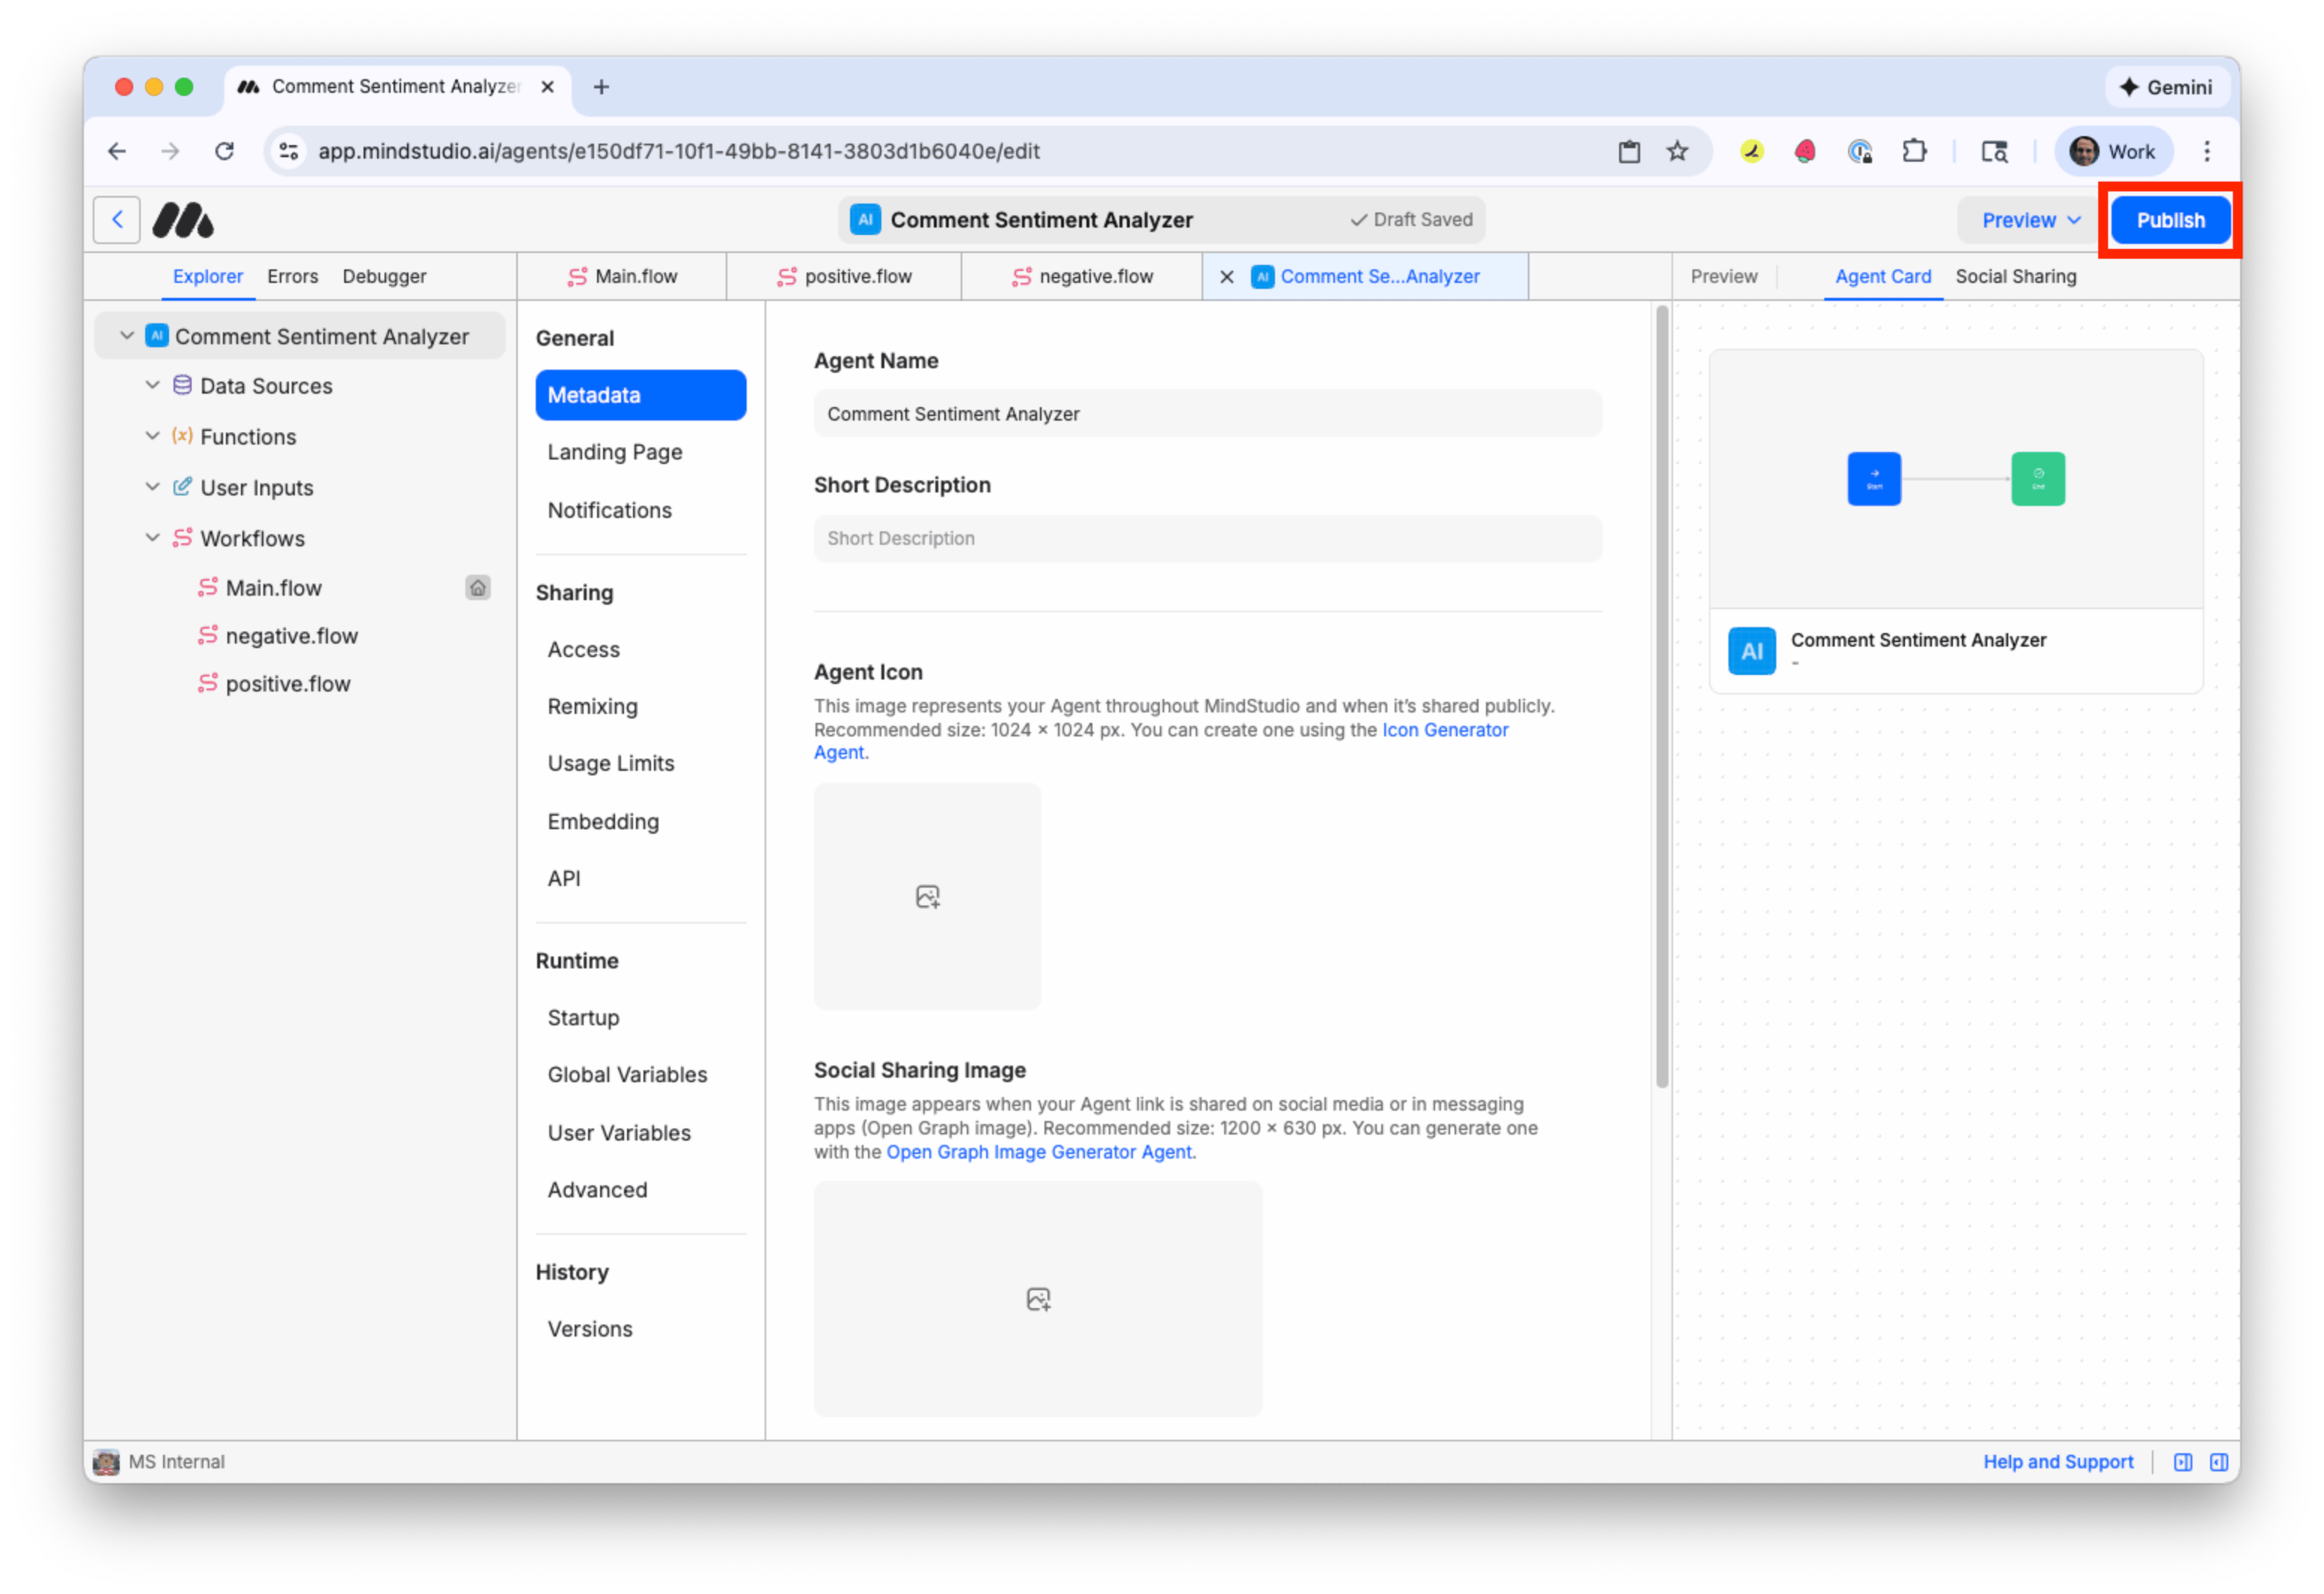
In “Agent Name” add a name for the AI agent. For example: “Comment Sentiment Analyzer”.
-
Press “Publish” to publish your AI agent.
- Scroll down to the bottom of the “Metadata” page to locate the “Agent ID” setting.
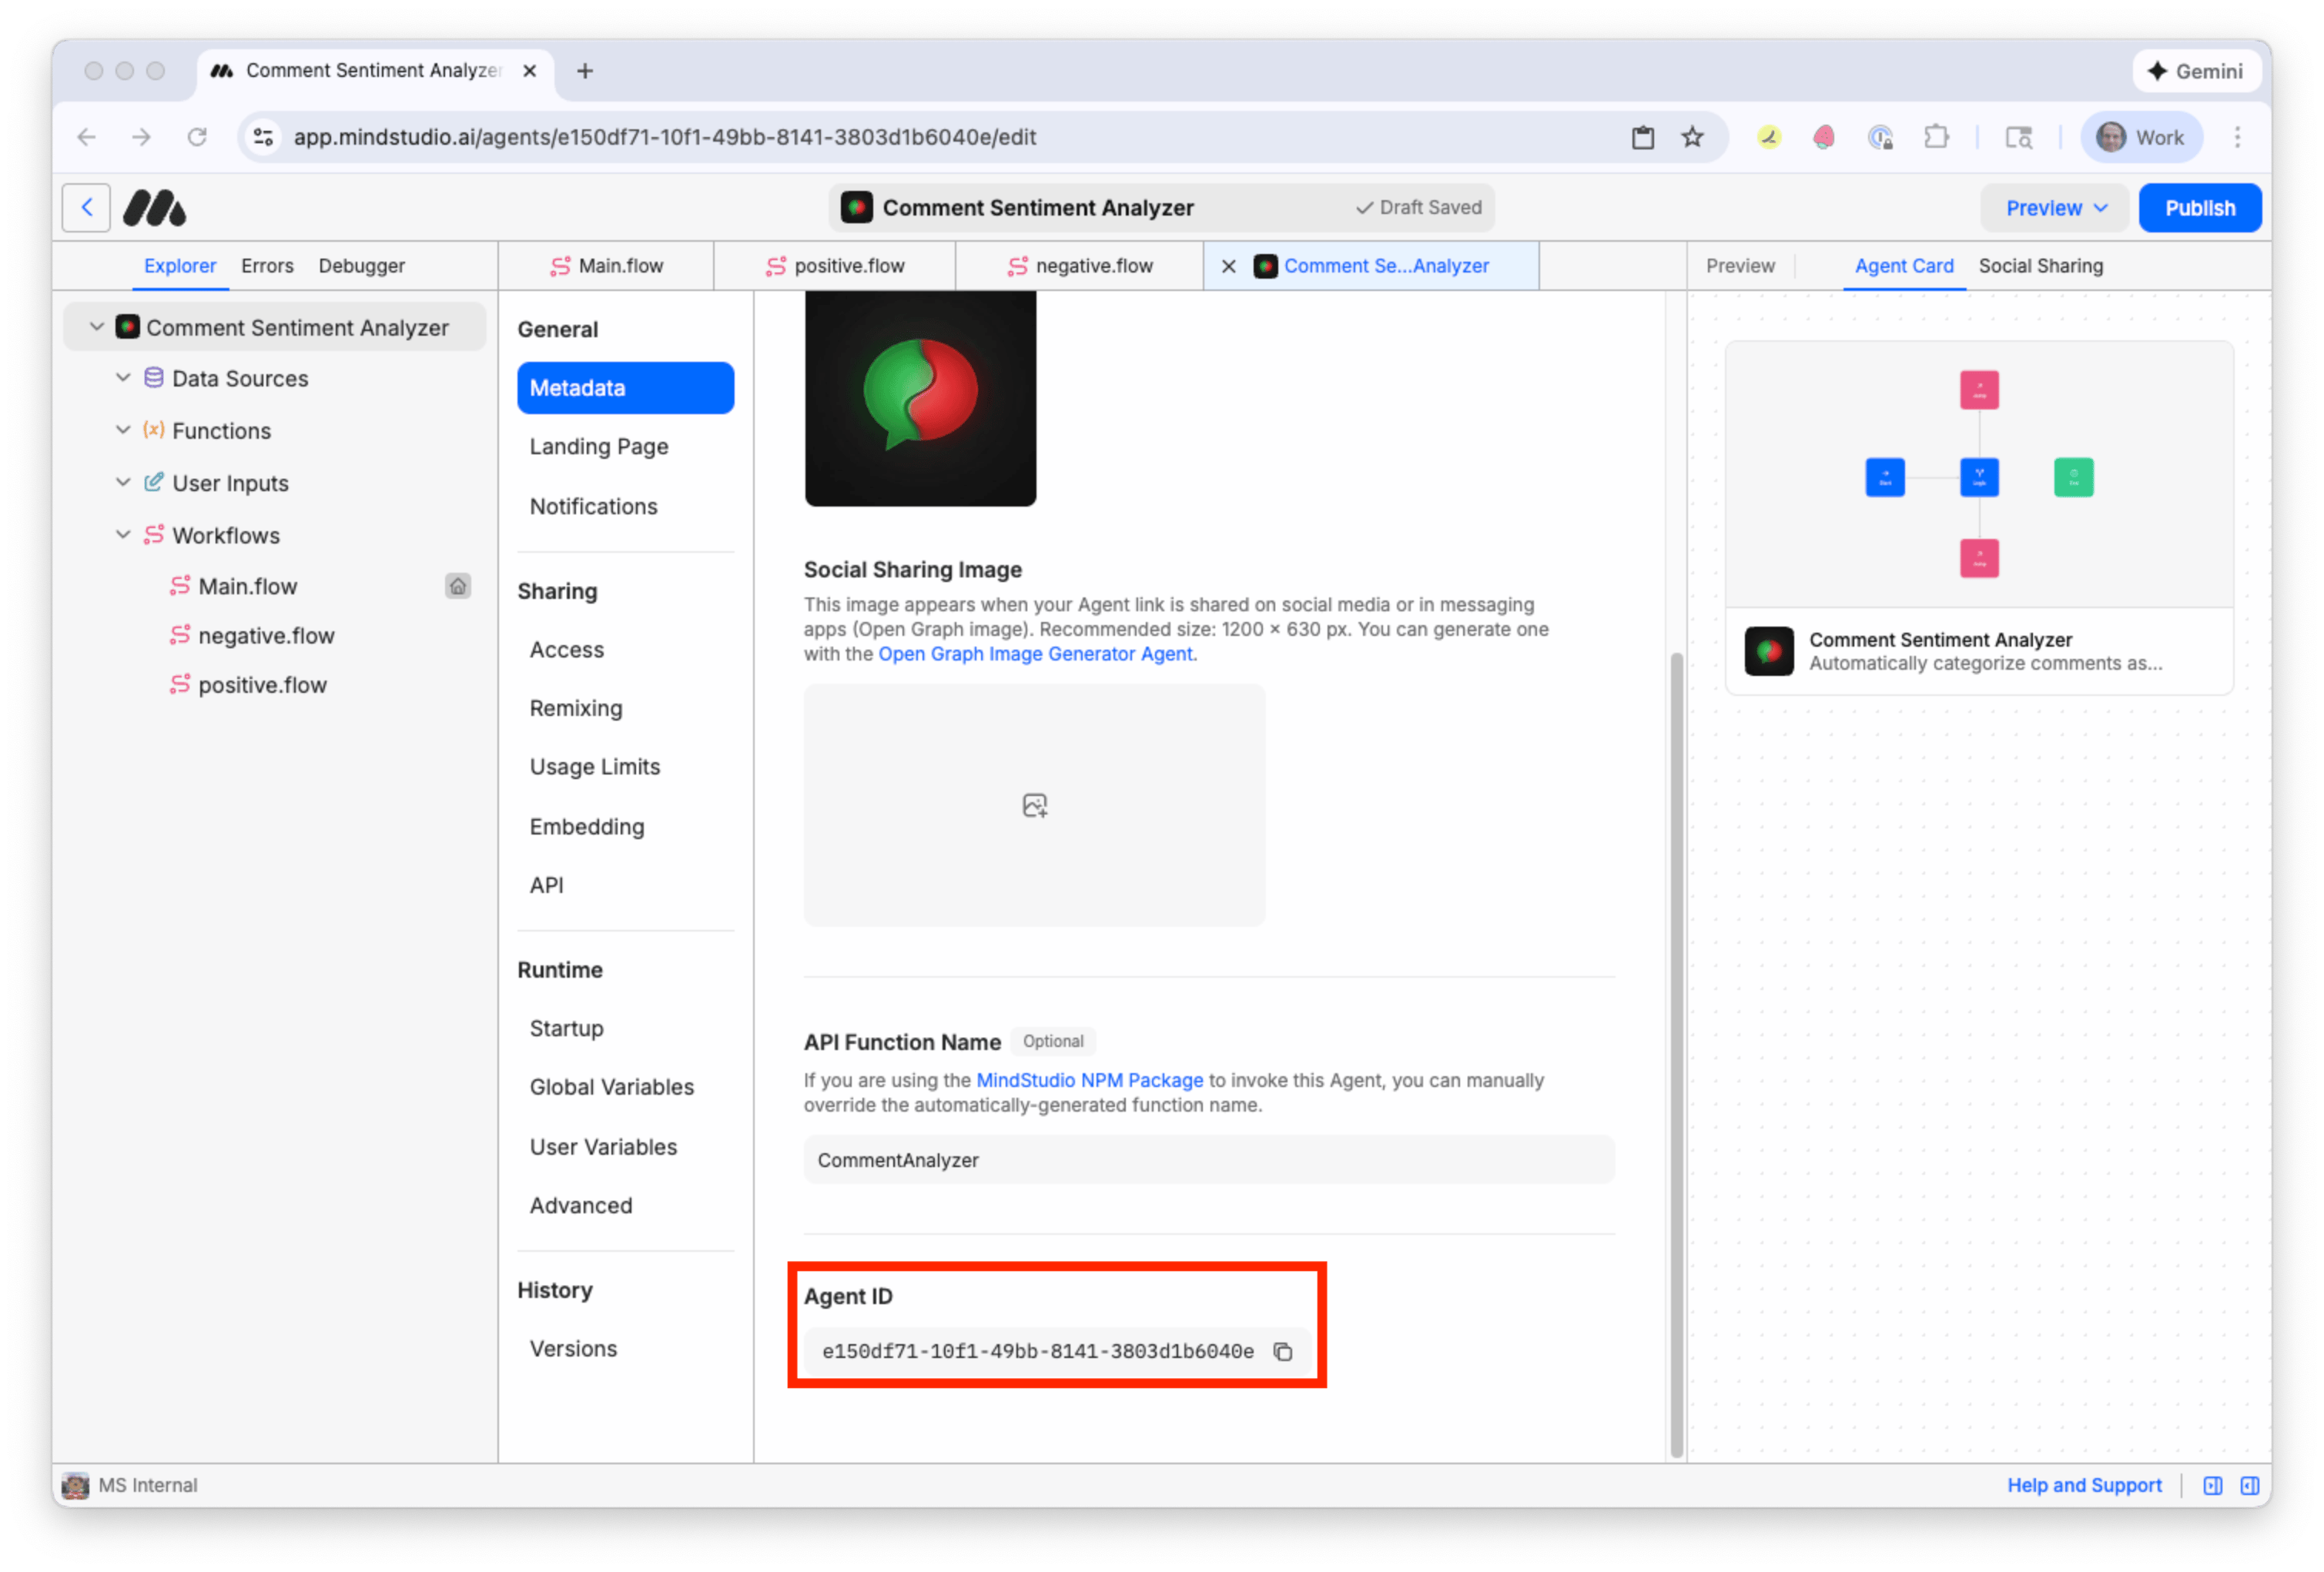
- Copy the Agent ID to your clipboard, then paste it into a temporary text file for use when we configure Zapier. The Agent ID is a unique identifier for your MindStudio AI agent. Note that the Agent ID is not secret and can be shared with other platforms and MindStudio support if necessary.
GENERATE AN API KEY IN MINDSTUDIO FOR THE ZAPIER CONNECTION
Zapier requires a secret API key to connect to your MindStudio workspace. This API key validates your MindStudio workspace, so that we can connect Zapier to the MindStudio AI agent in the next section.
Follow these steps to generate an API key in MindStudio:
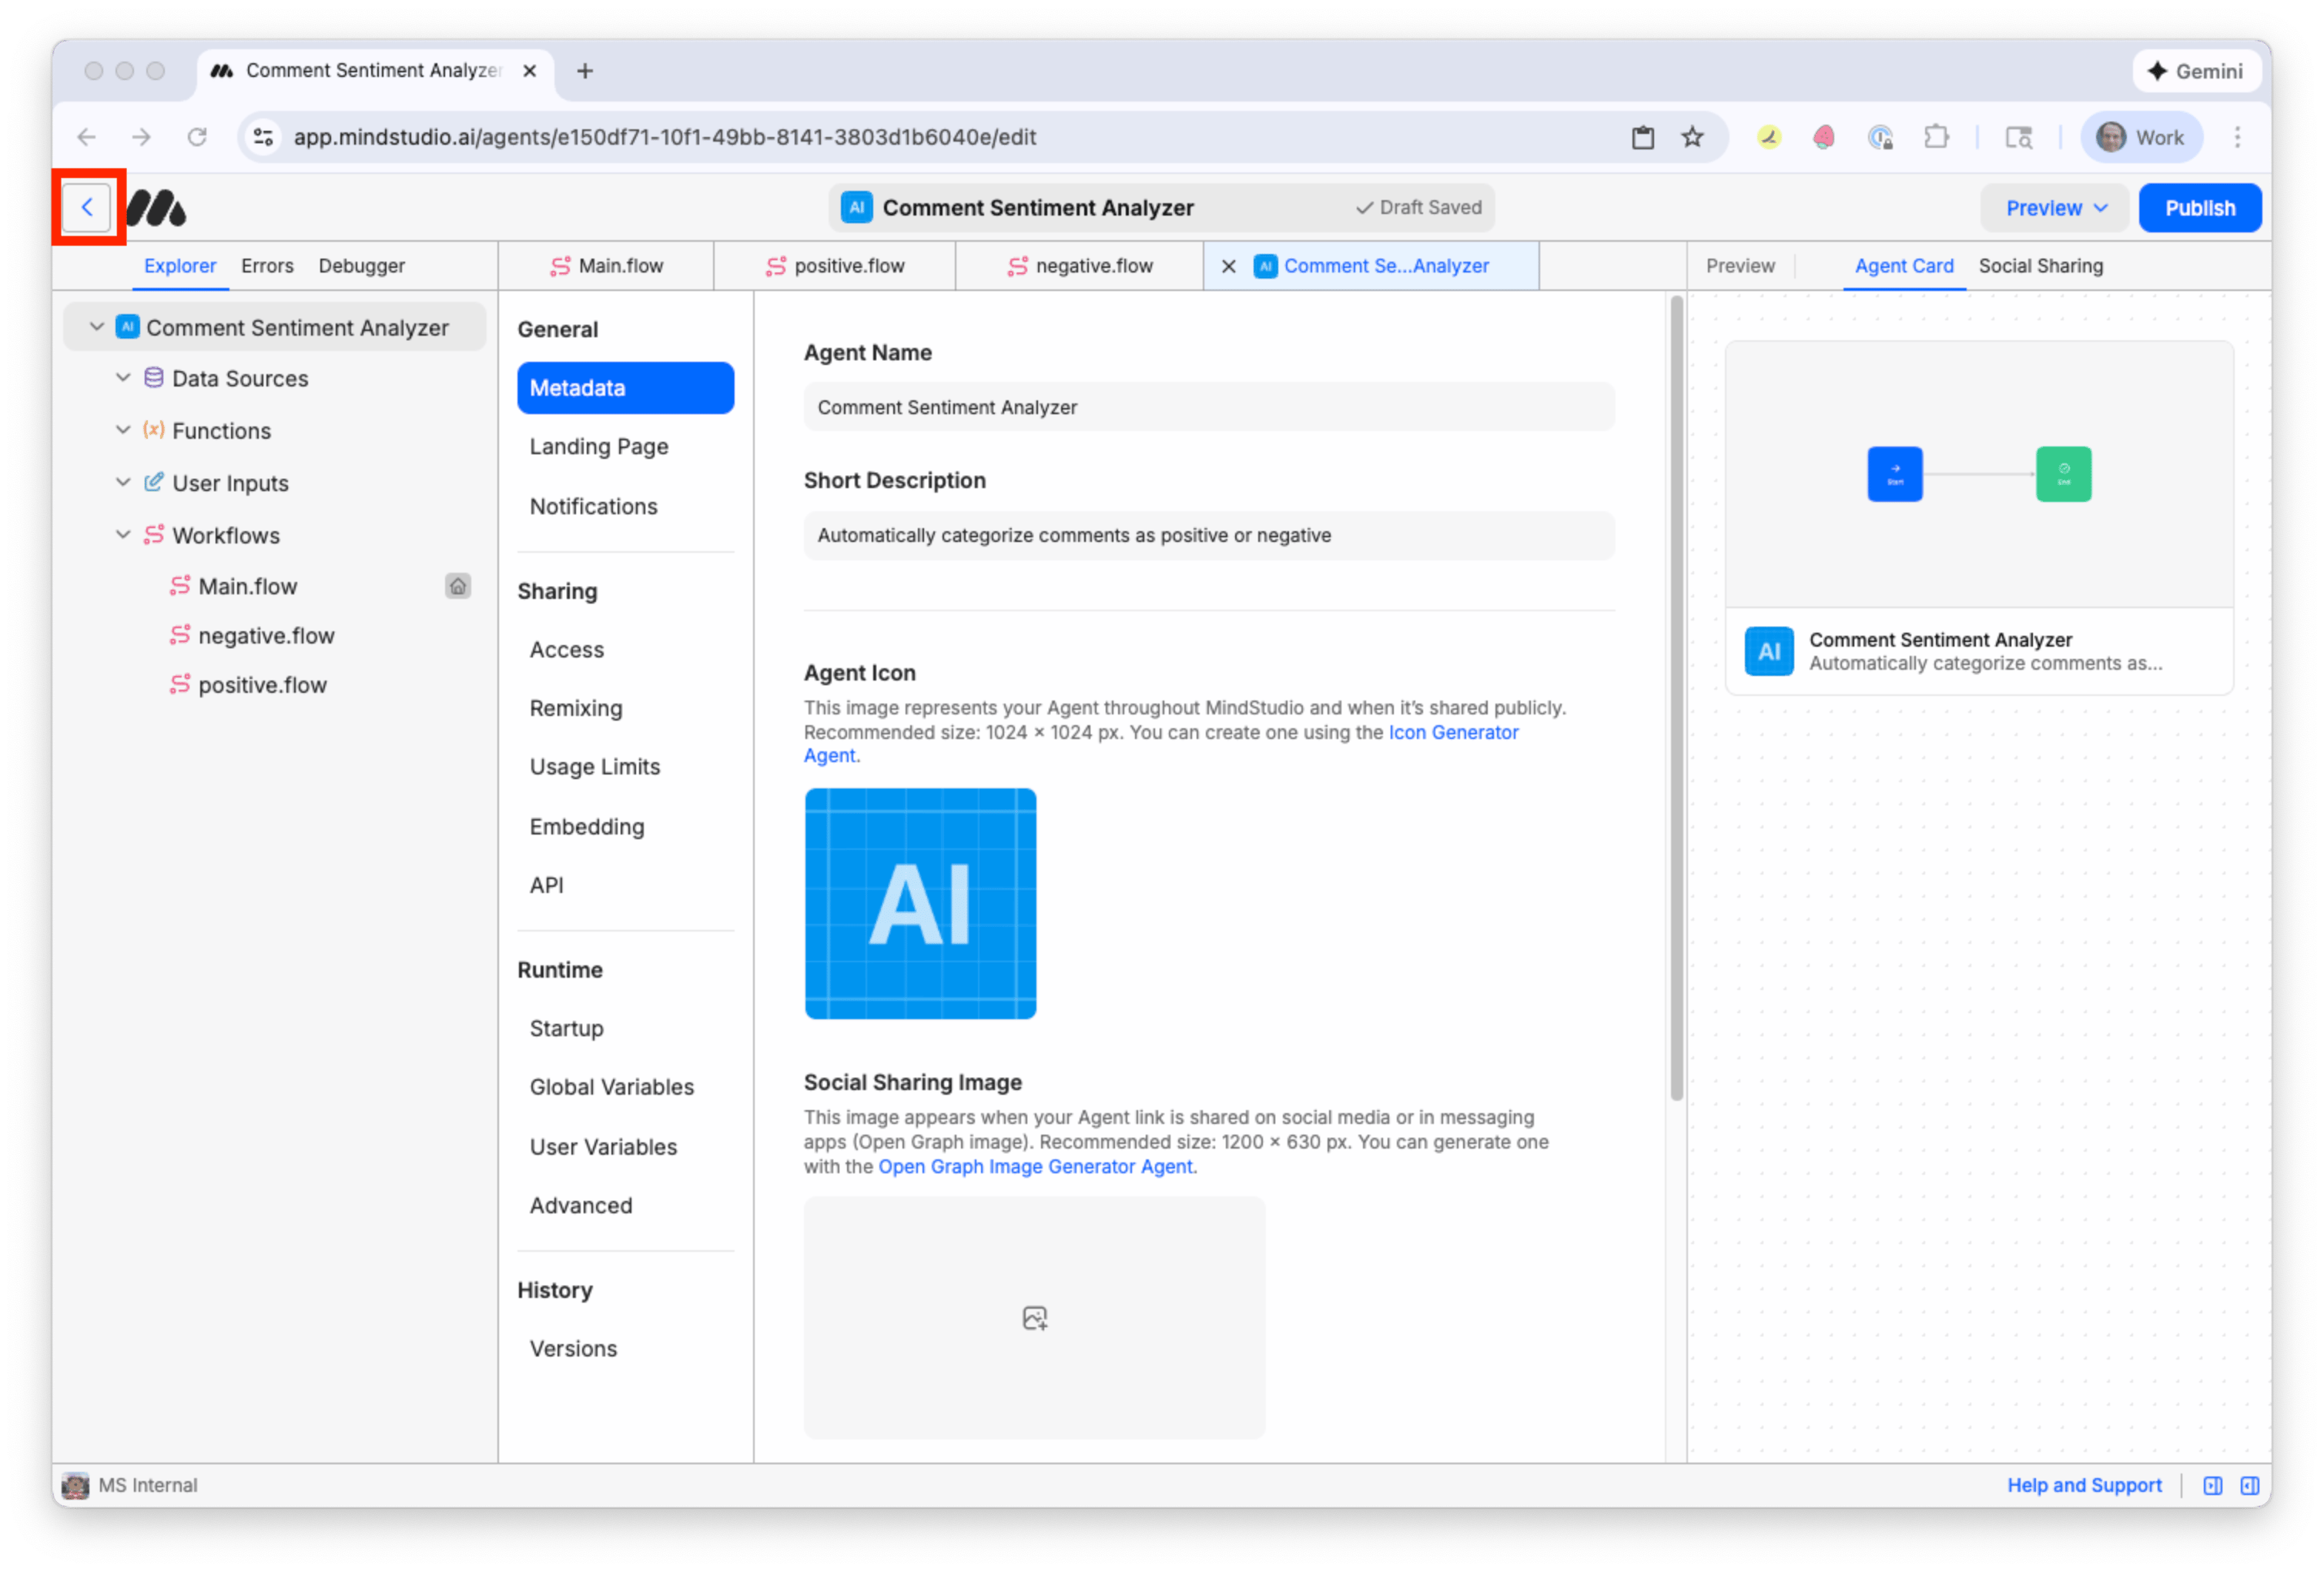
- Click the Left arrow beside the MindStudio logo.
- Click “Developers”, and then click “API Keys”. (API keys are hidden in the image below, because they are secret.)
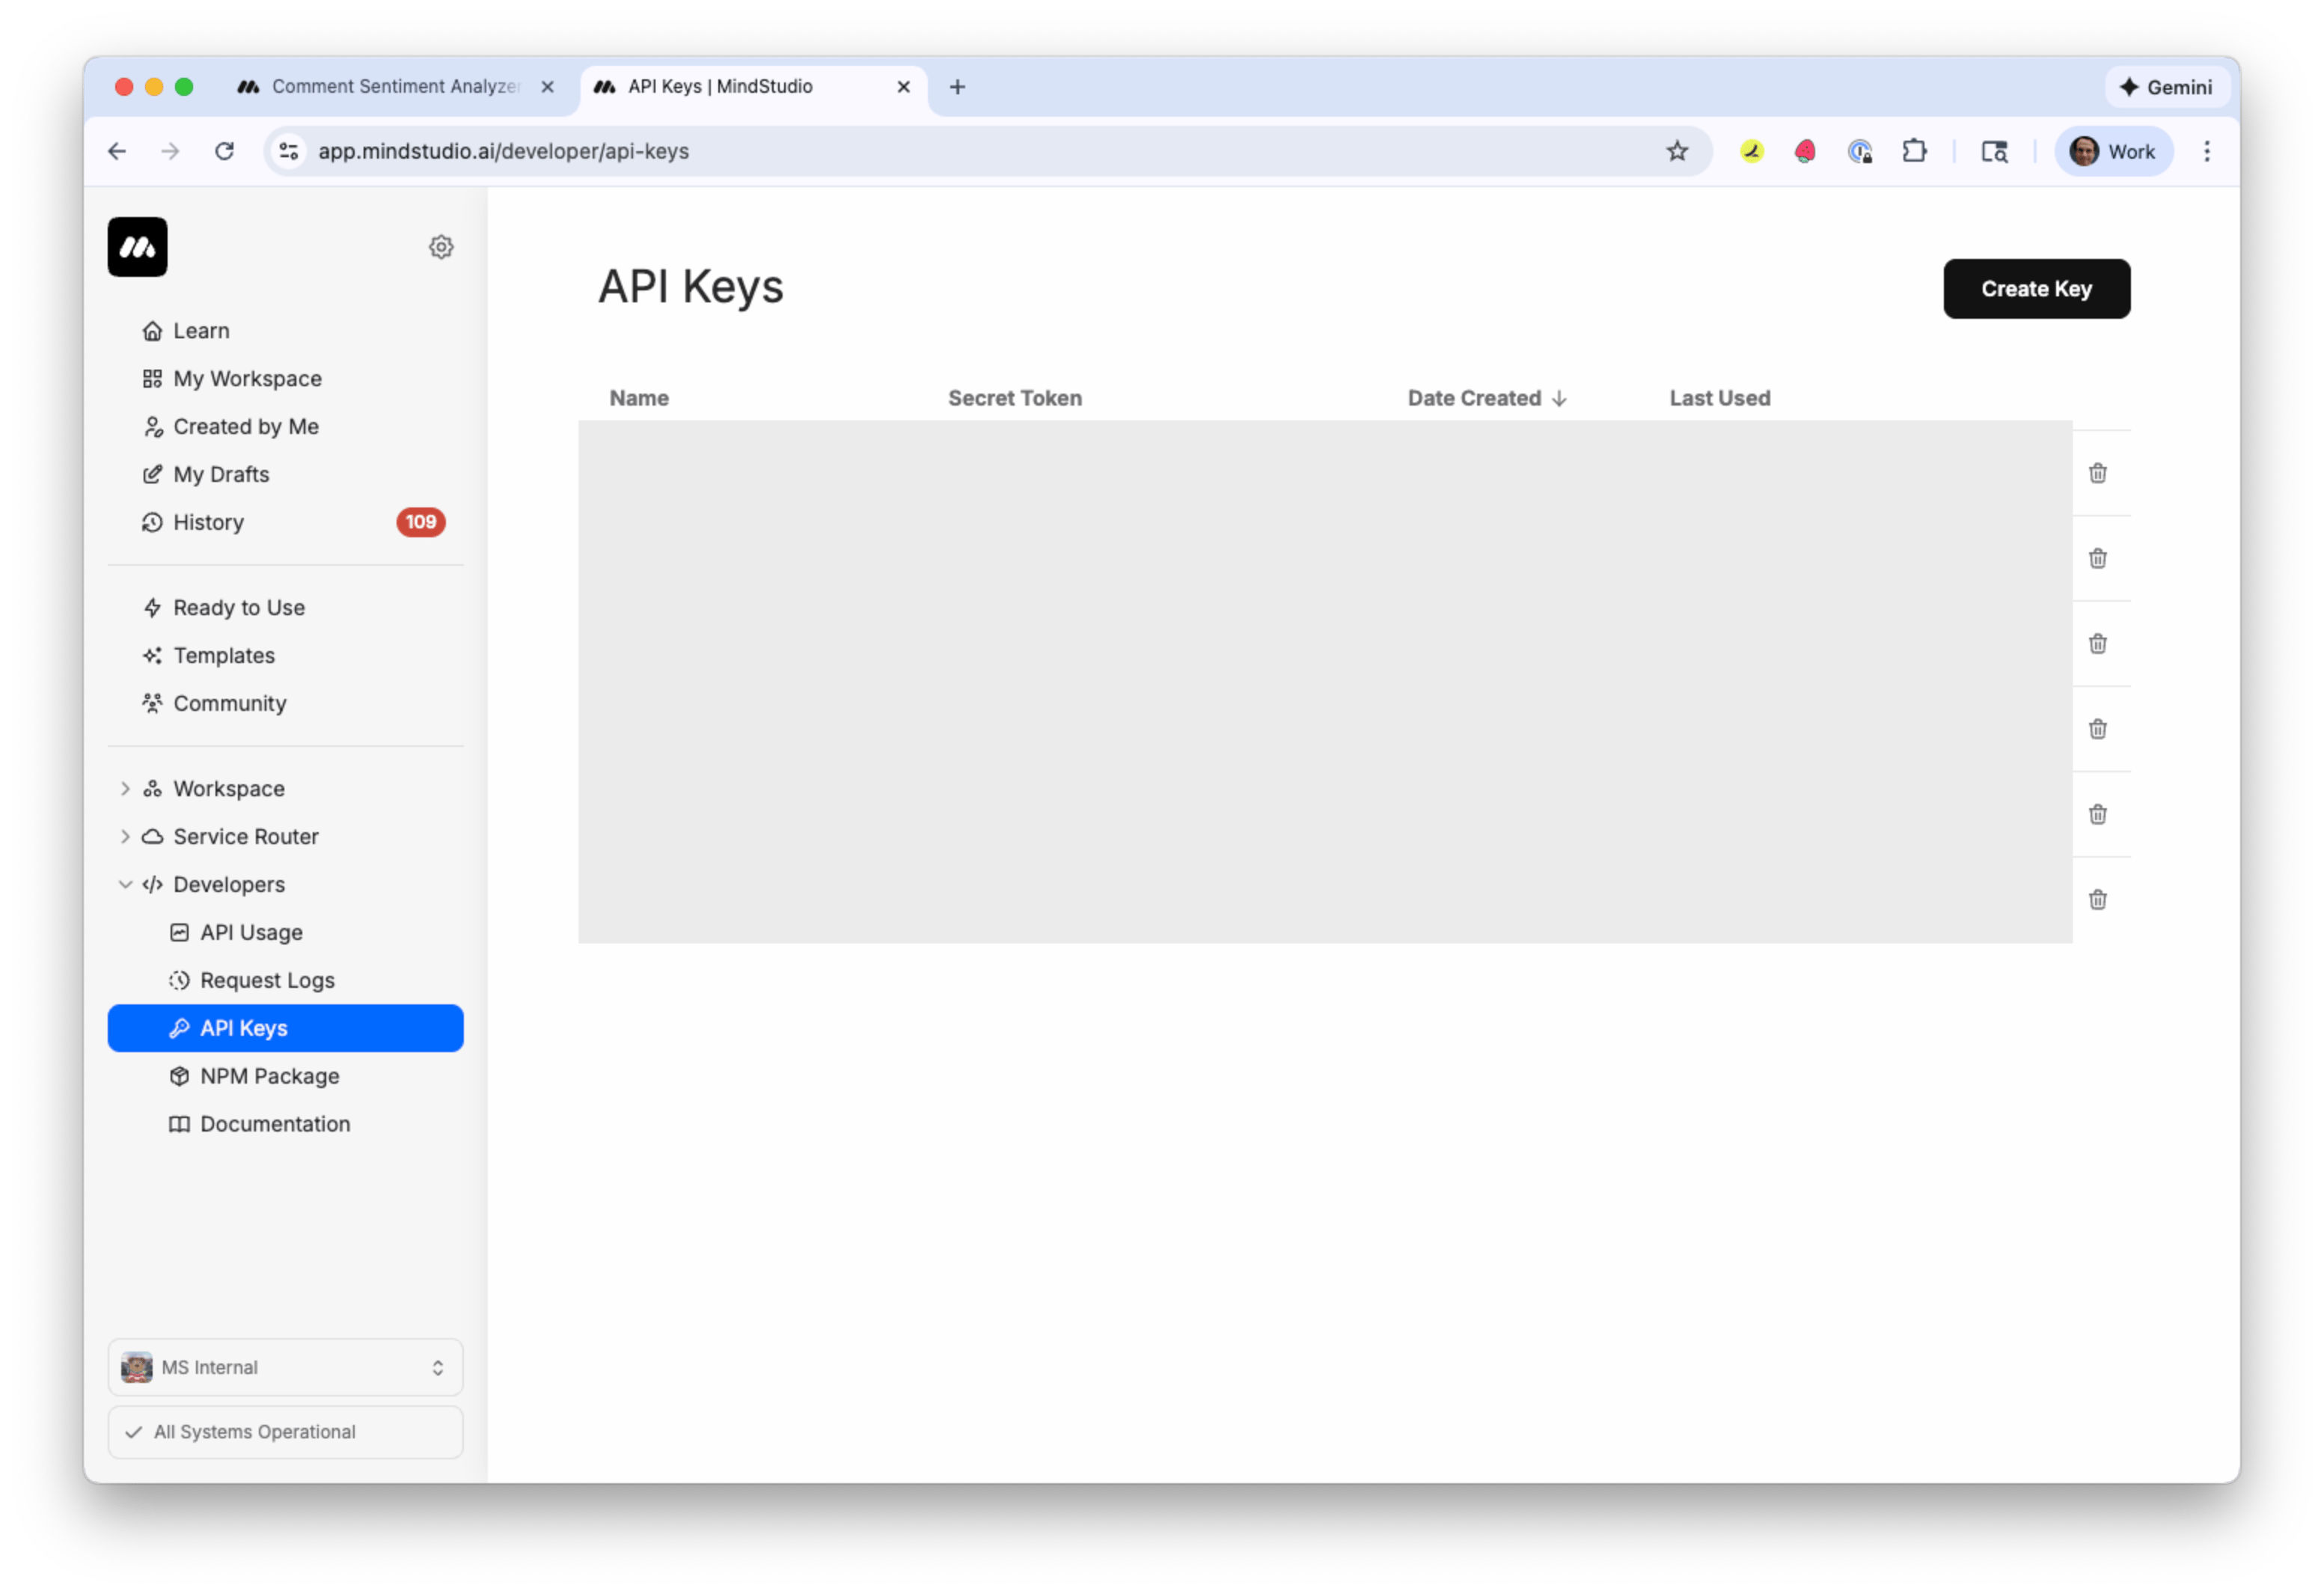
-
Click “Create Key”.
-
Add a name for this API key. Since this API key is to connect Zapier to your MindStudio workspace, use a name “Zapier key”.
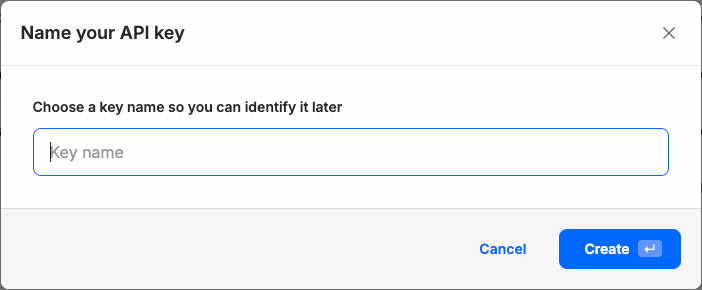
- Click “Create”. Your API key displays at the top of the list by default. Note that this is a secret API key: do not share it with others.
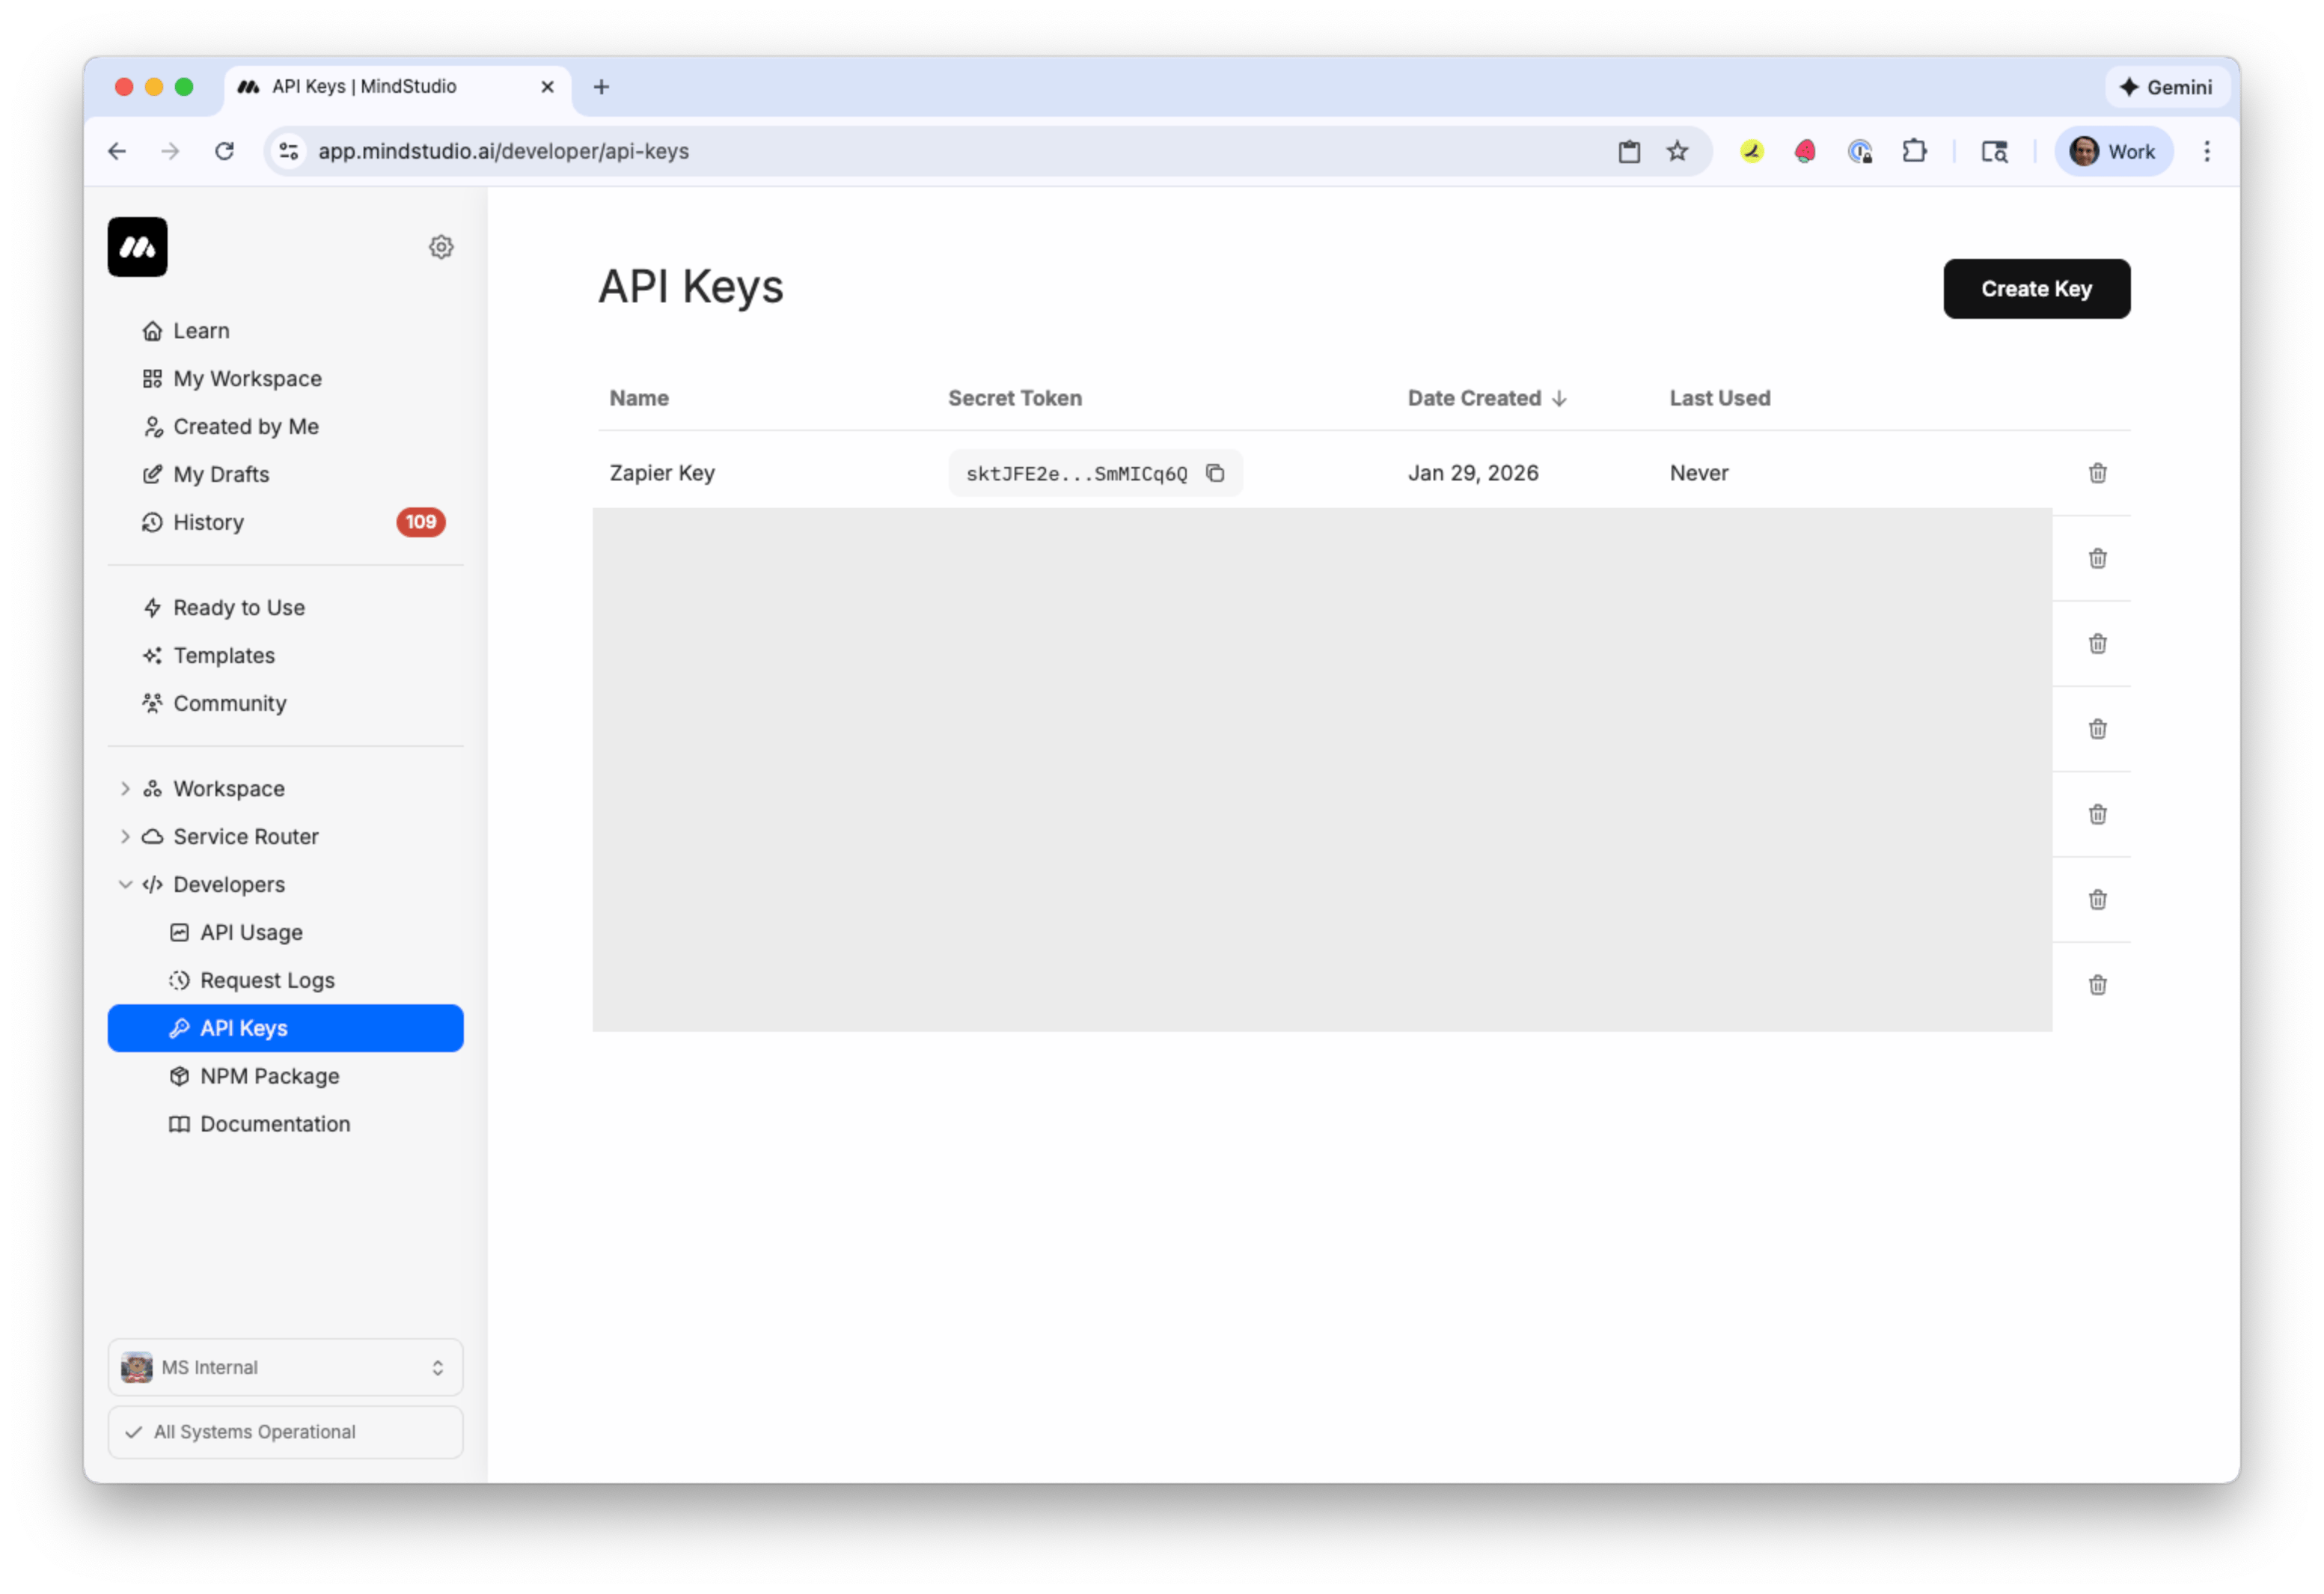
- Click the “Copy” icon to the right of your API key into your clipboard. Optionally, paste the API key temporarily into a text file for use in the next section, where we build the Zap in Zapier.
Build the Zap in Zapier
Everyone else built a construction worker.
We built the contractor.
One file at a time.
UI, API, database, deploy.
Let’s build the Zap in Zapier now. When a user submits a Google Form, this Zap will trigger and send that data to MindStudio for sentiment analysis.
-
Log in or create your Zapier account at Zapier.
-
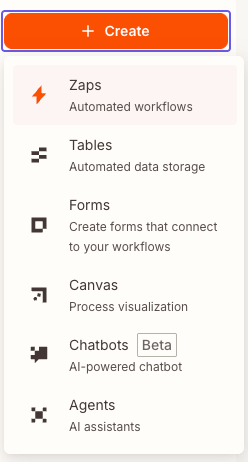
Click “Create”, and then click “Zaps” to create a new Zap.
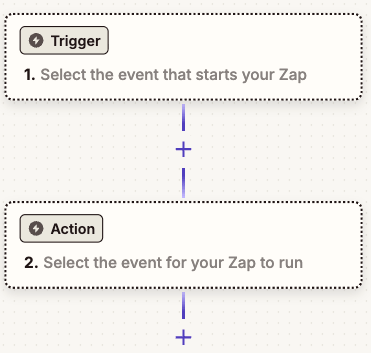
- Click the “Trigger” step in your new Zap.
- Select “Google Forms”.
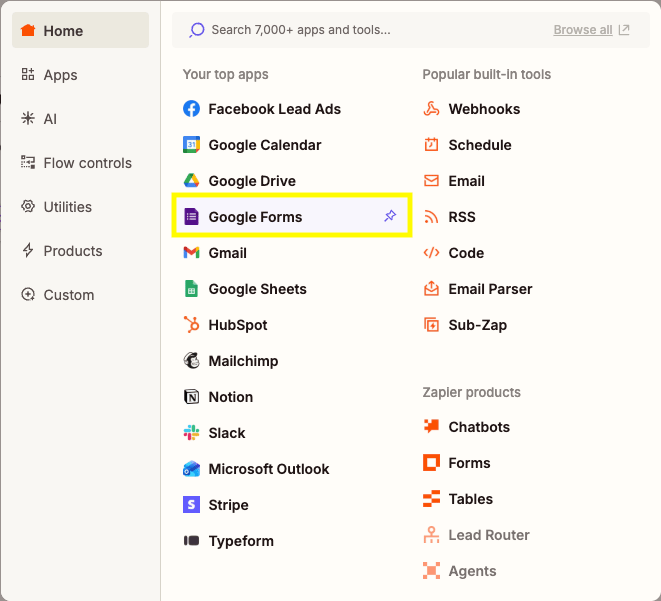
“Google Forms” now displays in the “App” setting of the Zap.
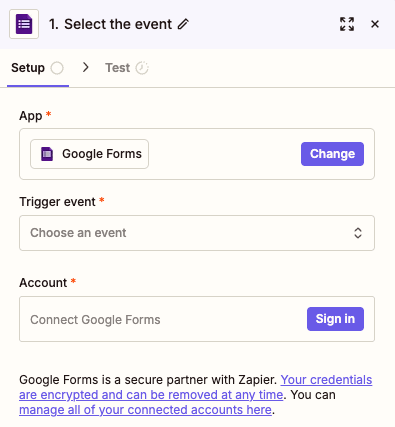
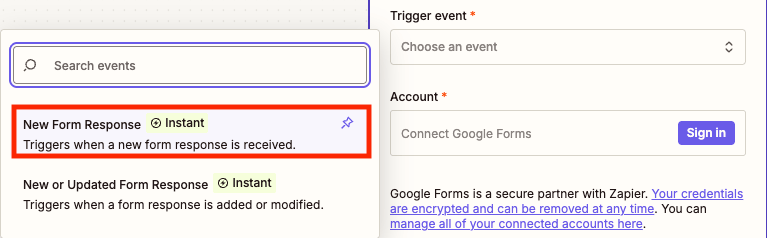
- Click “Trigger event”, and then click “New Form Response”. When a user submits a Google Form response, this Zap triggers.
-
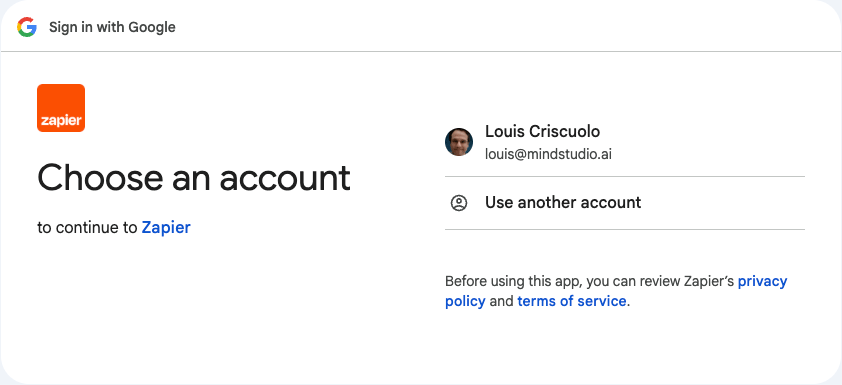
Click “Sign in” in the “Account” setting to sign into your Google account.
-
Select the email account that has the Google Form.
- Click “Select all”. All scopes are selected.
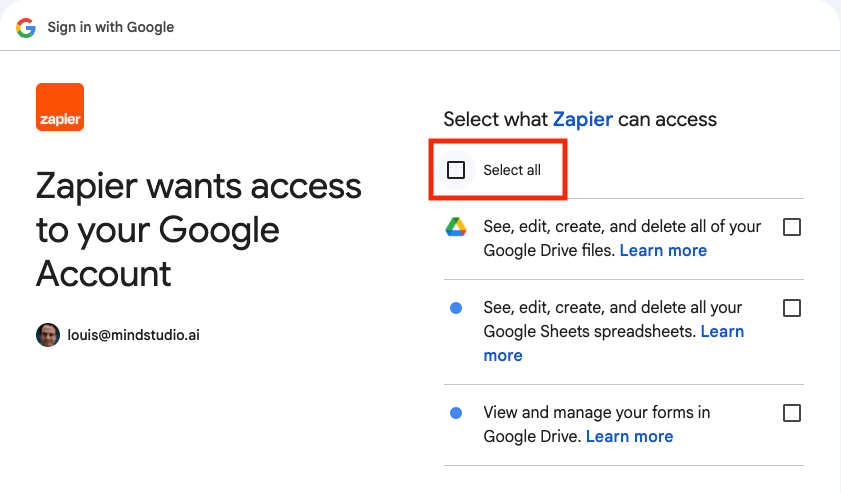
- Scroll down, and then click “Continue”.
Your Google account is setup for use in Zapier.
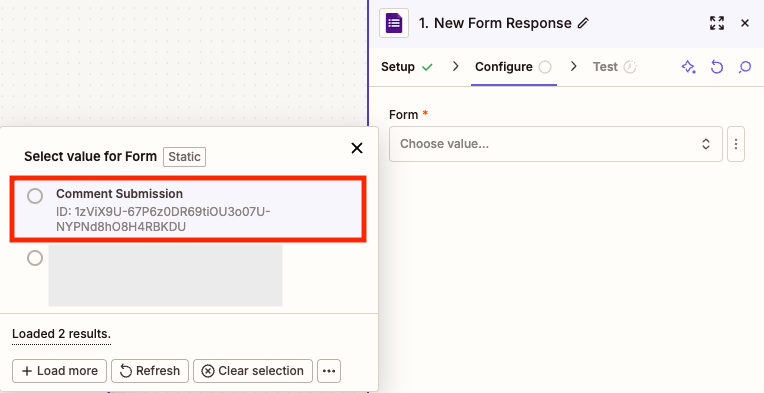
- Click “Configure”.

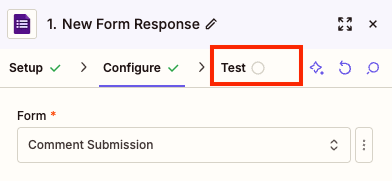
- In “Form”, select the Google Form you created by its name.
- Click “Test”.
- Click “Test trigger”.
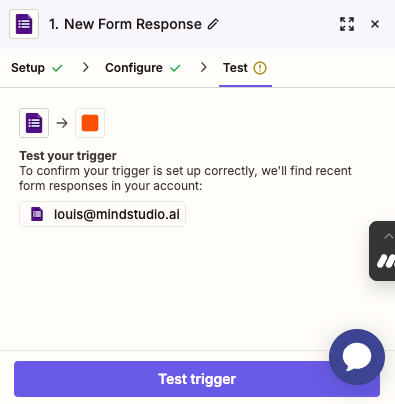
Zapier finds the Google Form record you submitted as a test.
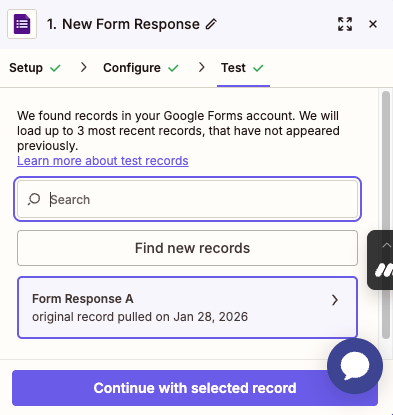
-
Click “Find new records”. Click on the new response.
-
Click “Continue with selected record”. The test is successful. Zapier moves to the next step in the Zap.
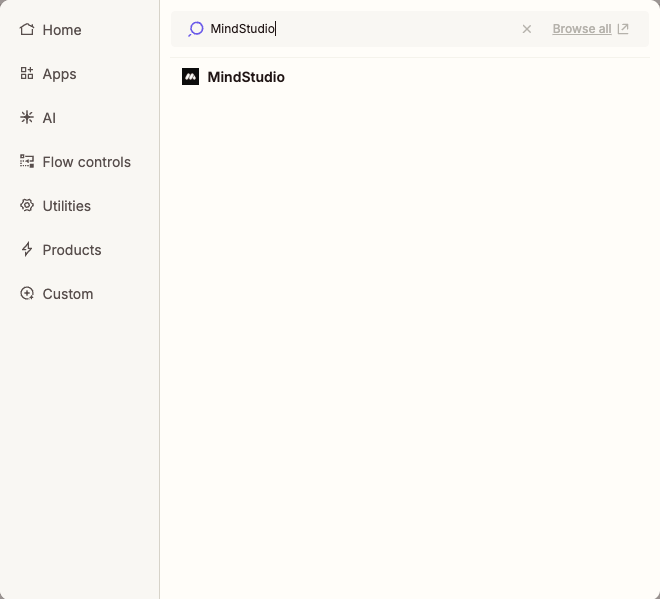
The modal screen displays to select the integration for the next step in the Zap. This will be the action to take after the Zap is triggered.
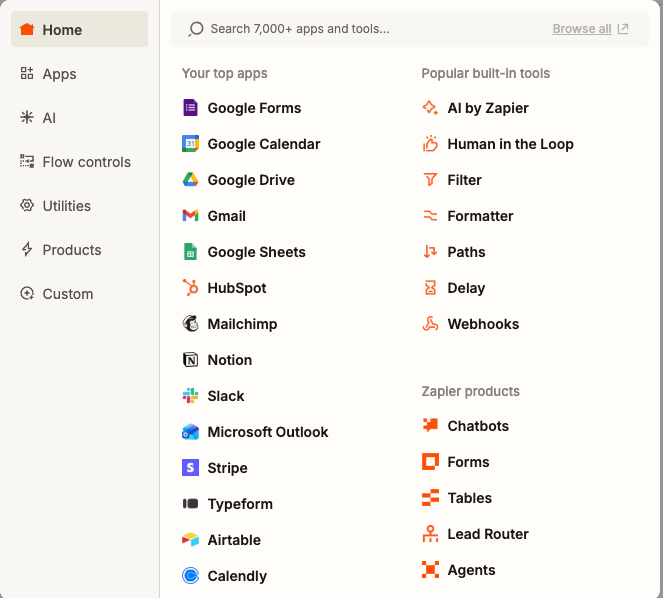
- Search for “MindStudio”, and then select MindStudio’s integration with Zapier.
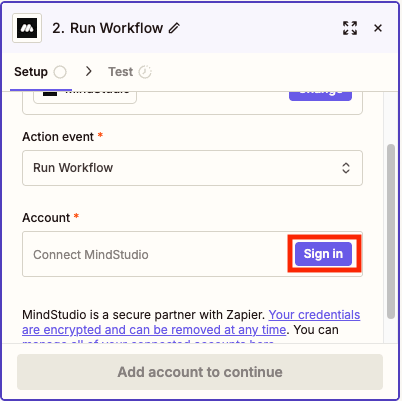
- Click “Action event”, then select “Run Workflow”.
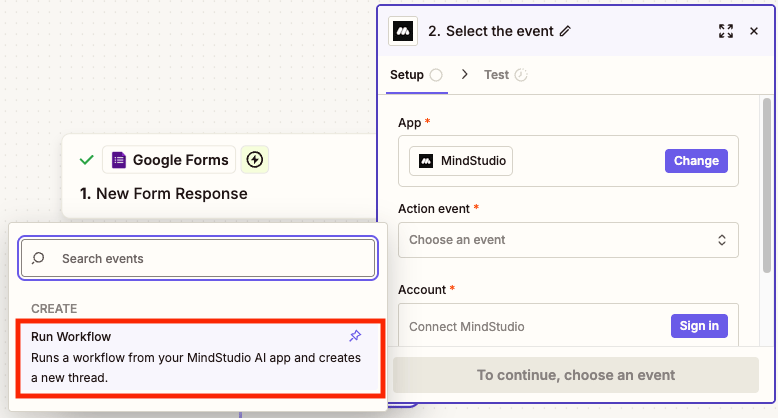
- Click “Sign in” in the “Account” setting to sign into your MindStudio account.
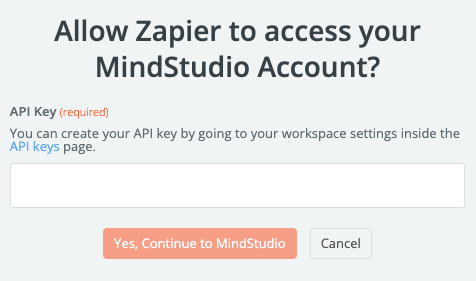
- In the “API Key” setting, paste your secret API key from your MindStudio workspace, and then click “Yes, Continue to MindStudio”.
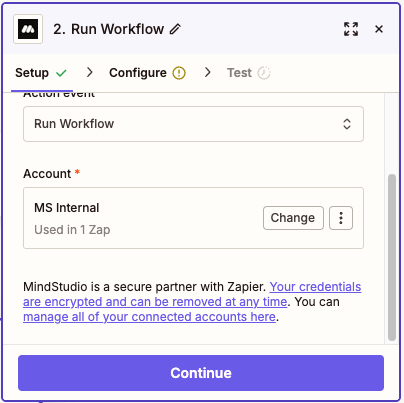
- Your MindStudio workspace is displayed in the “Account” setting. Click “Continue”.
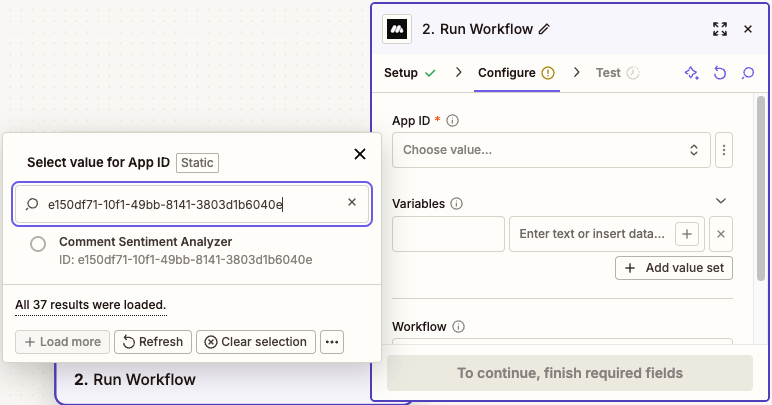
- In “App ID”, paste the App ID for your MindStudio AI agent that you temporarily kept in a text file. Zapier will access this MindStudio AI agent when this Zap runs.
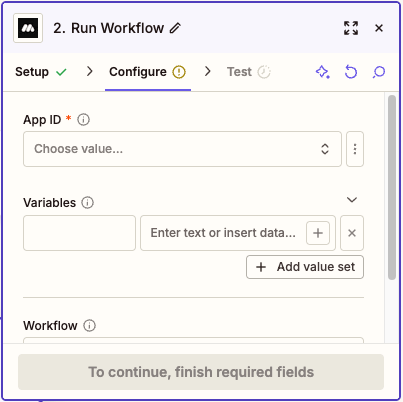
- Select the MindStudio AI agent by its name.
In the “Variables” setting, we will add the three data items we use for this use case. These three items are provided by the user when submitting the Google Form.
-
name: Name of the comment submitter
-
email: Email address
-
comment: Comment by that user
-
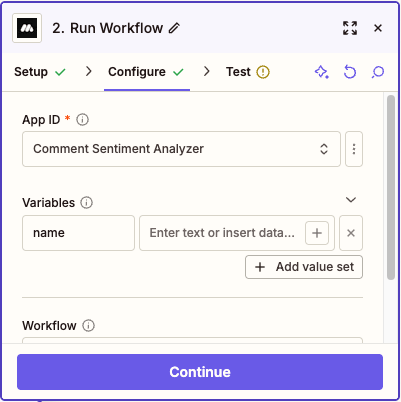
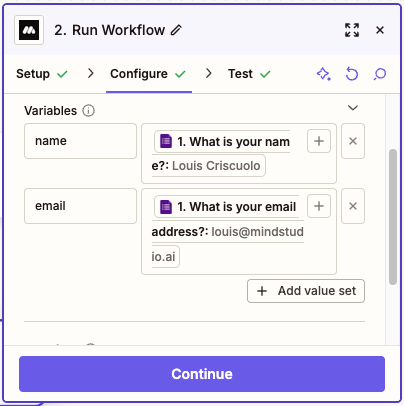
In the “Variables” setting, add “name”. This must match the variable “name” we added to the MindStudio AI agent’s “Start” block, including case sensitivity. For example, “name” is different than “Name”.
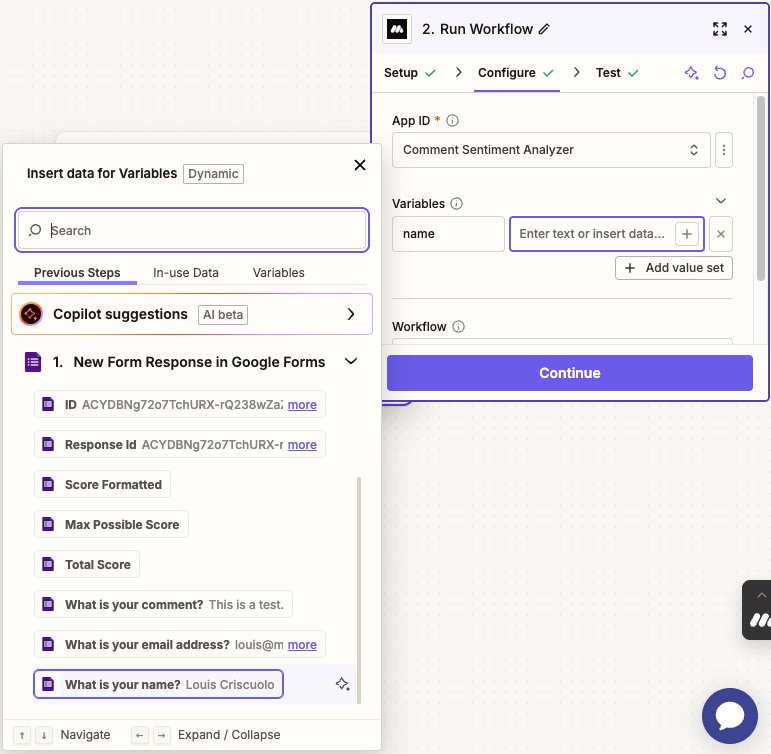
- Click “+” beside the “Enter text or insert data” helper text. We will specify in a previous step of this Zap (Google Forms) which data “name” represents. This data will be sent to MindStudio by this Zap.
25.Scroll to the bottom of the “New Form Response in Google Forms” dropdown, then select “What is your name?” This is the form item in the Google Form that asks the user for a name.
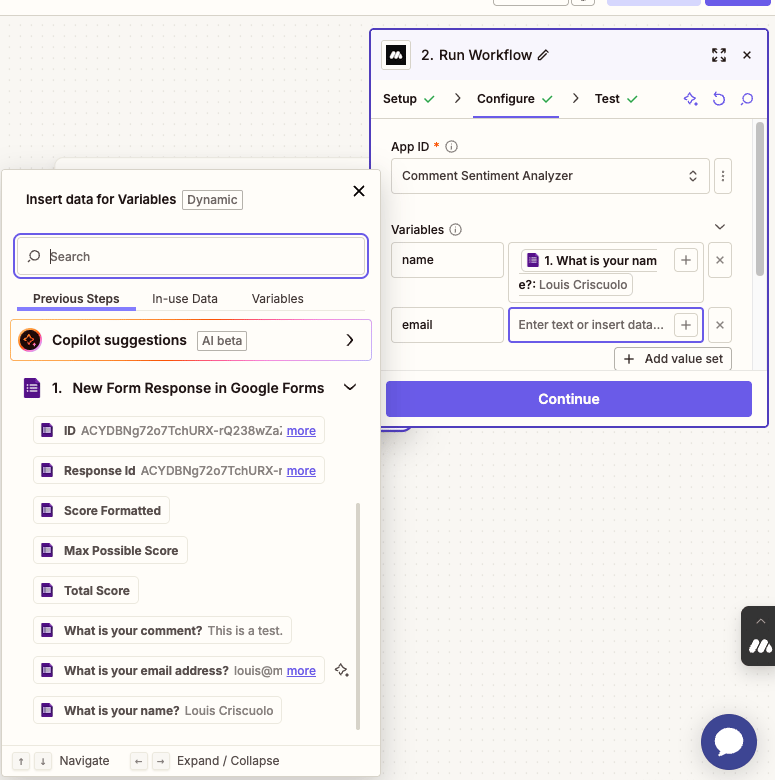
- Below the “Variables” setting, click “Add value set” to add another variable.

-
In the second “Variables” setting, add “email”. This must match identically to the variable “email” we added to the MindStudio AI agent’s “Start” block.
-
Click “+” beside the “Enter text or insert data” helper text. We will specify the data from the Google Form that “email” represents.
-
Scroll to the bottom of the “New Form Response in Google Forms” dropdown, then select “What is your email address?” This is the form item in the Google Form that asks the user for an email address.

- Below the “Variables” setting, click “Add value set” to add another variable.
-
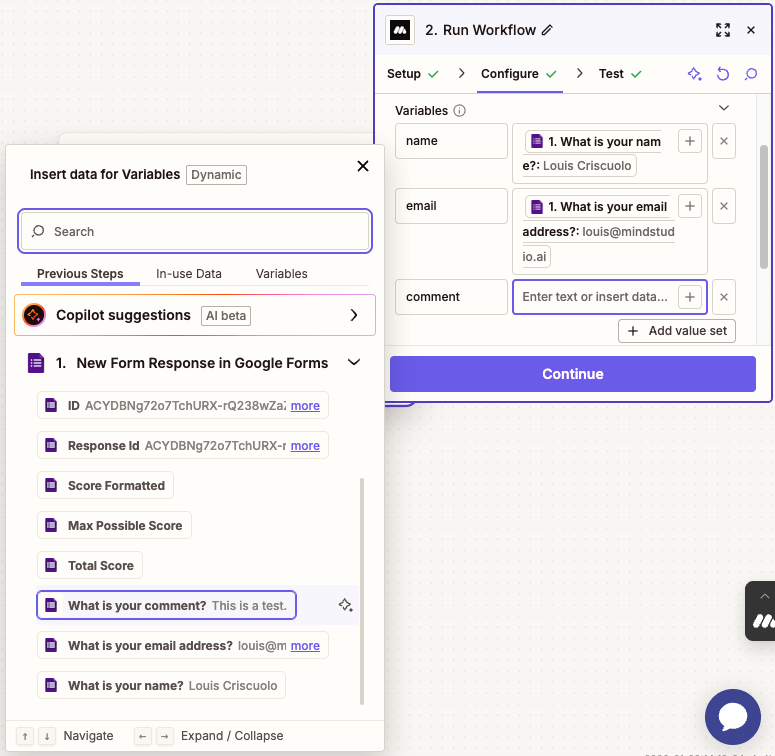
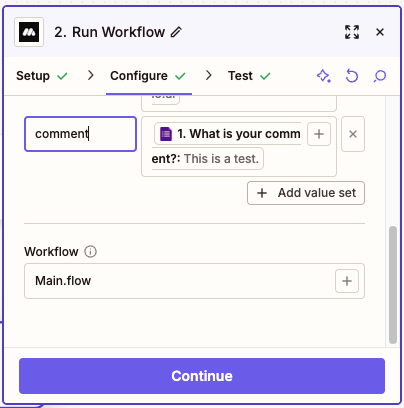
In the third “Variables” setting, add “comment”. This must match identically to the variable “comment” we added to the MindStudio AI agent’s “Start” block.
-
Click “+” beside the “Enter text or insert data” helper text. We will specify the data from the Google Form that “comment” represents.
-
Scroll to the bottom of the “New Form Response in Google Forms” dropdown, then select “What is your comment?” This is the form item from the Google Form where we ask the user for a comment.
- Do not change “Main.flow” from the “Workflow” setting, since this is the workflow in our MindStudio AI agent that we want to send data from Zapier.
-
Click “Continue”.
-
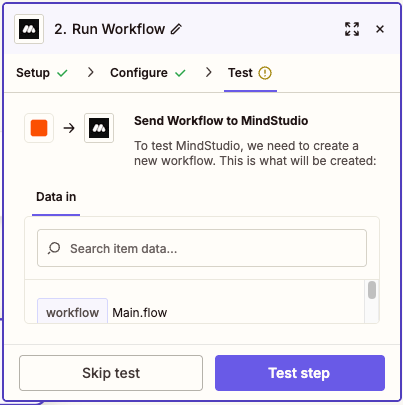
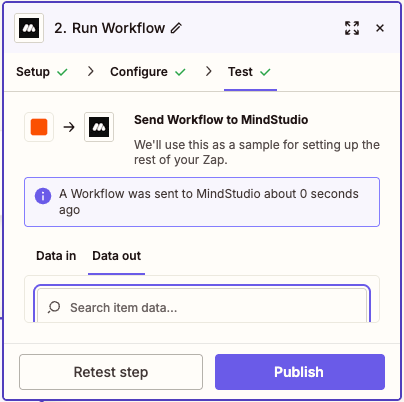
Click “Test”. Zapier tests the step.
- Click “Publish” when the test is successful.
- Click on “Untitled Zap”, select “Rename”, then rename your Zap.
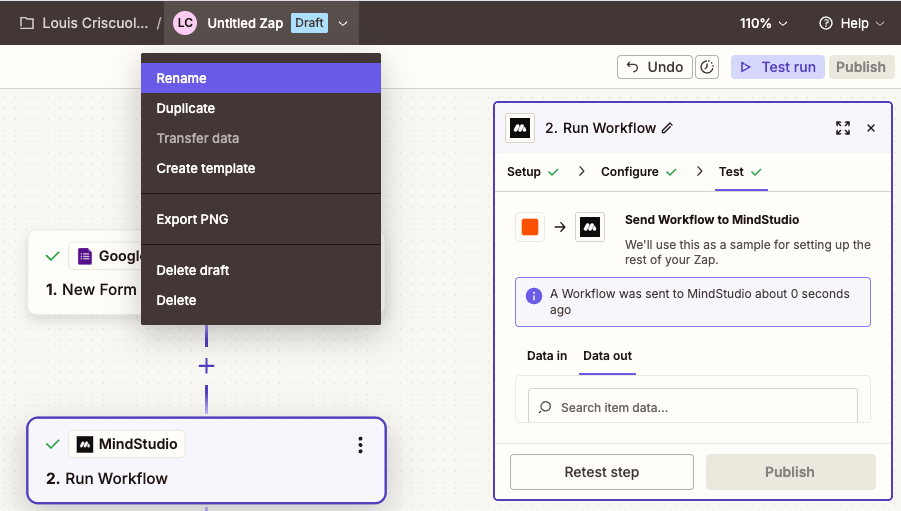
-
Click “Publish” again. In the “Publish new version” add a new version name. For example, add “Zap Renamed”.
-
Click “Publish” again.
We have completed building the Zap. Let’s test!
Test Your MindStudio AI Agent
Let’s test your MindStudio AI agent.
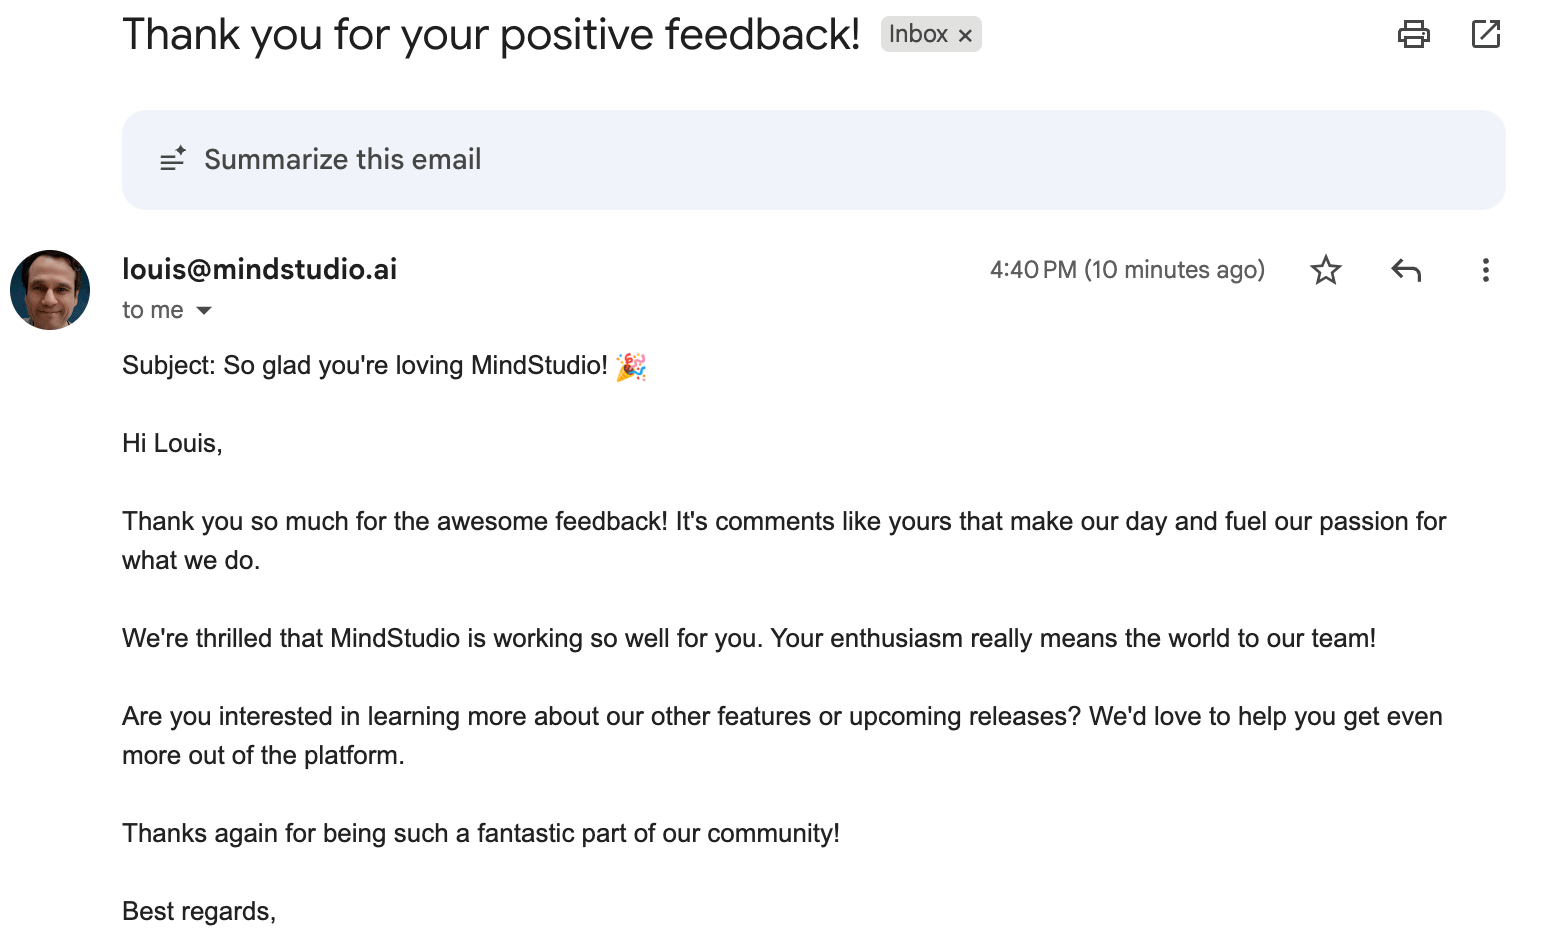
- Open your Google Form, then fill it out. Let’s test for a positive comment.
-
Submit the form, then look in your email inbox. It may take several seconds for the MindStudio AI agent to send the email.
-
Open the email.
- Now submit another instance of the Google Form, this time with a negative comment.
- Open the second email with the negative comment.