Basic Telegram Bot
Build a basic Telegram bot in MindStudio easily. This tutorial shows how to analyze an image (such as a restaurant menu) from a Telegram bot.

Introduction
MindStudio is the easiest way to build Telegram Bots that leverage AI, with no servers, hosting, or other complex setup required.
You can build Telegram bots that respond to user queries, send messages on a schedule, use AI to analyze images and videos, search the web for data, generate pictures and videos, and more.
To get started, you will need a MindStudio account and a Telegram account. First, we will create the bot and get its Bot Token. Then, we will build a simple MindStudio agent and connect the bot as a trigger.
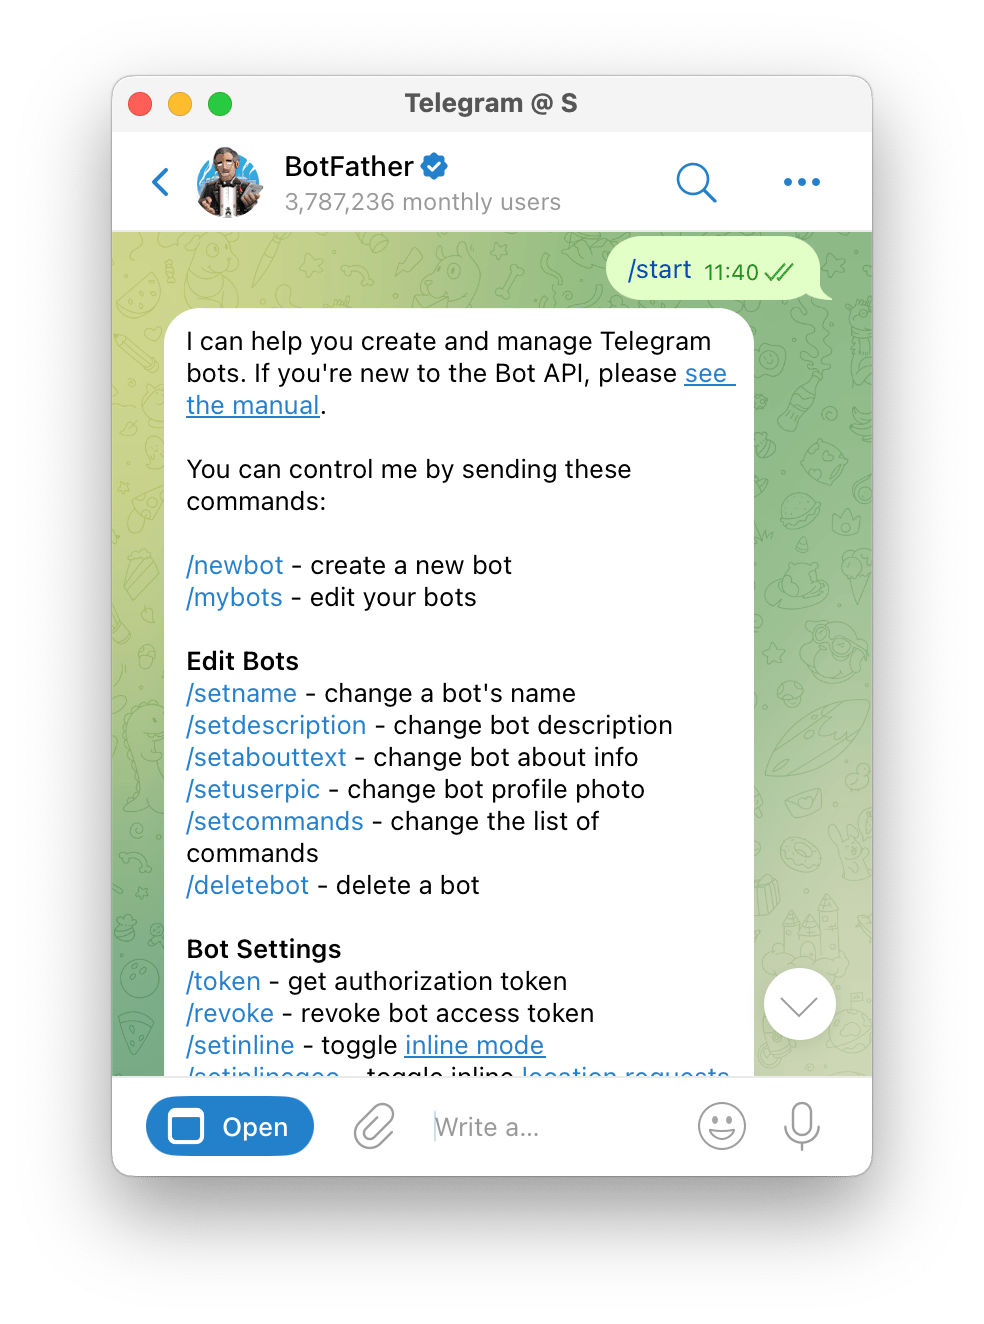
- Type: “/newbot” to register a new bot.
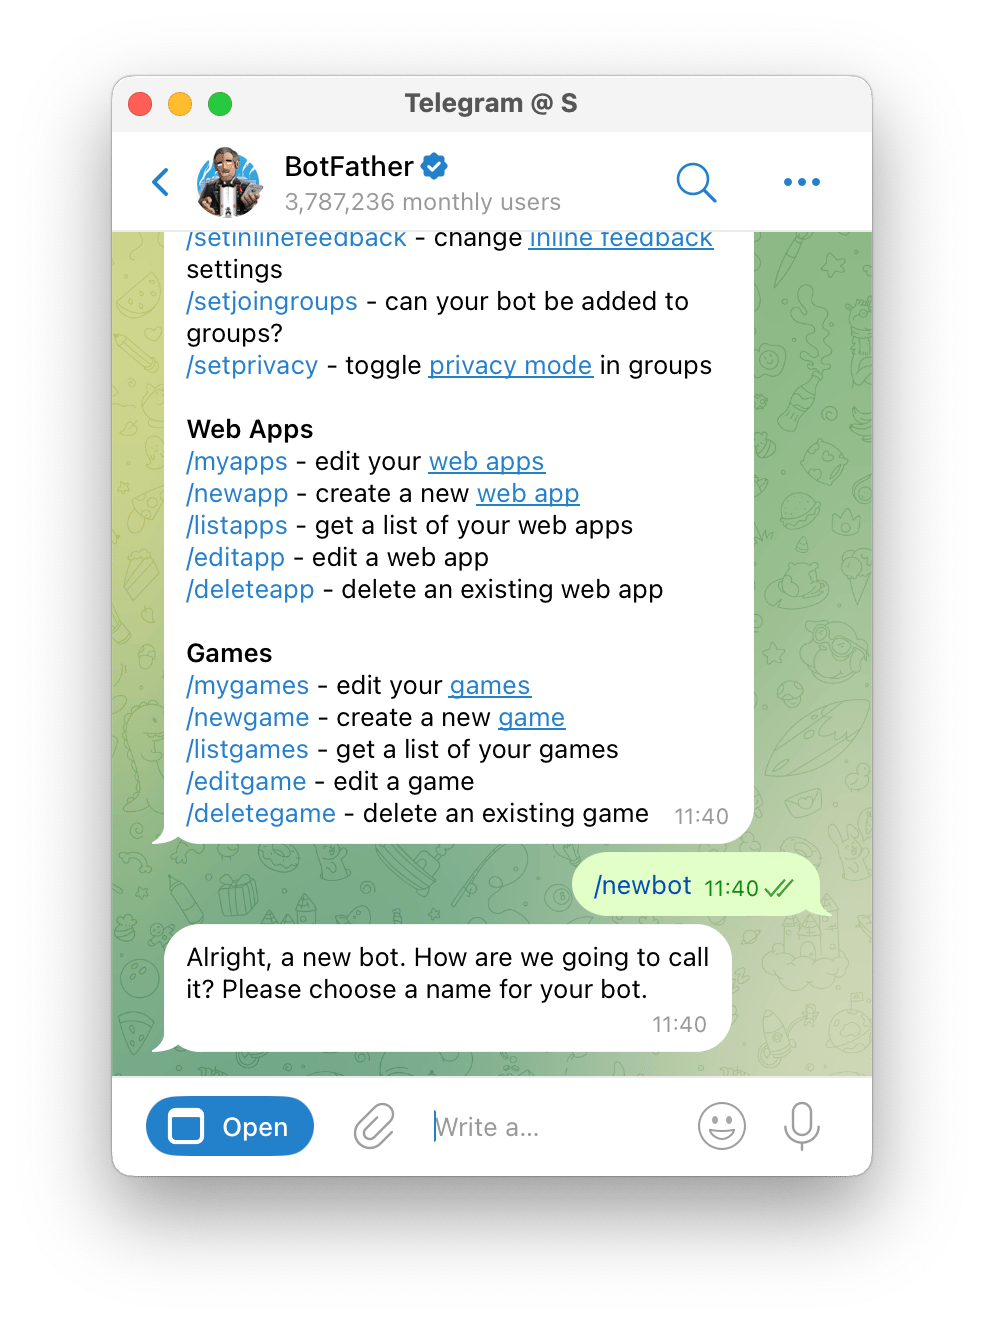
- Give your bot a name and complete the additional steps until you receive a Bot Token. Copy this Bot Token to your clipboard.
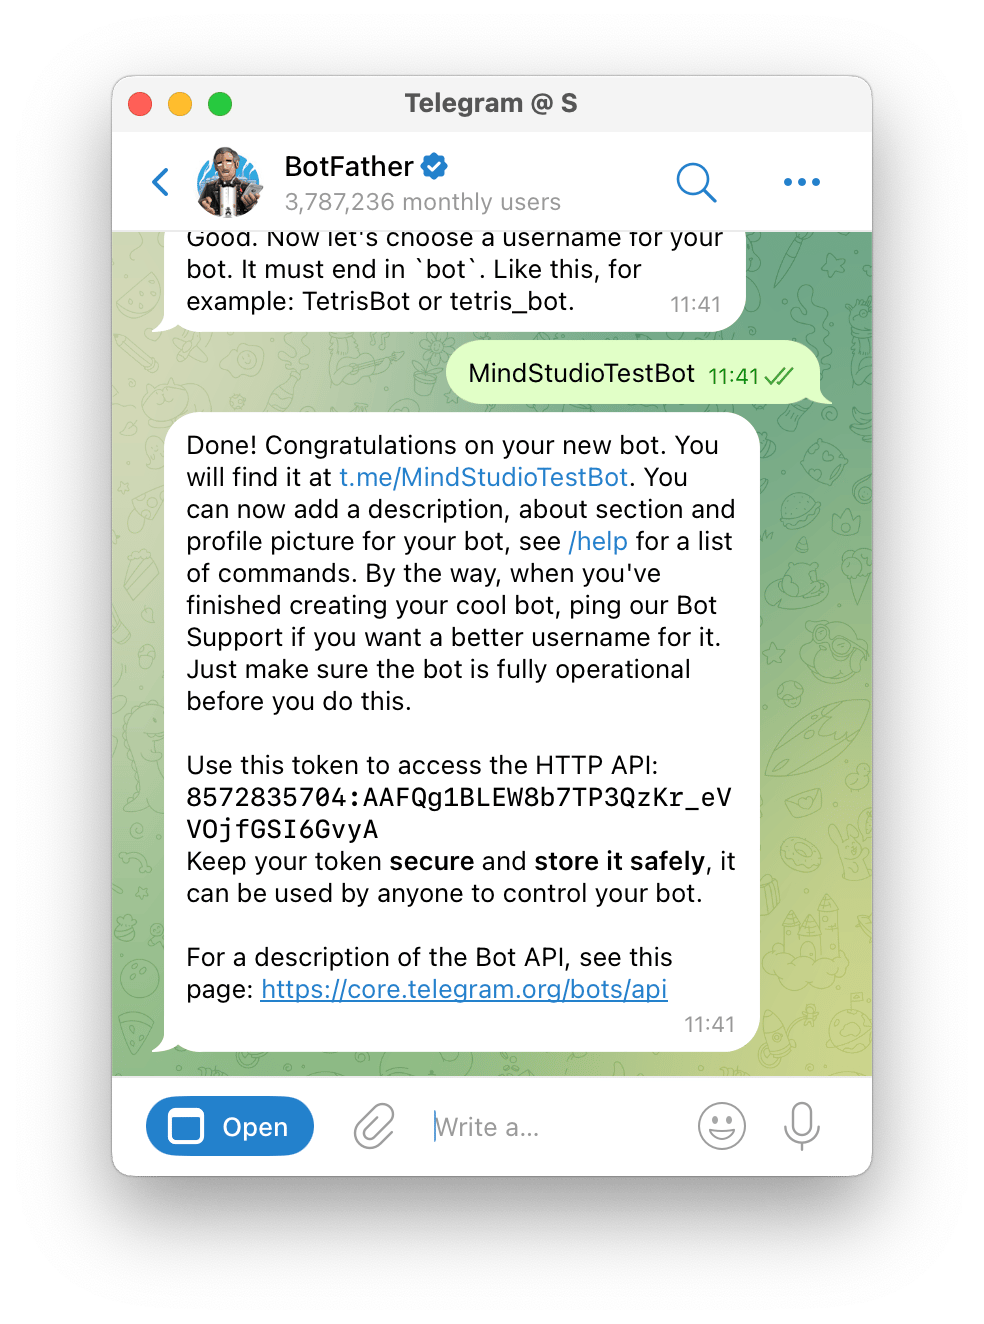
Telegram Bot is registered
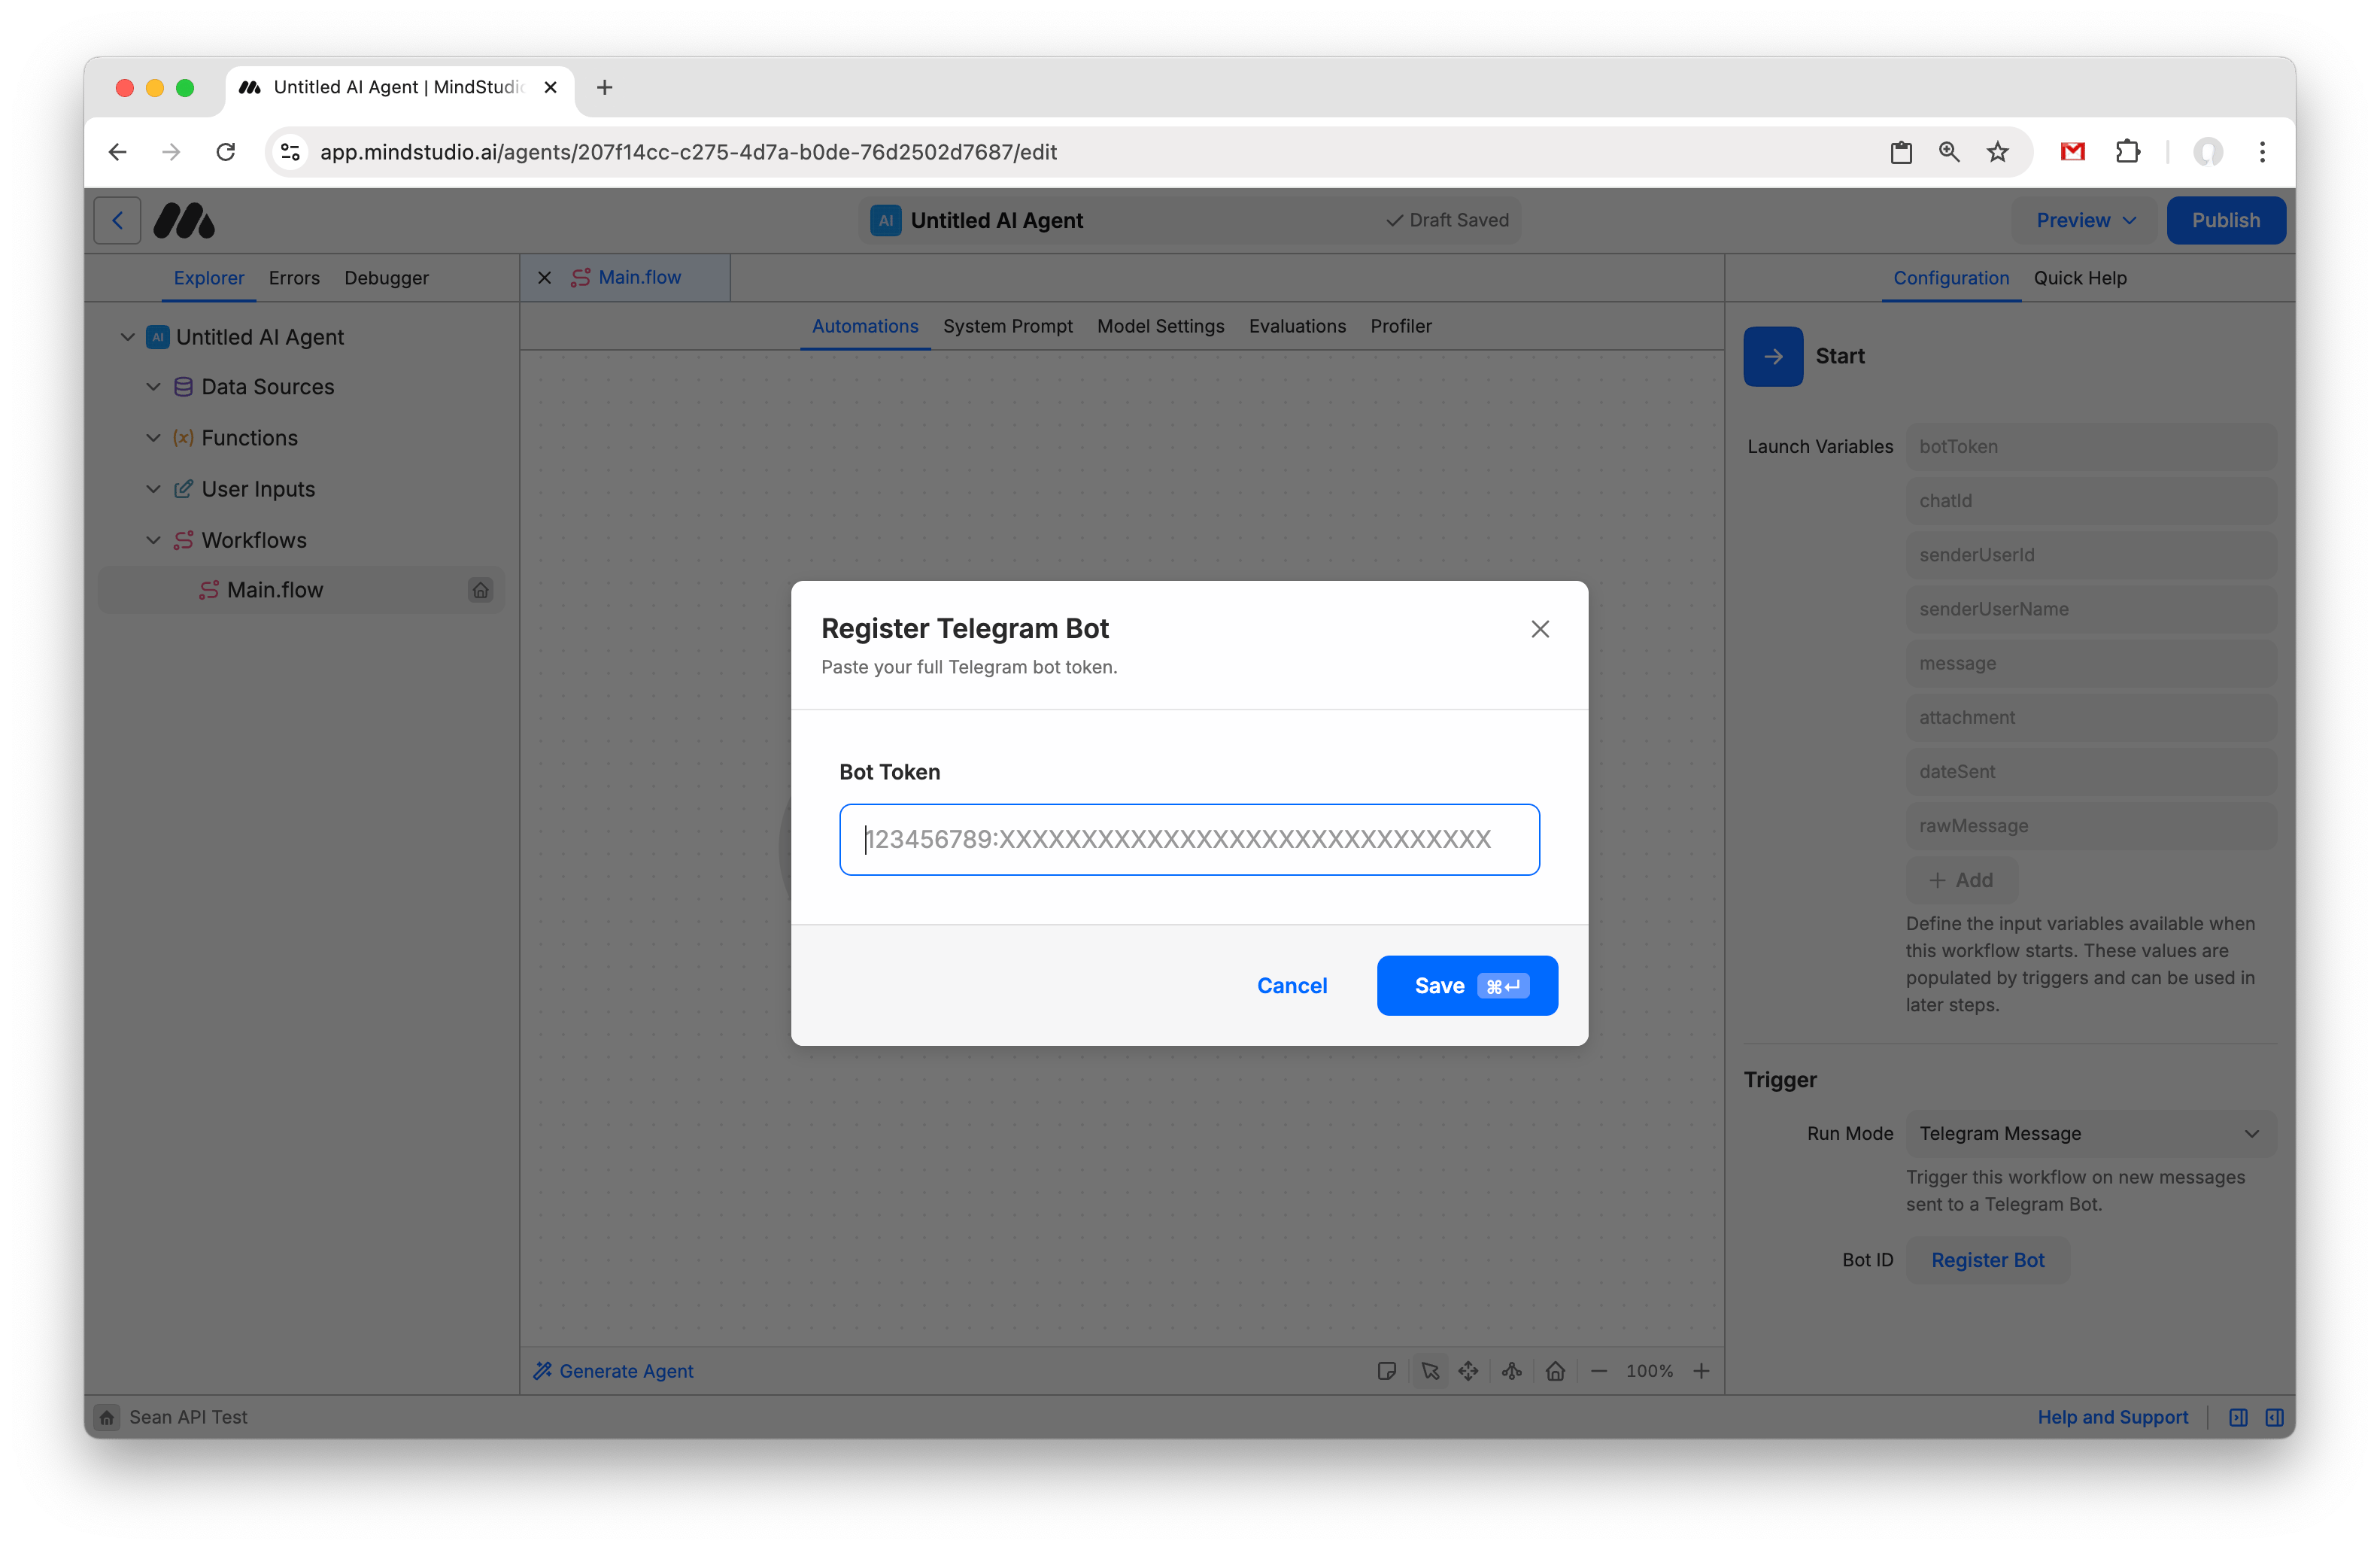
- Create a new MindStudio Agent. Click the Start Block and change the Trigger Run Mode to “Telegram Trigger”.
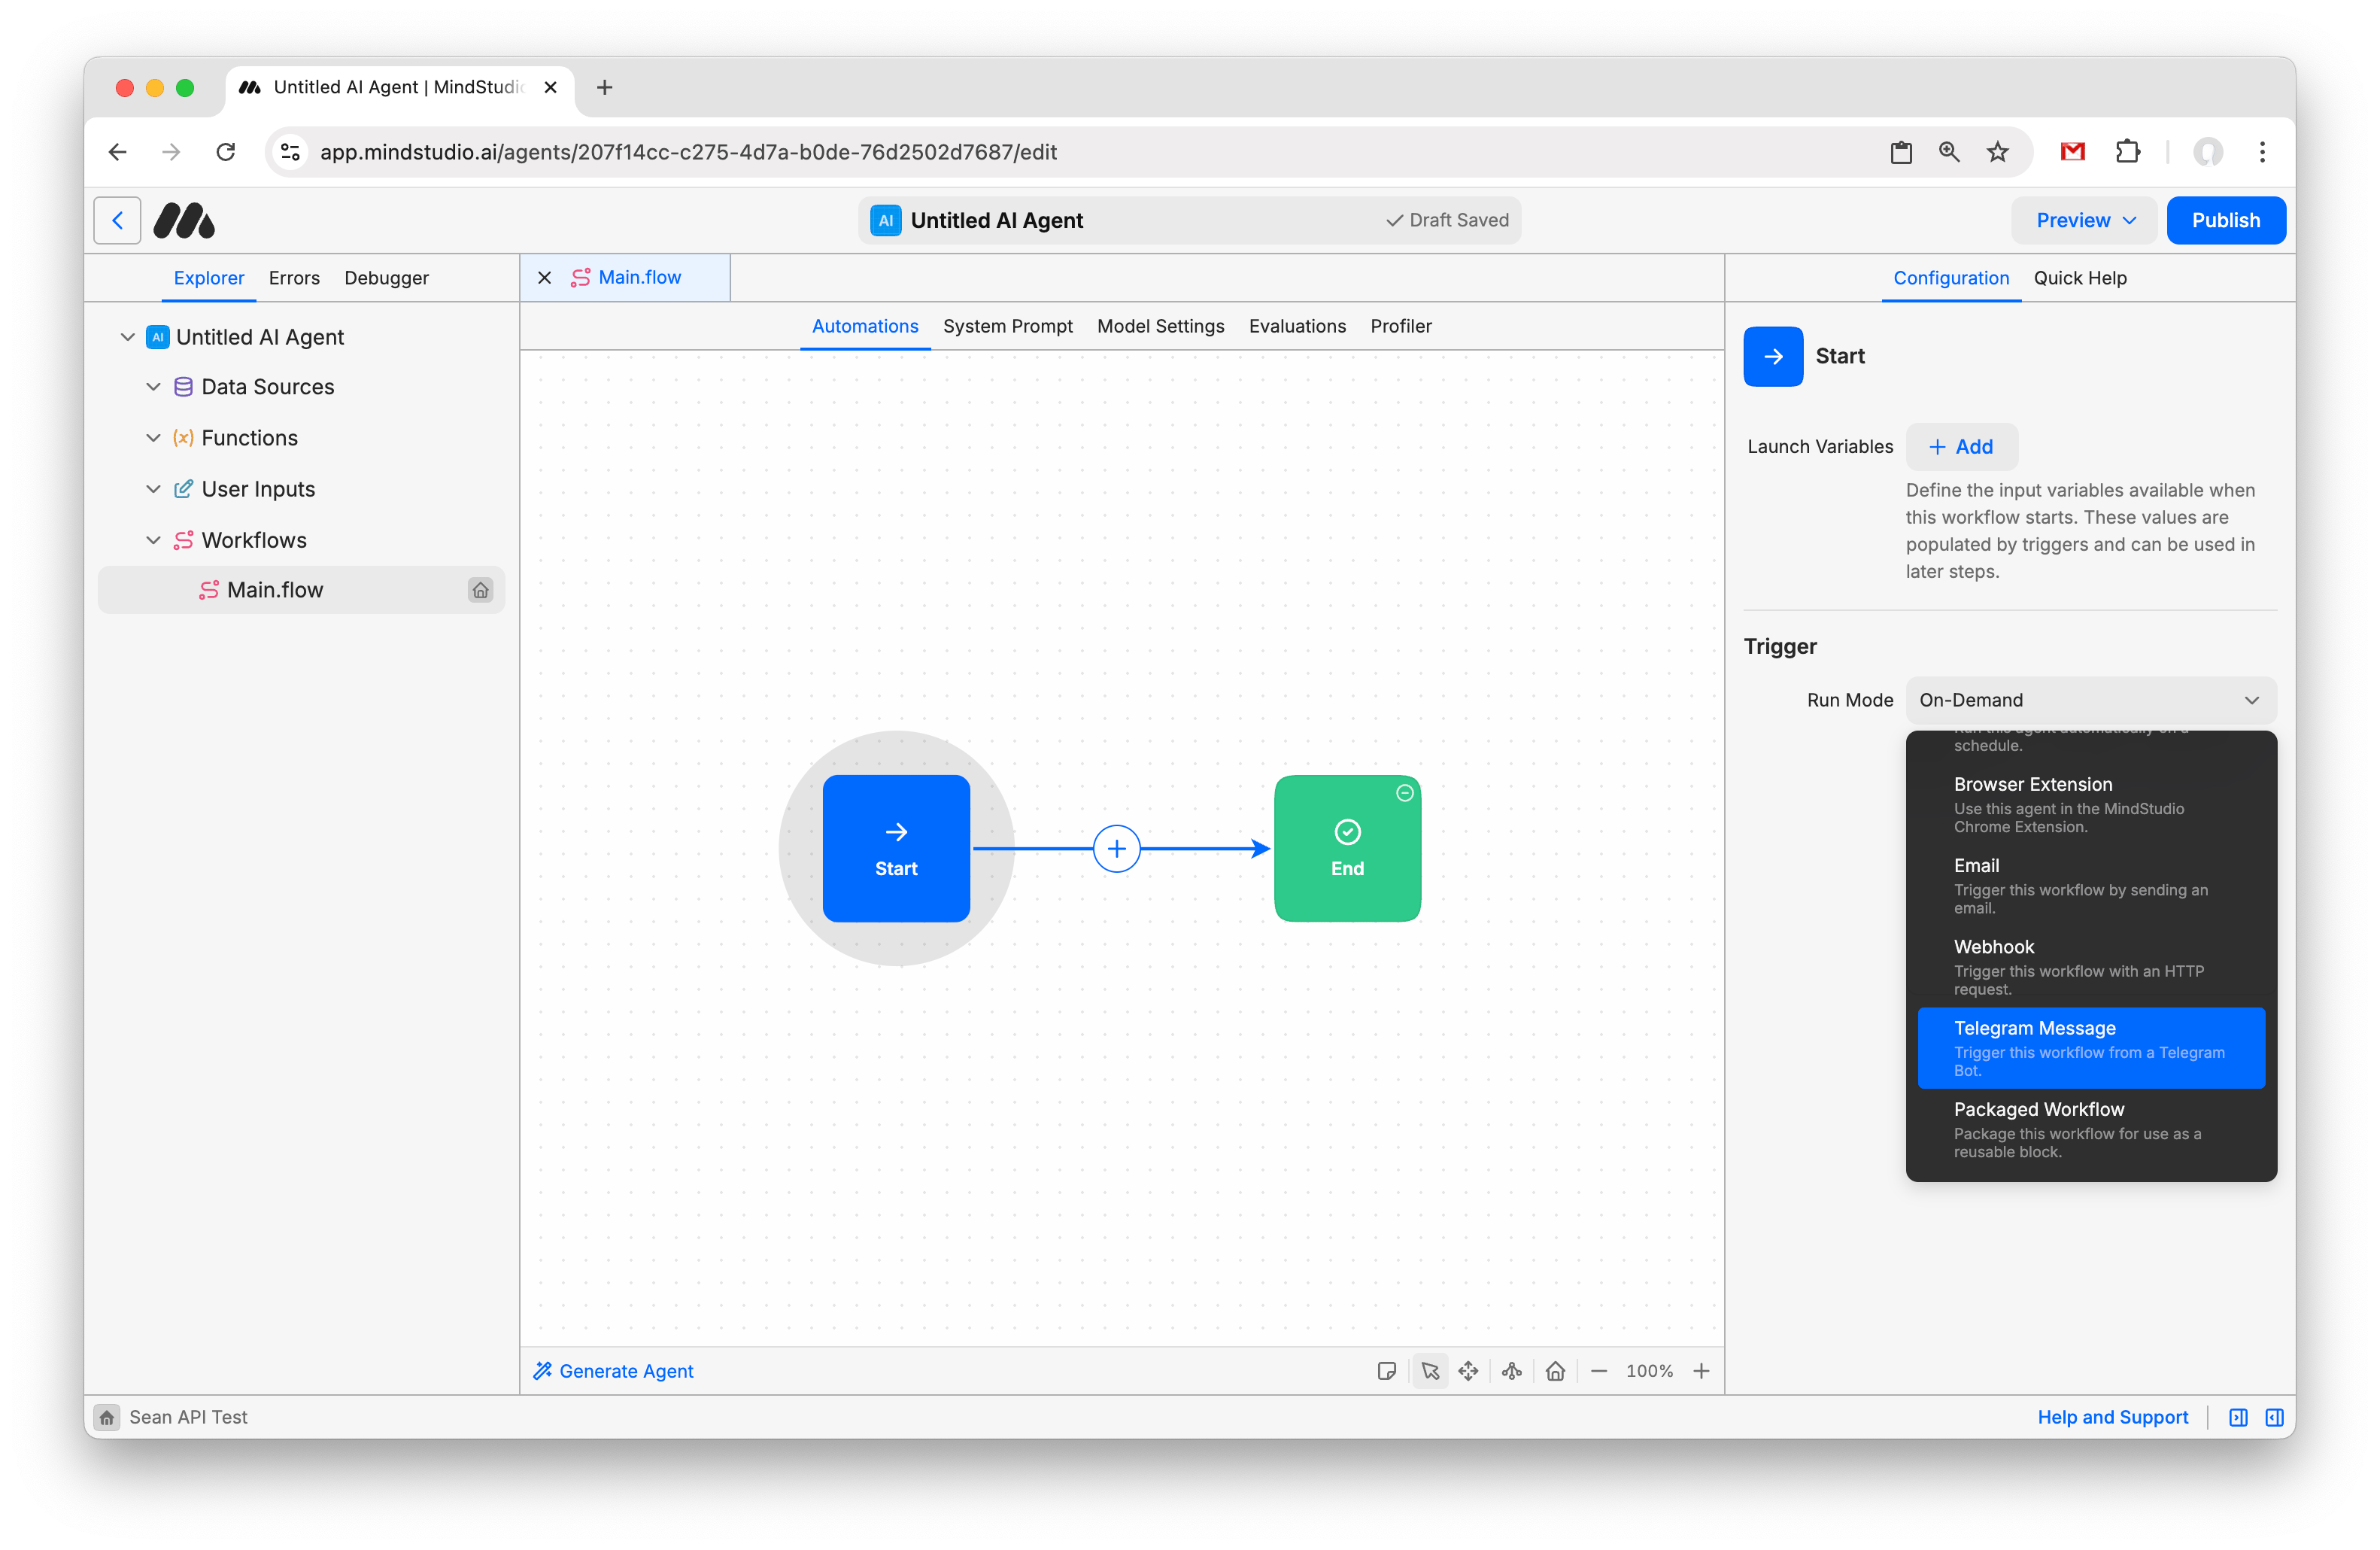
- Click “Register Bot” and paste your Bot Token to register the bot.
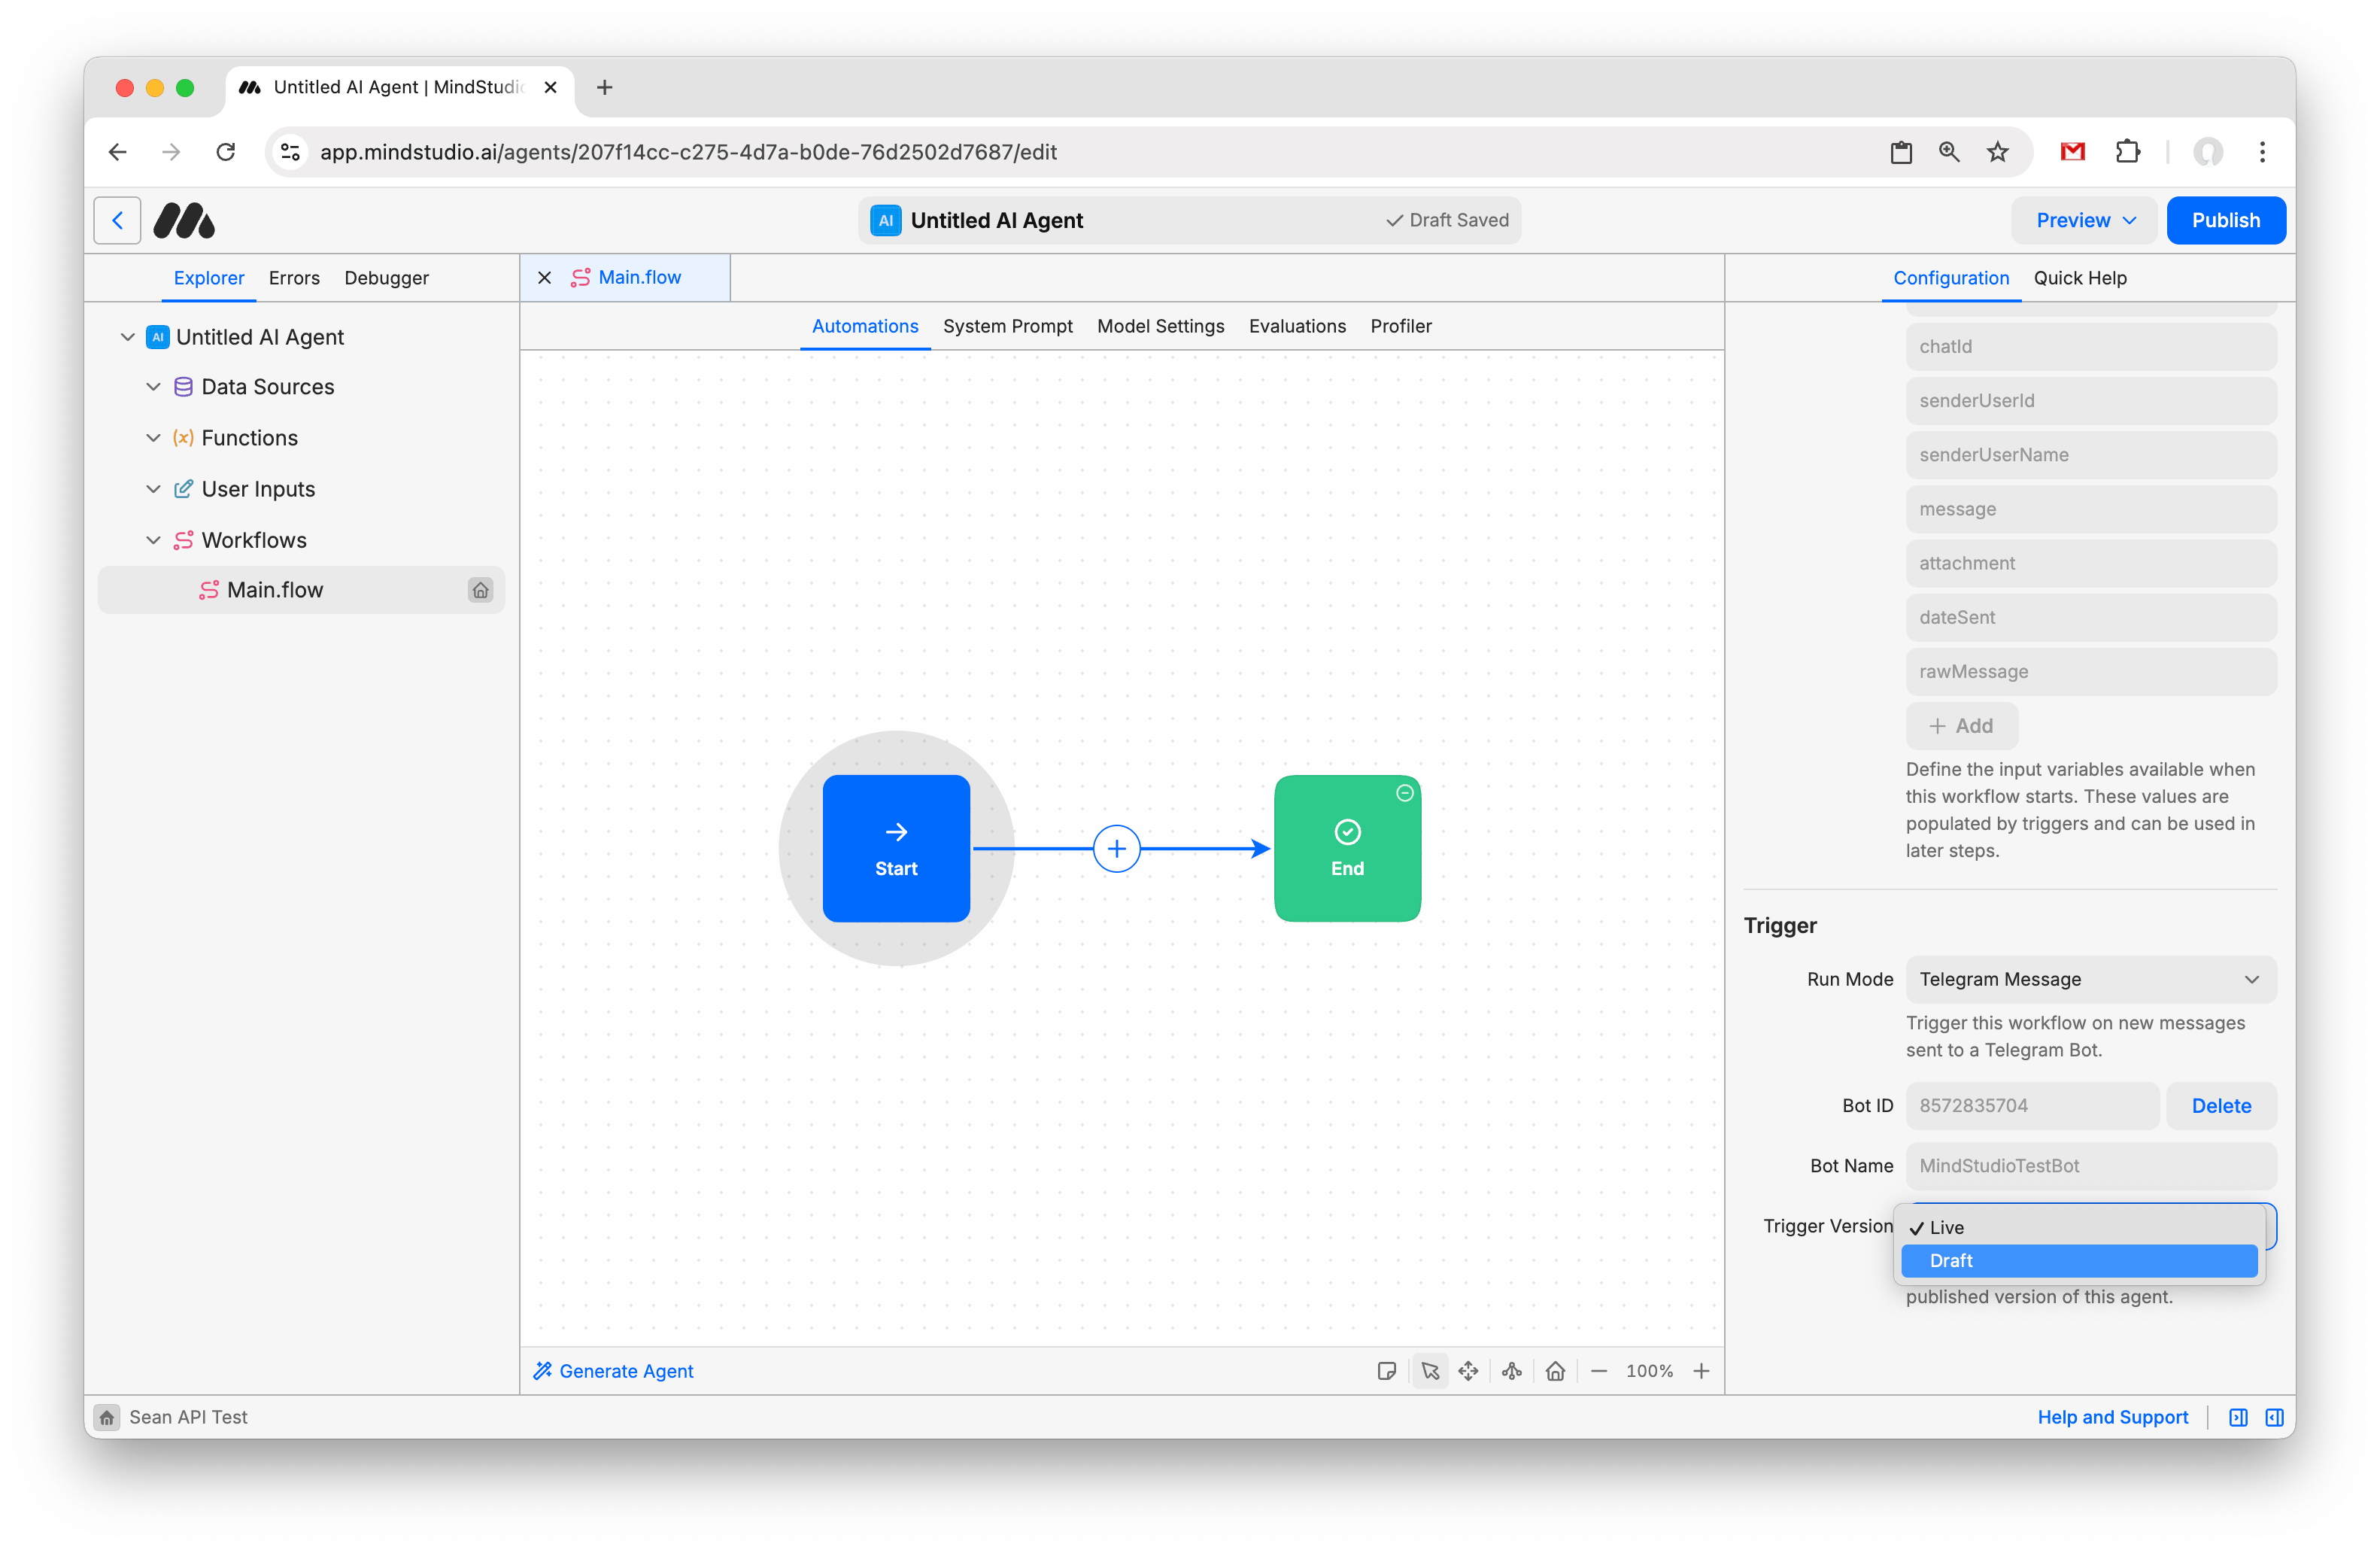
- Change “Trigger Version” to “Draft”. This makes it so incoming messages to your bot will be routed to the Draft version of the Agent. Once you are ready to publish the agent, you can change this to “Live”.
Any messages sent to the bot will now trigger this MindStudio Agent. The message will be available in a variable called {{message}}. Other variables are also available, like “attachment,” which would contain a photo or video if one has been sent.
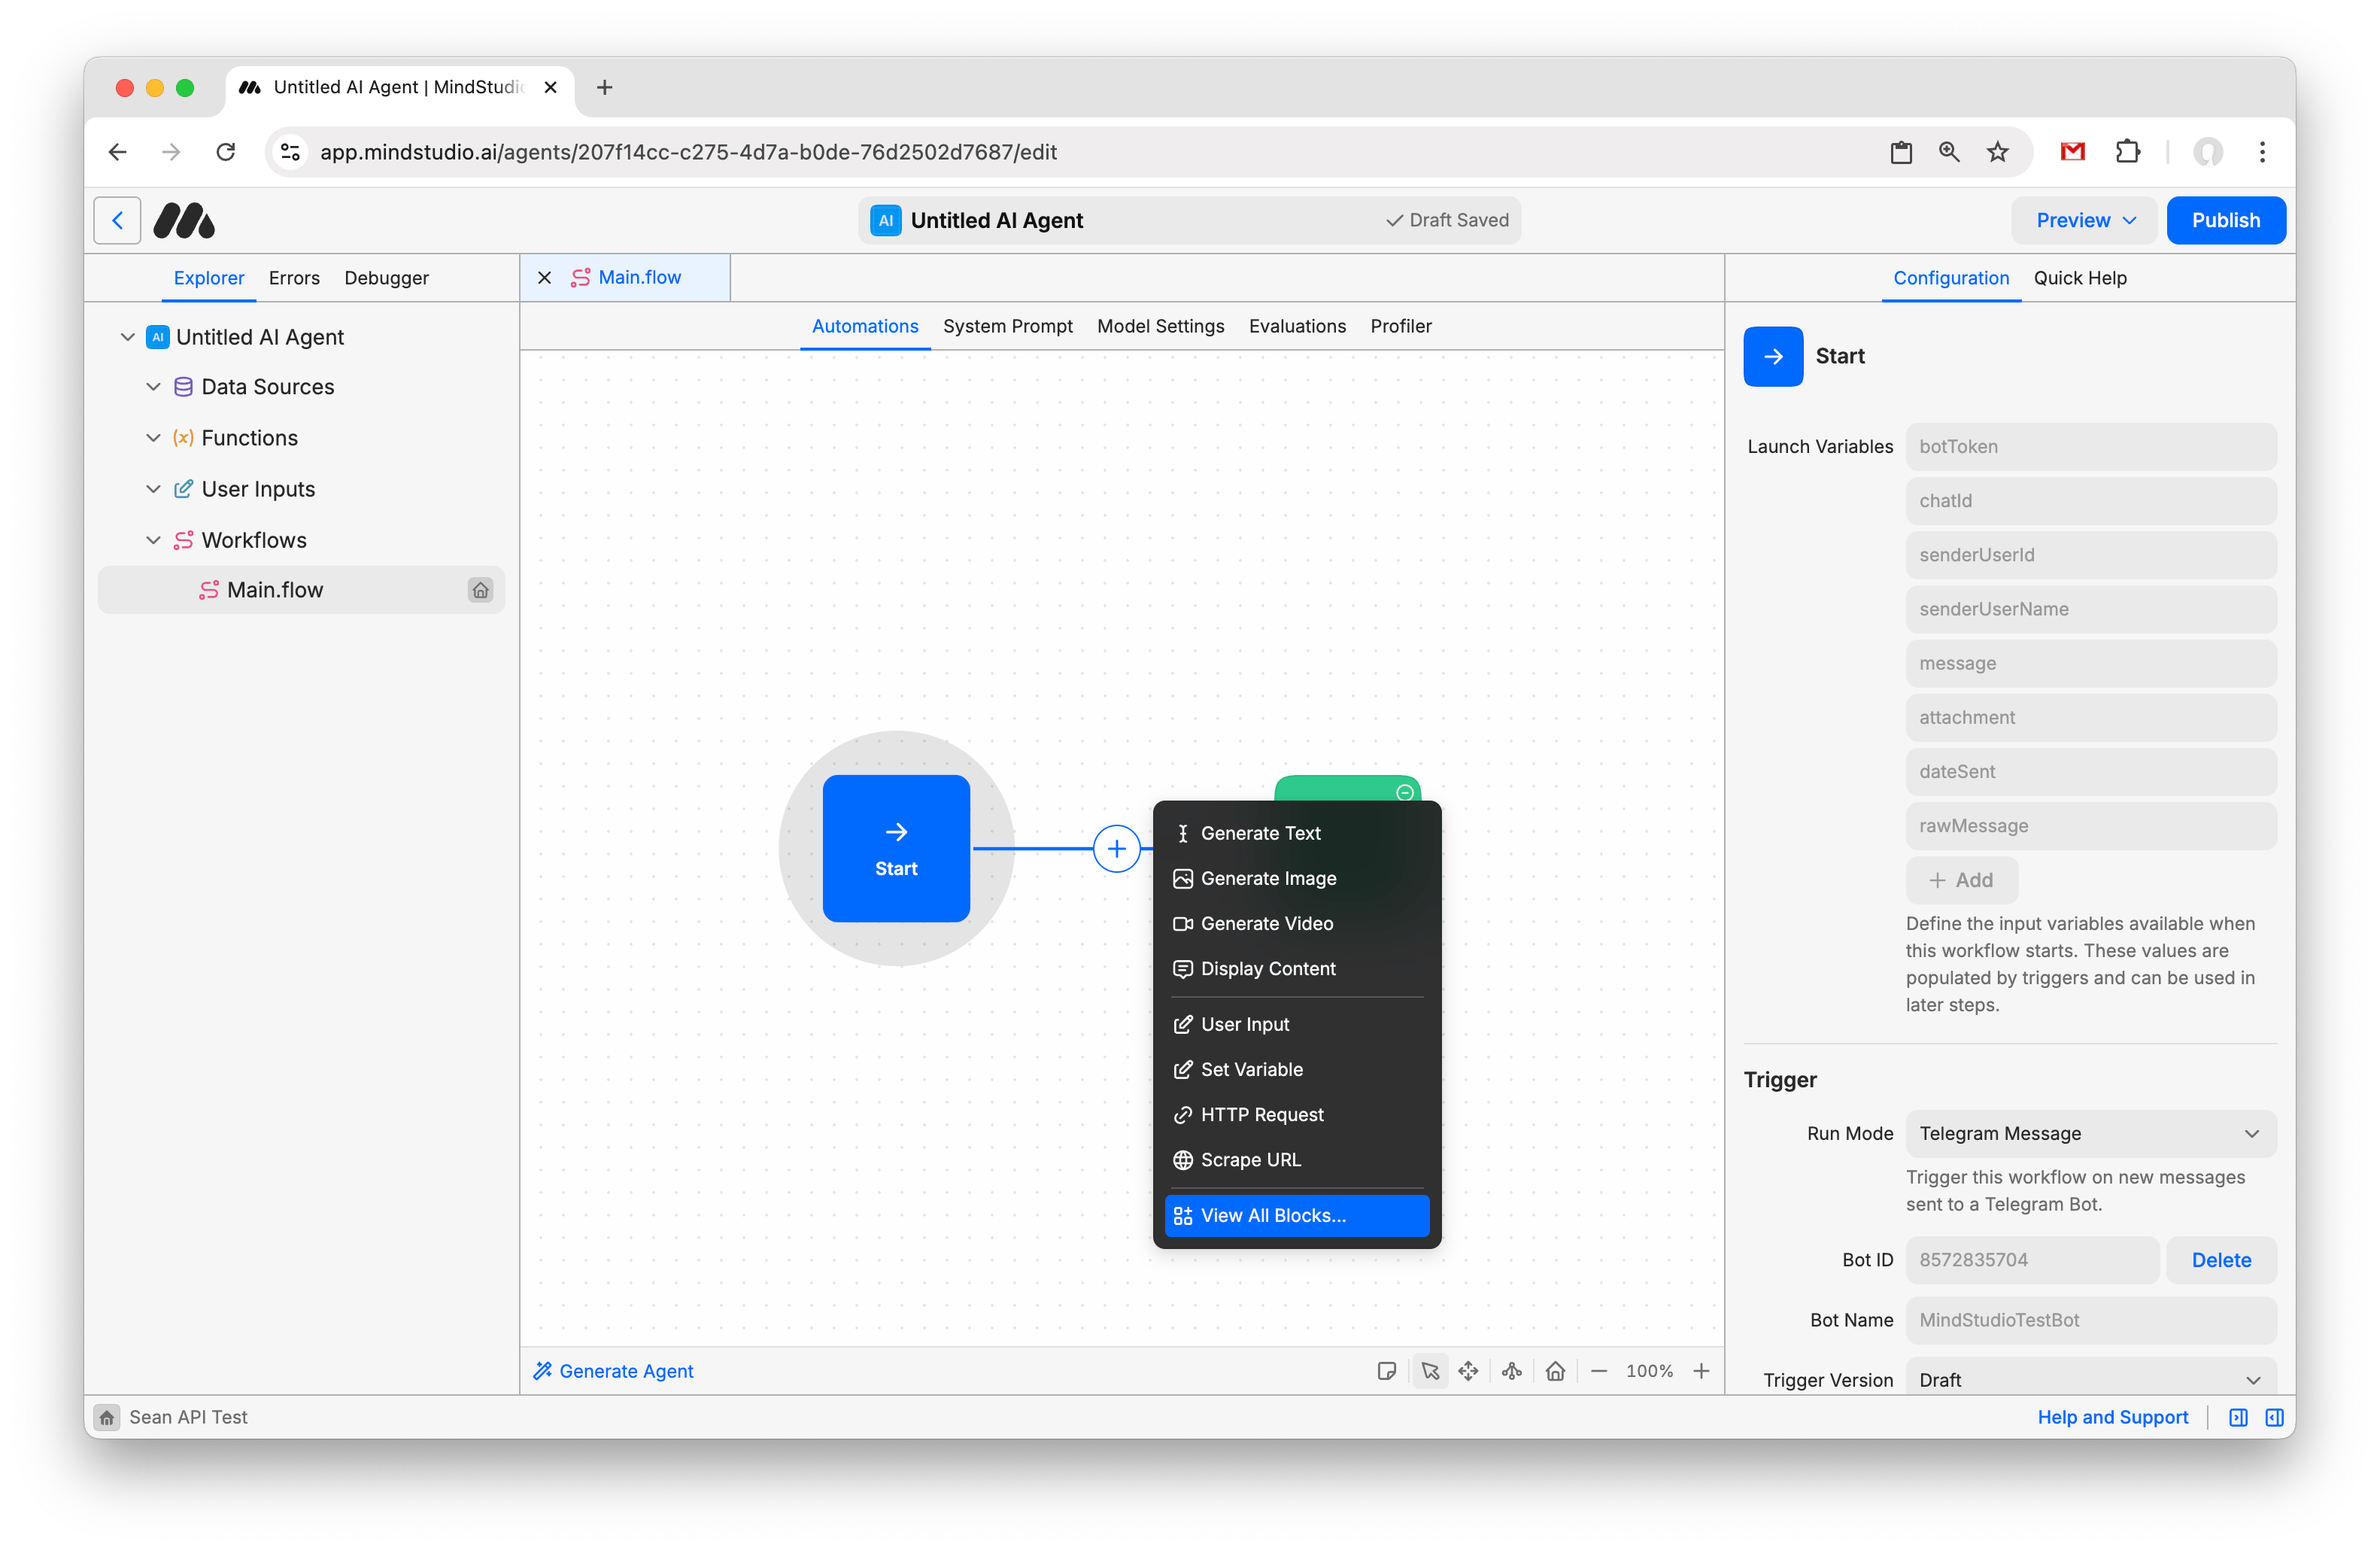
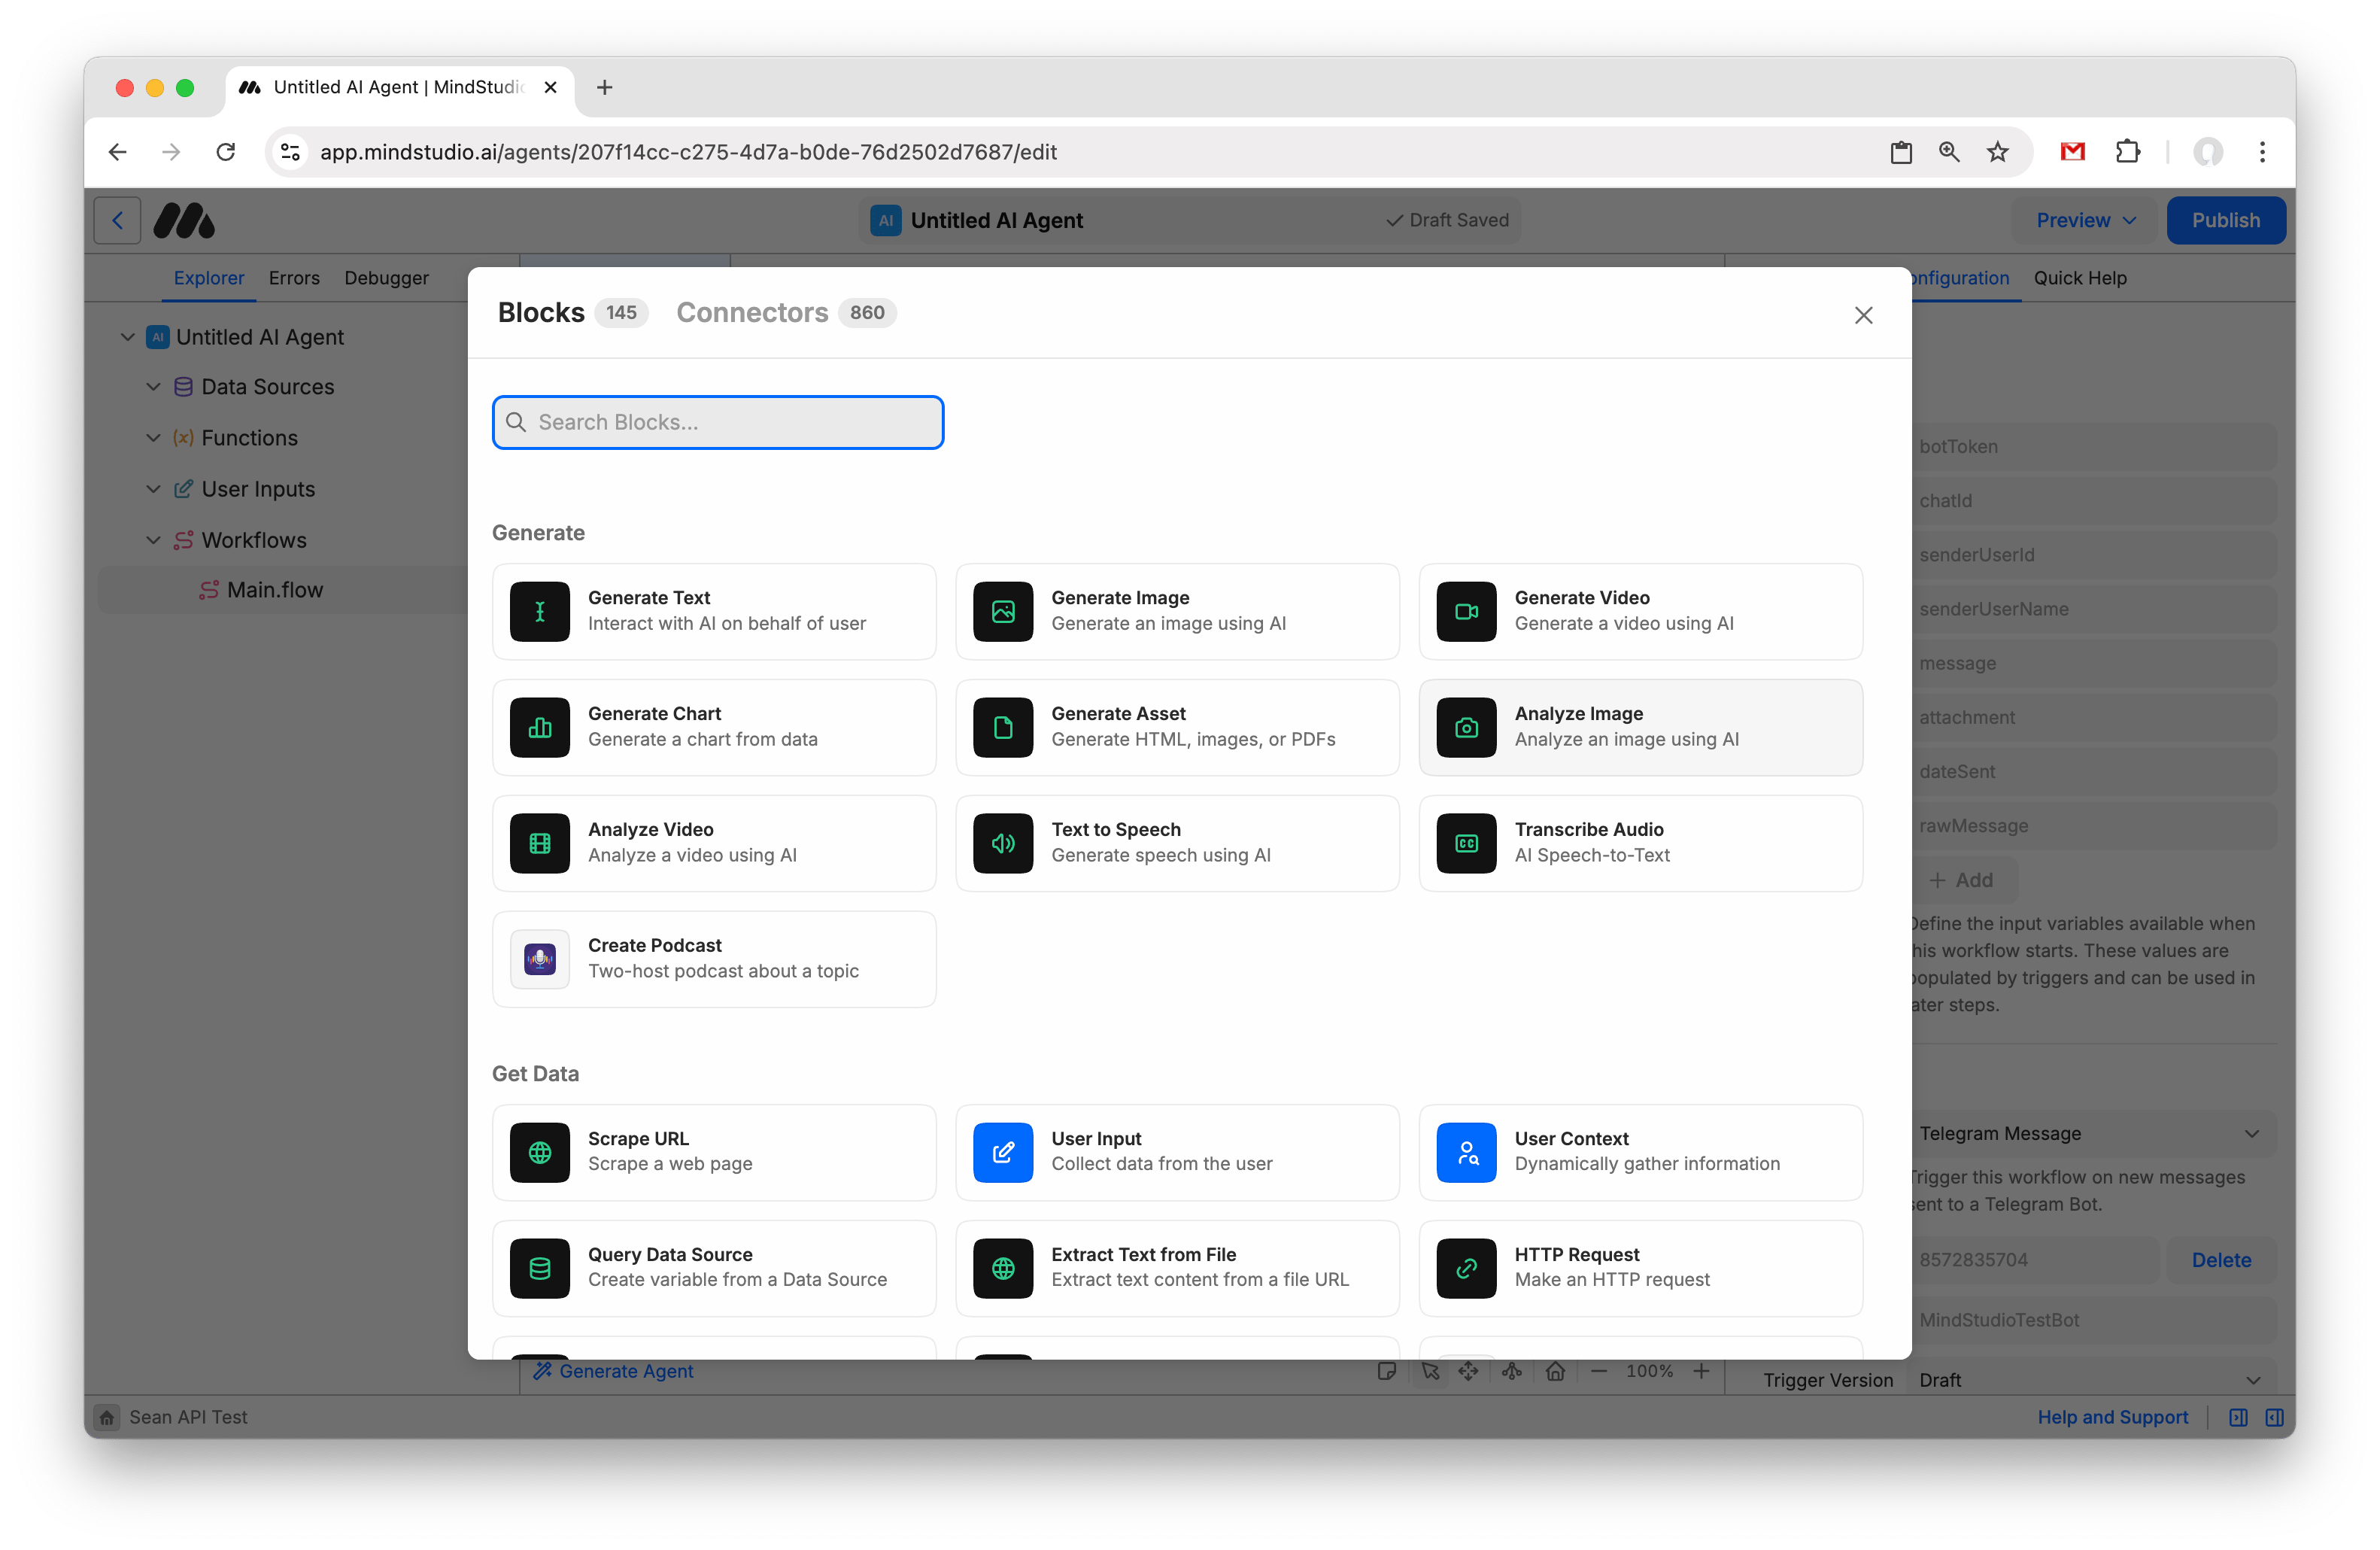
- We are now ready to proceed with building a simple bot. This bot will allow users to send photos of restaurant menus, and then use Google Gemini to analyze the photo and return recommendations based on the user’s specified dietary preferences. To start, click the “+” between the Start and End blocks and select “View All Blocks”.

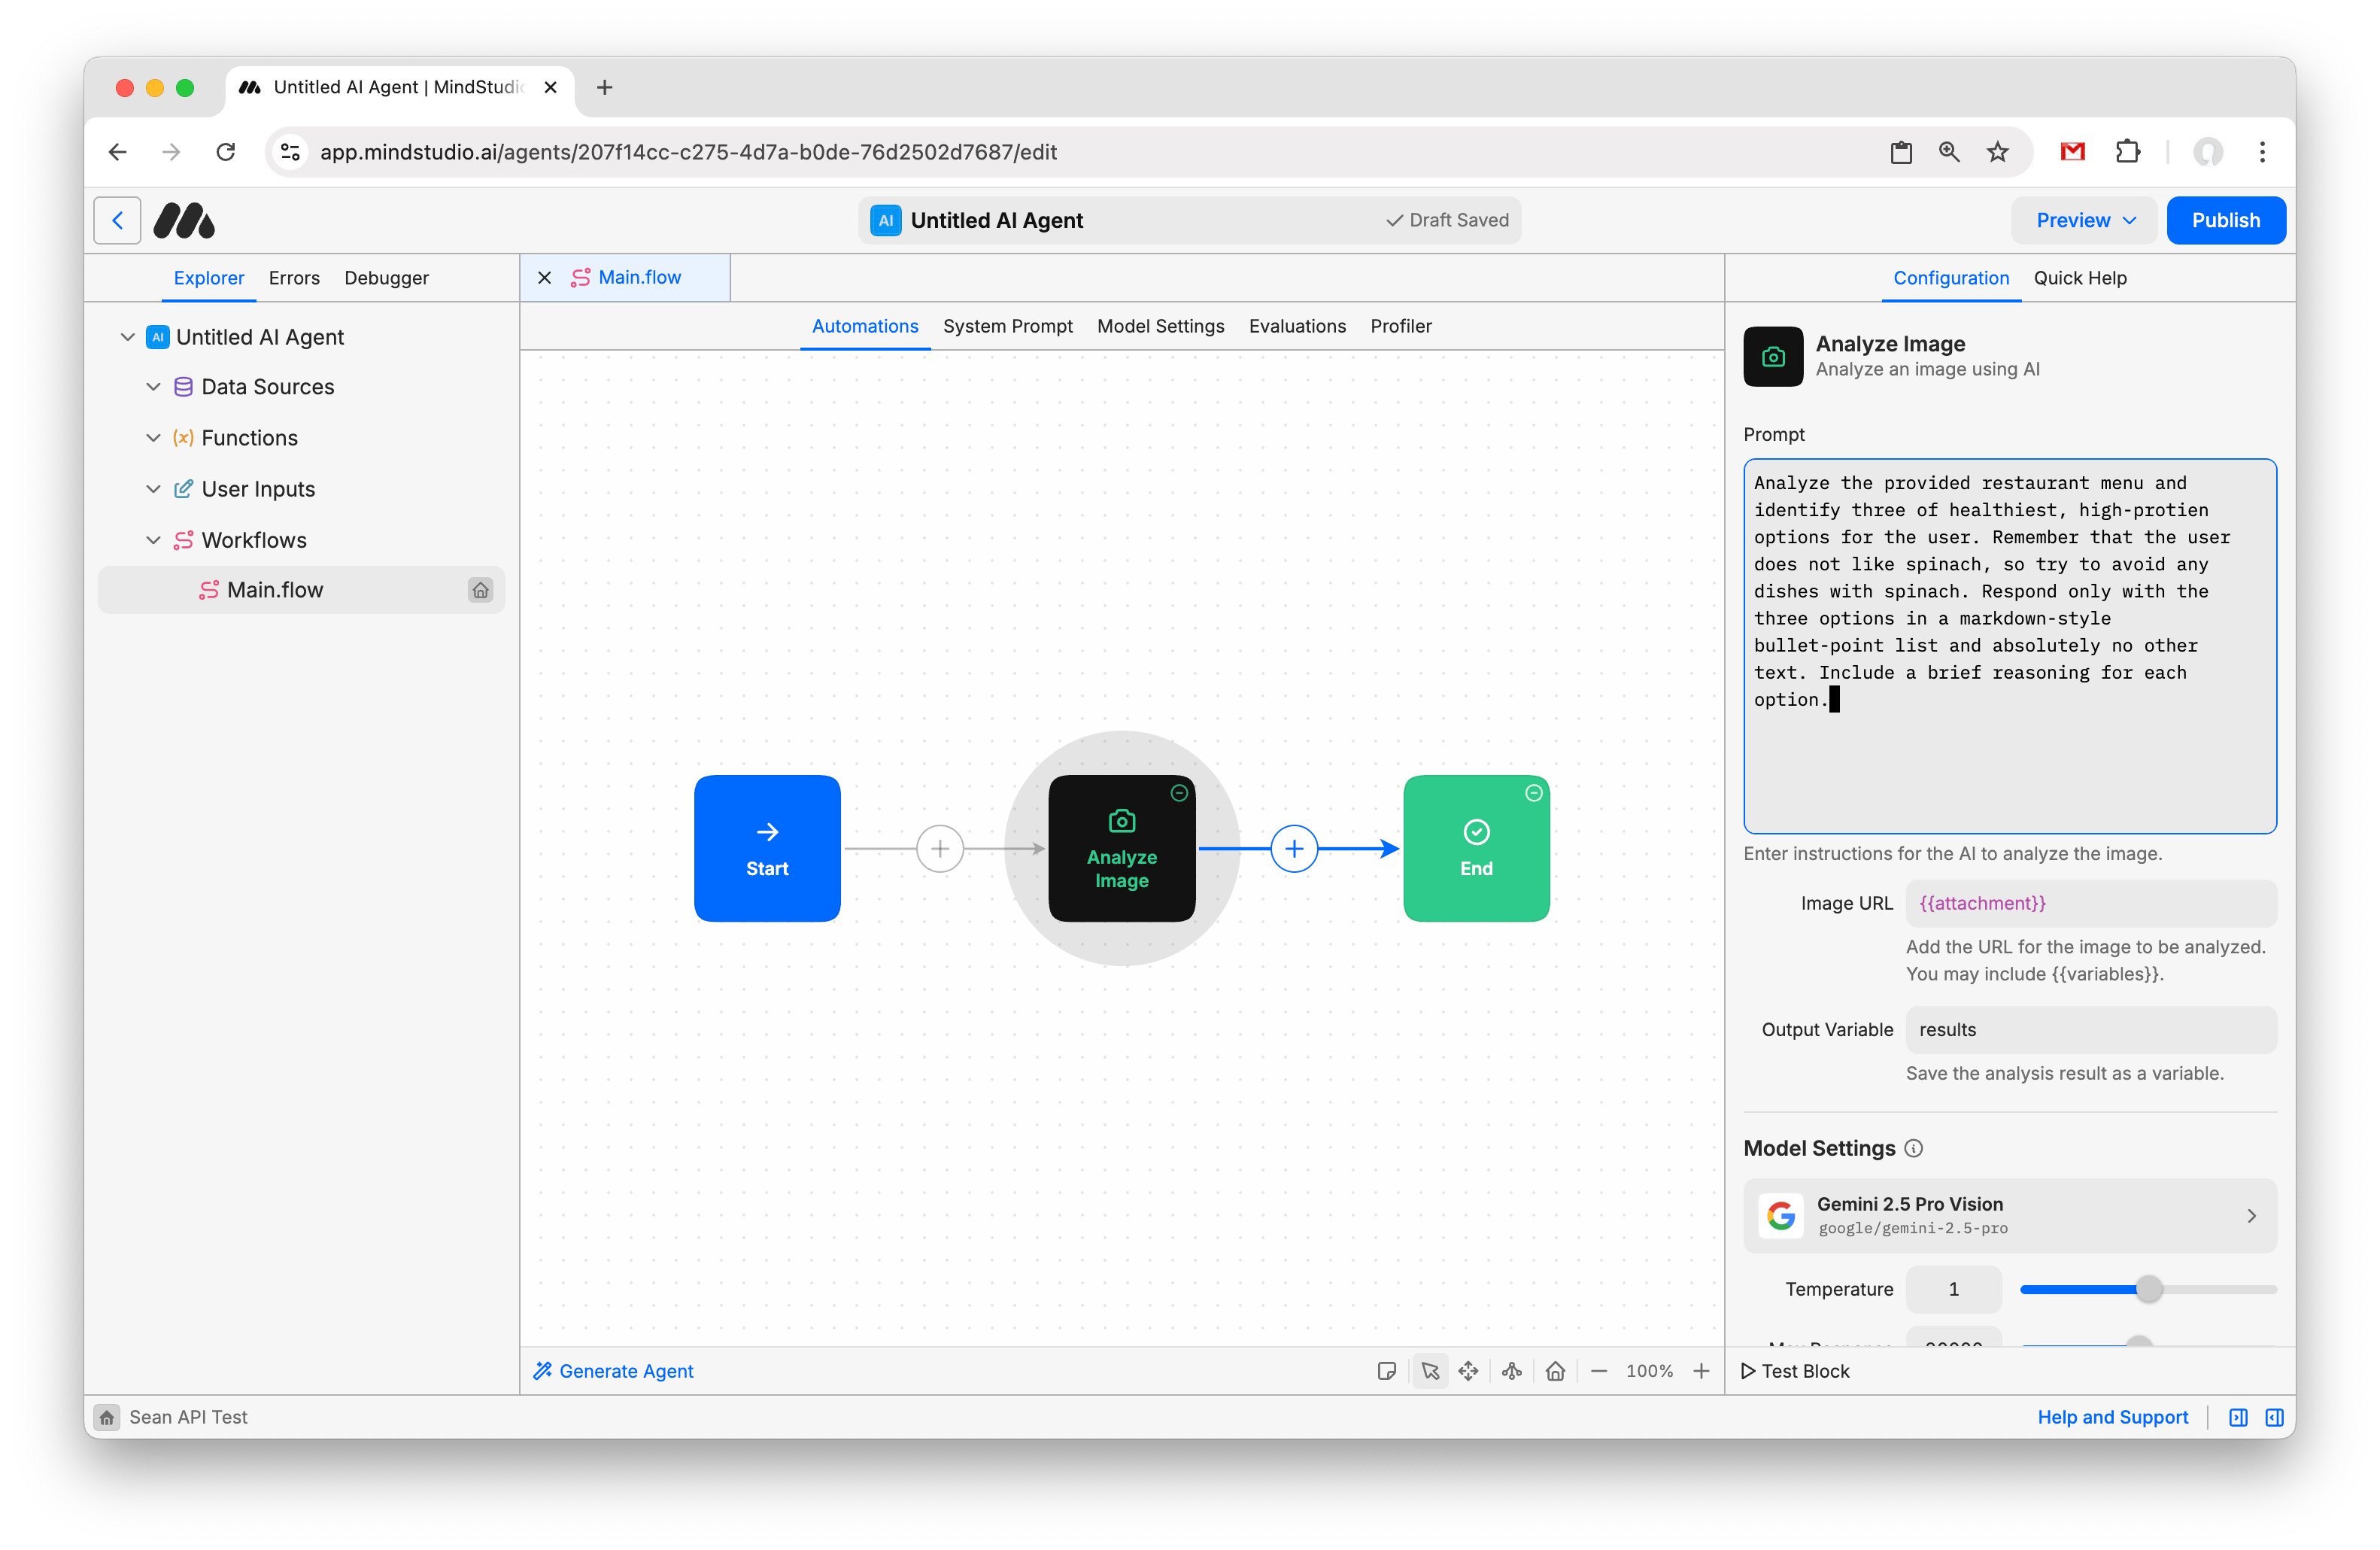
- Select “Analyze Image”.
- For Prompt, write:
“Analyze the provided restaurant menu and identify three of healthiest, high-protien options for the user. Remember that the user does not like spinach, so try to avoid any dishes with spinach. Respond only with the three options in a markdown-style bullet-point list and absolutely no other text. Include a brief reasoning for each option.”
For Image URL, write: “{{attachment}}”. This will substitute the URL of the image sent by the user when the agent runs.
For Output Variable, write: “results”. This will save the model’s output to a variable called results, which we will then use the next block to send back to the user.
Leave all other settings as their default.
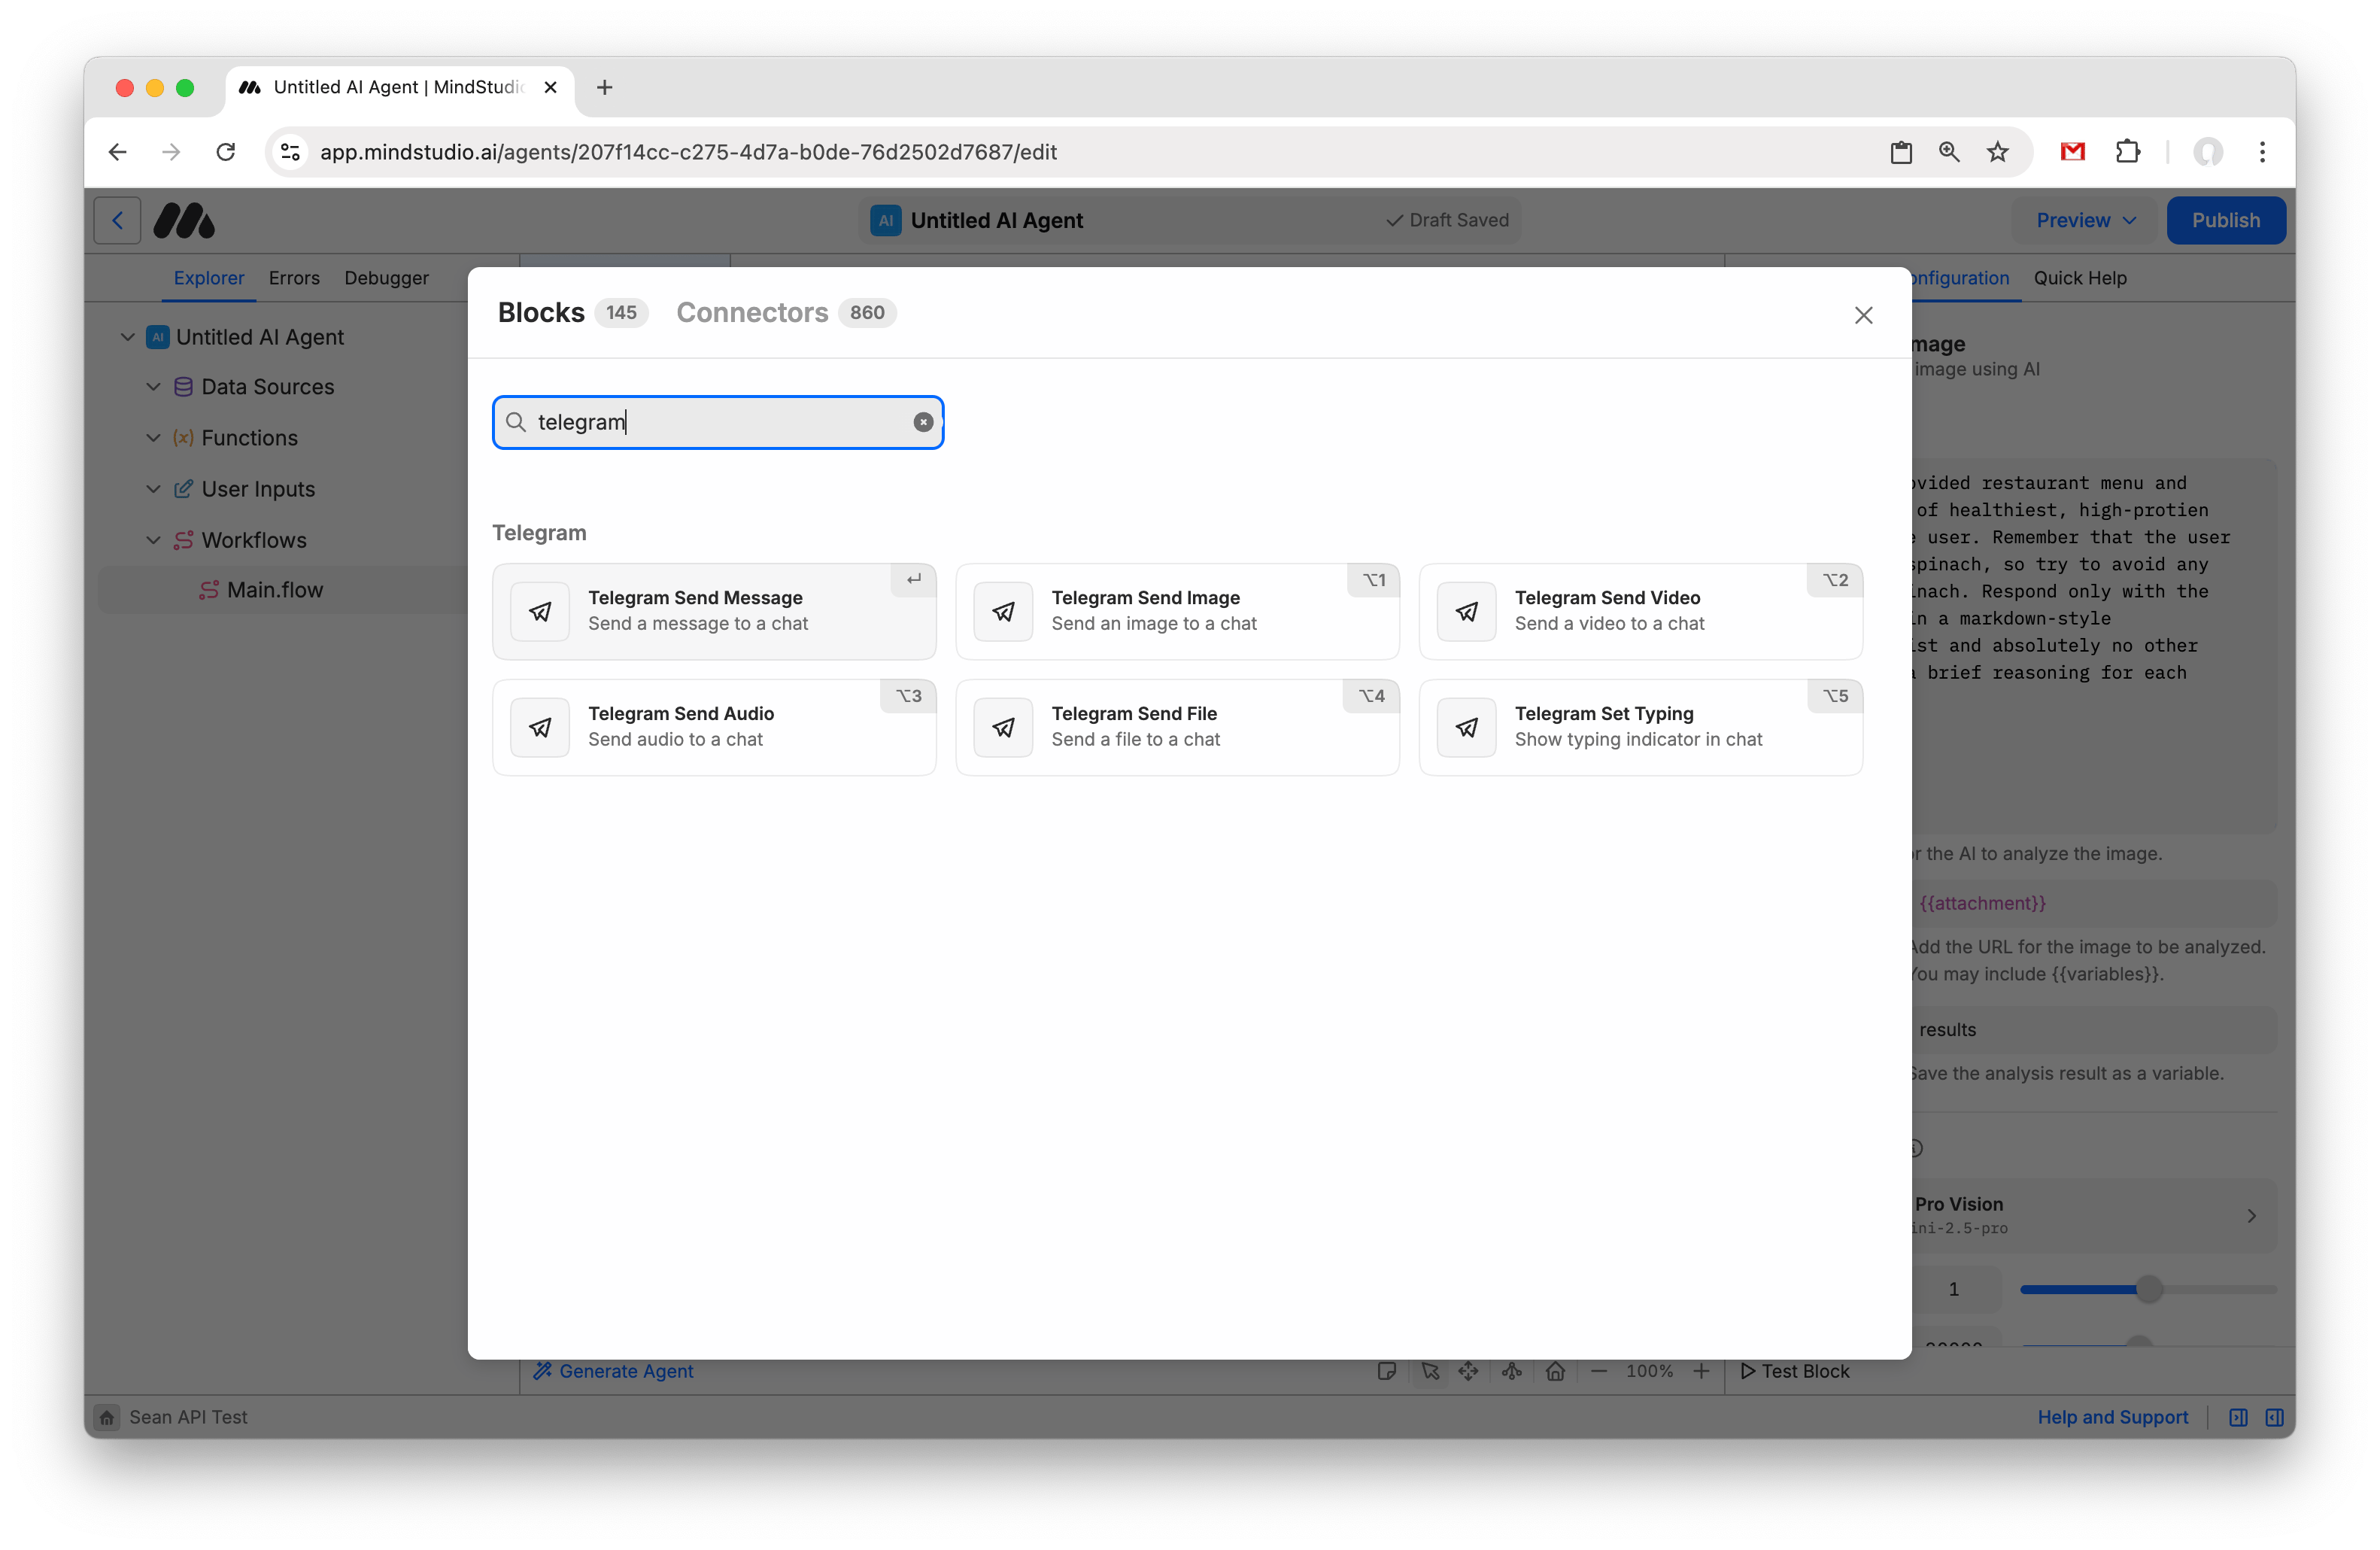
- Add another block.
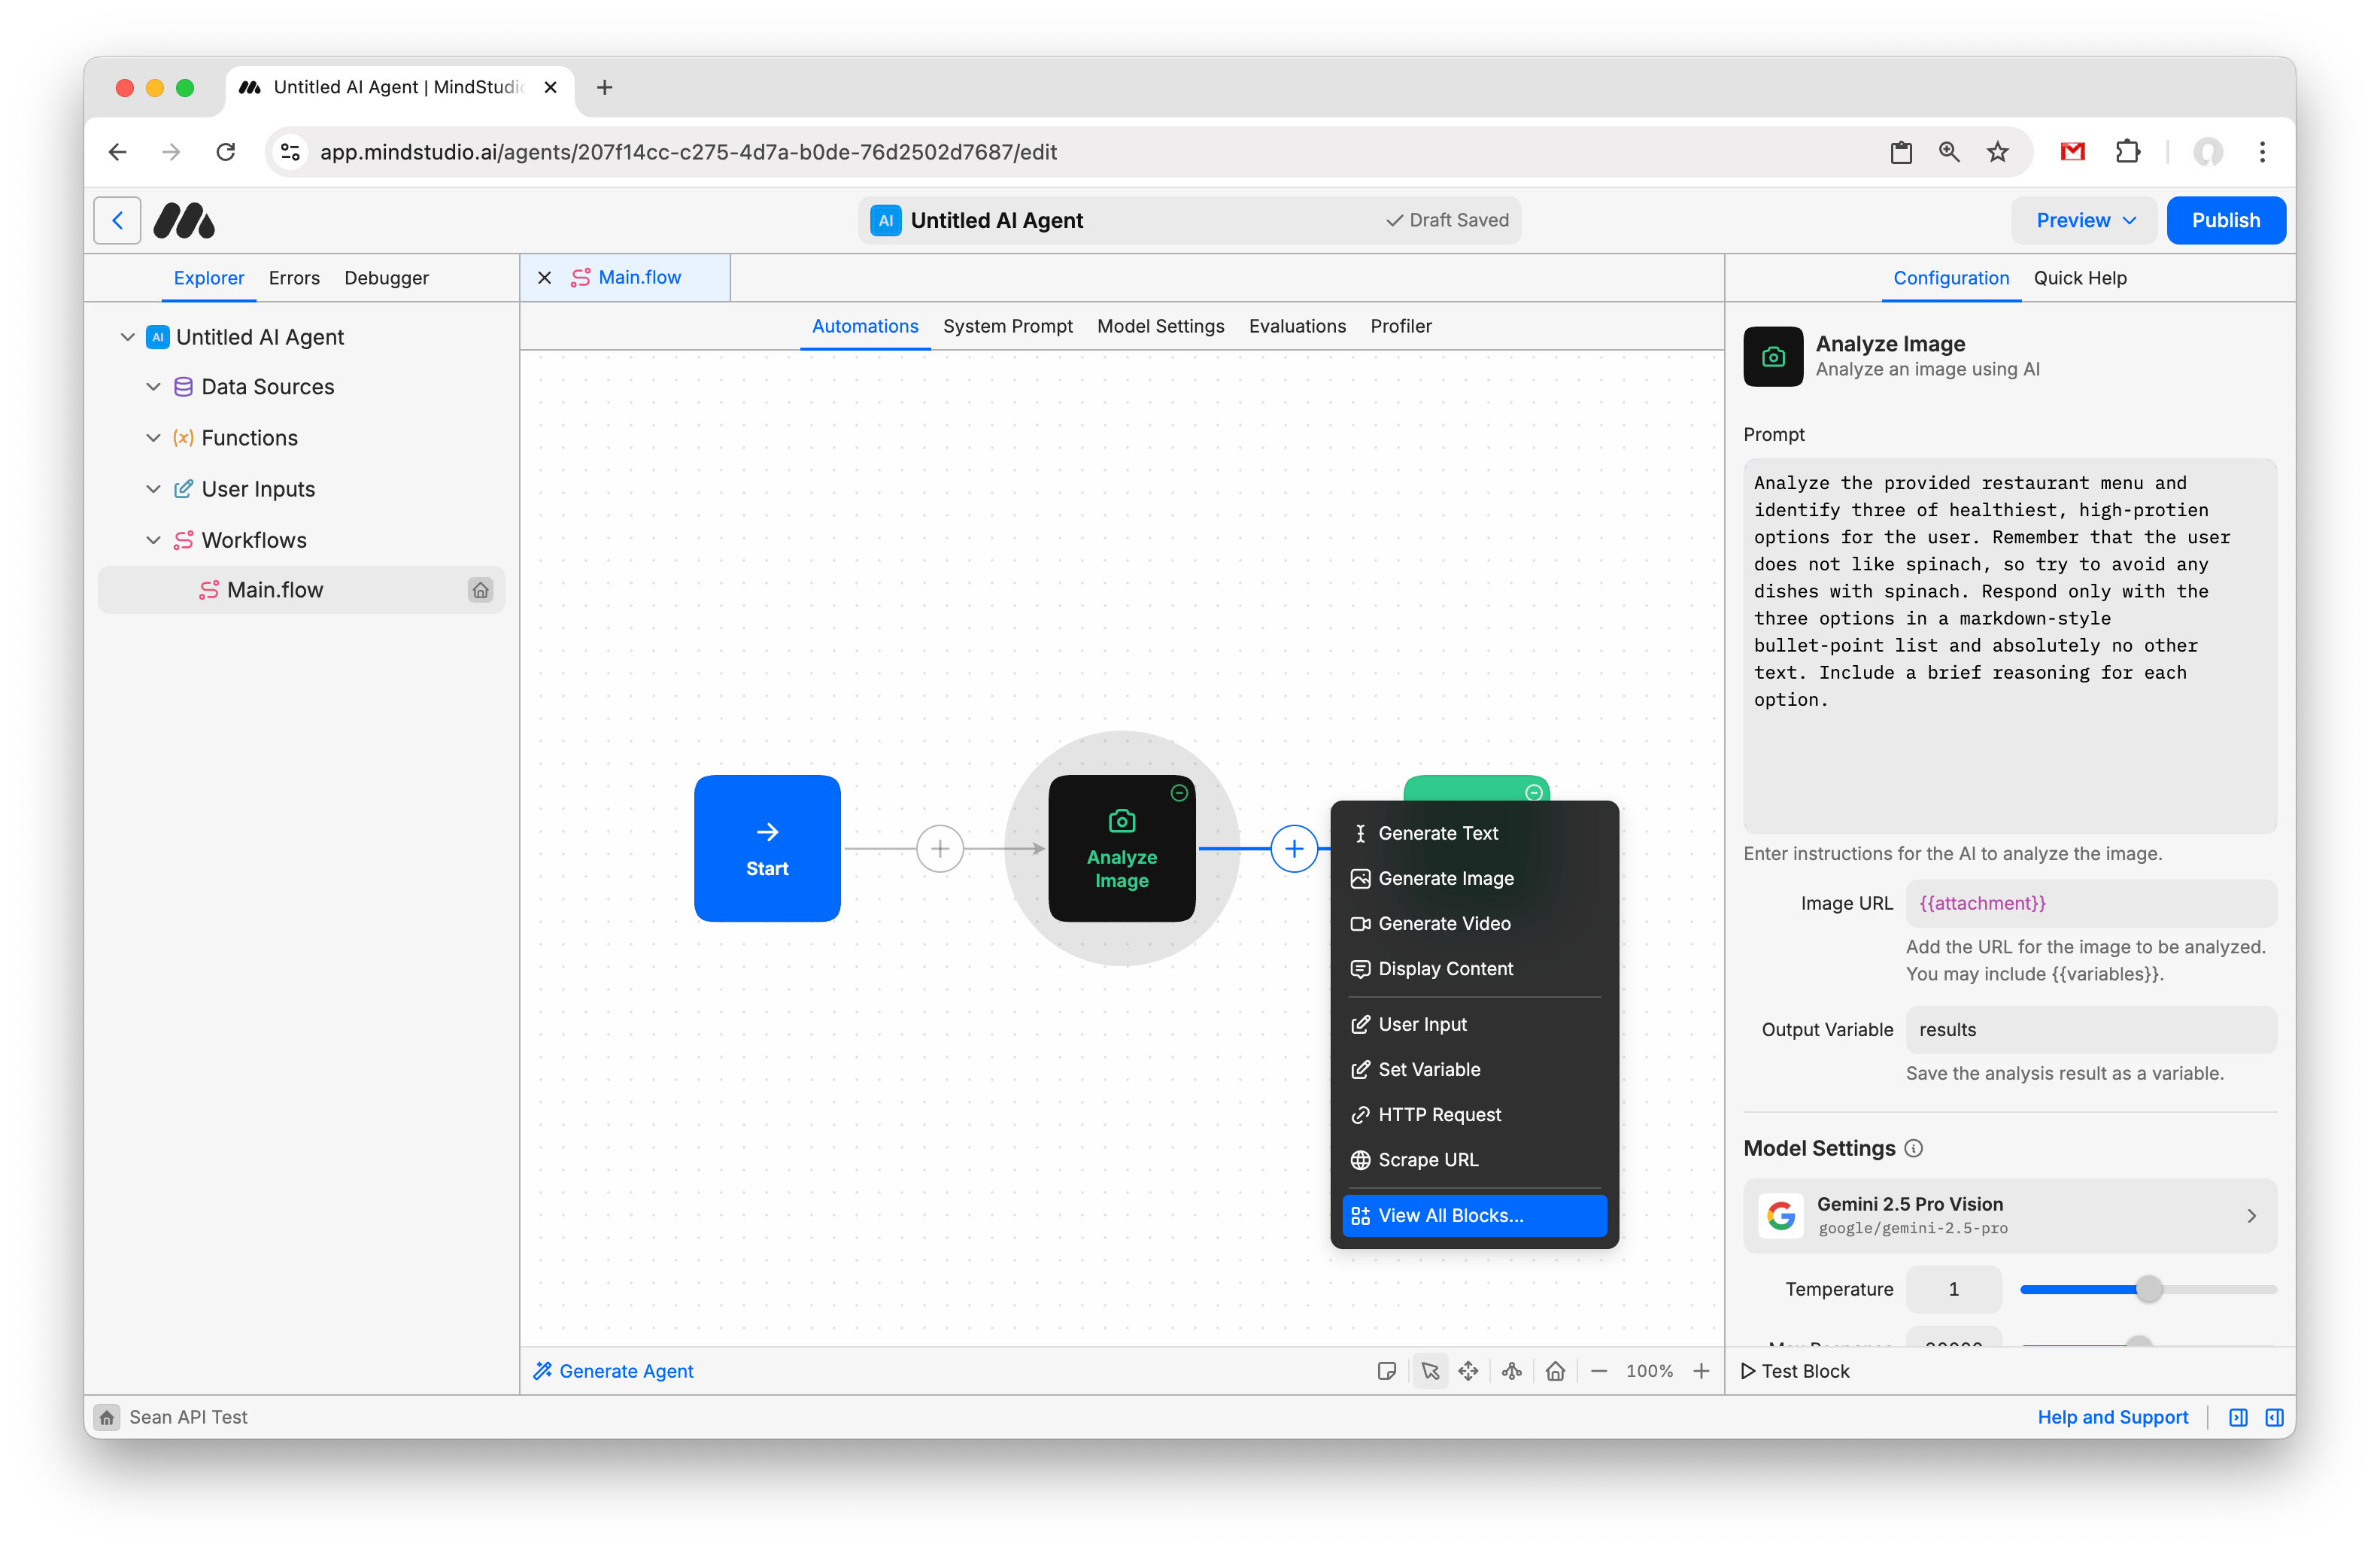
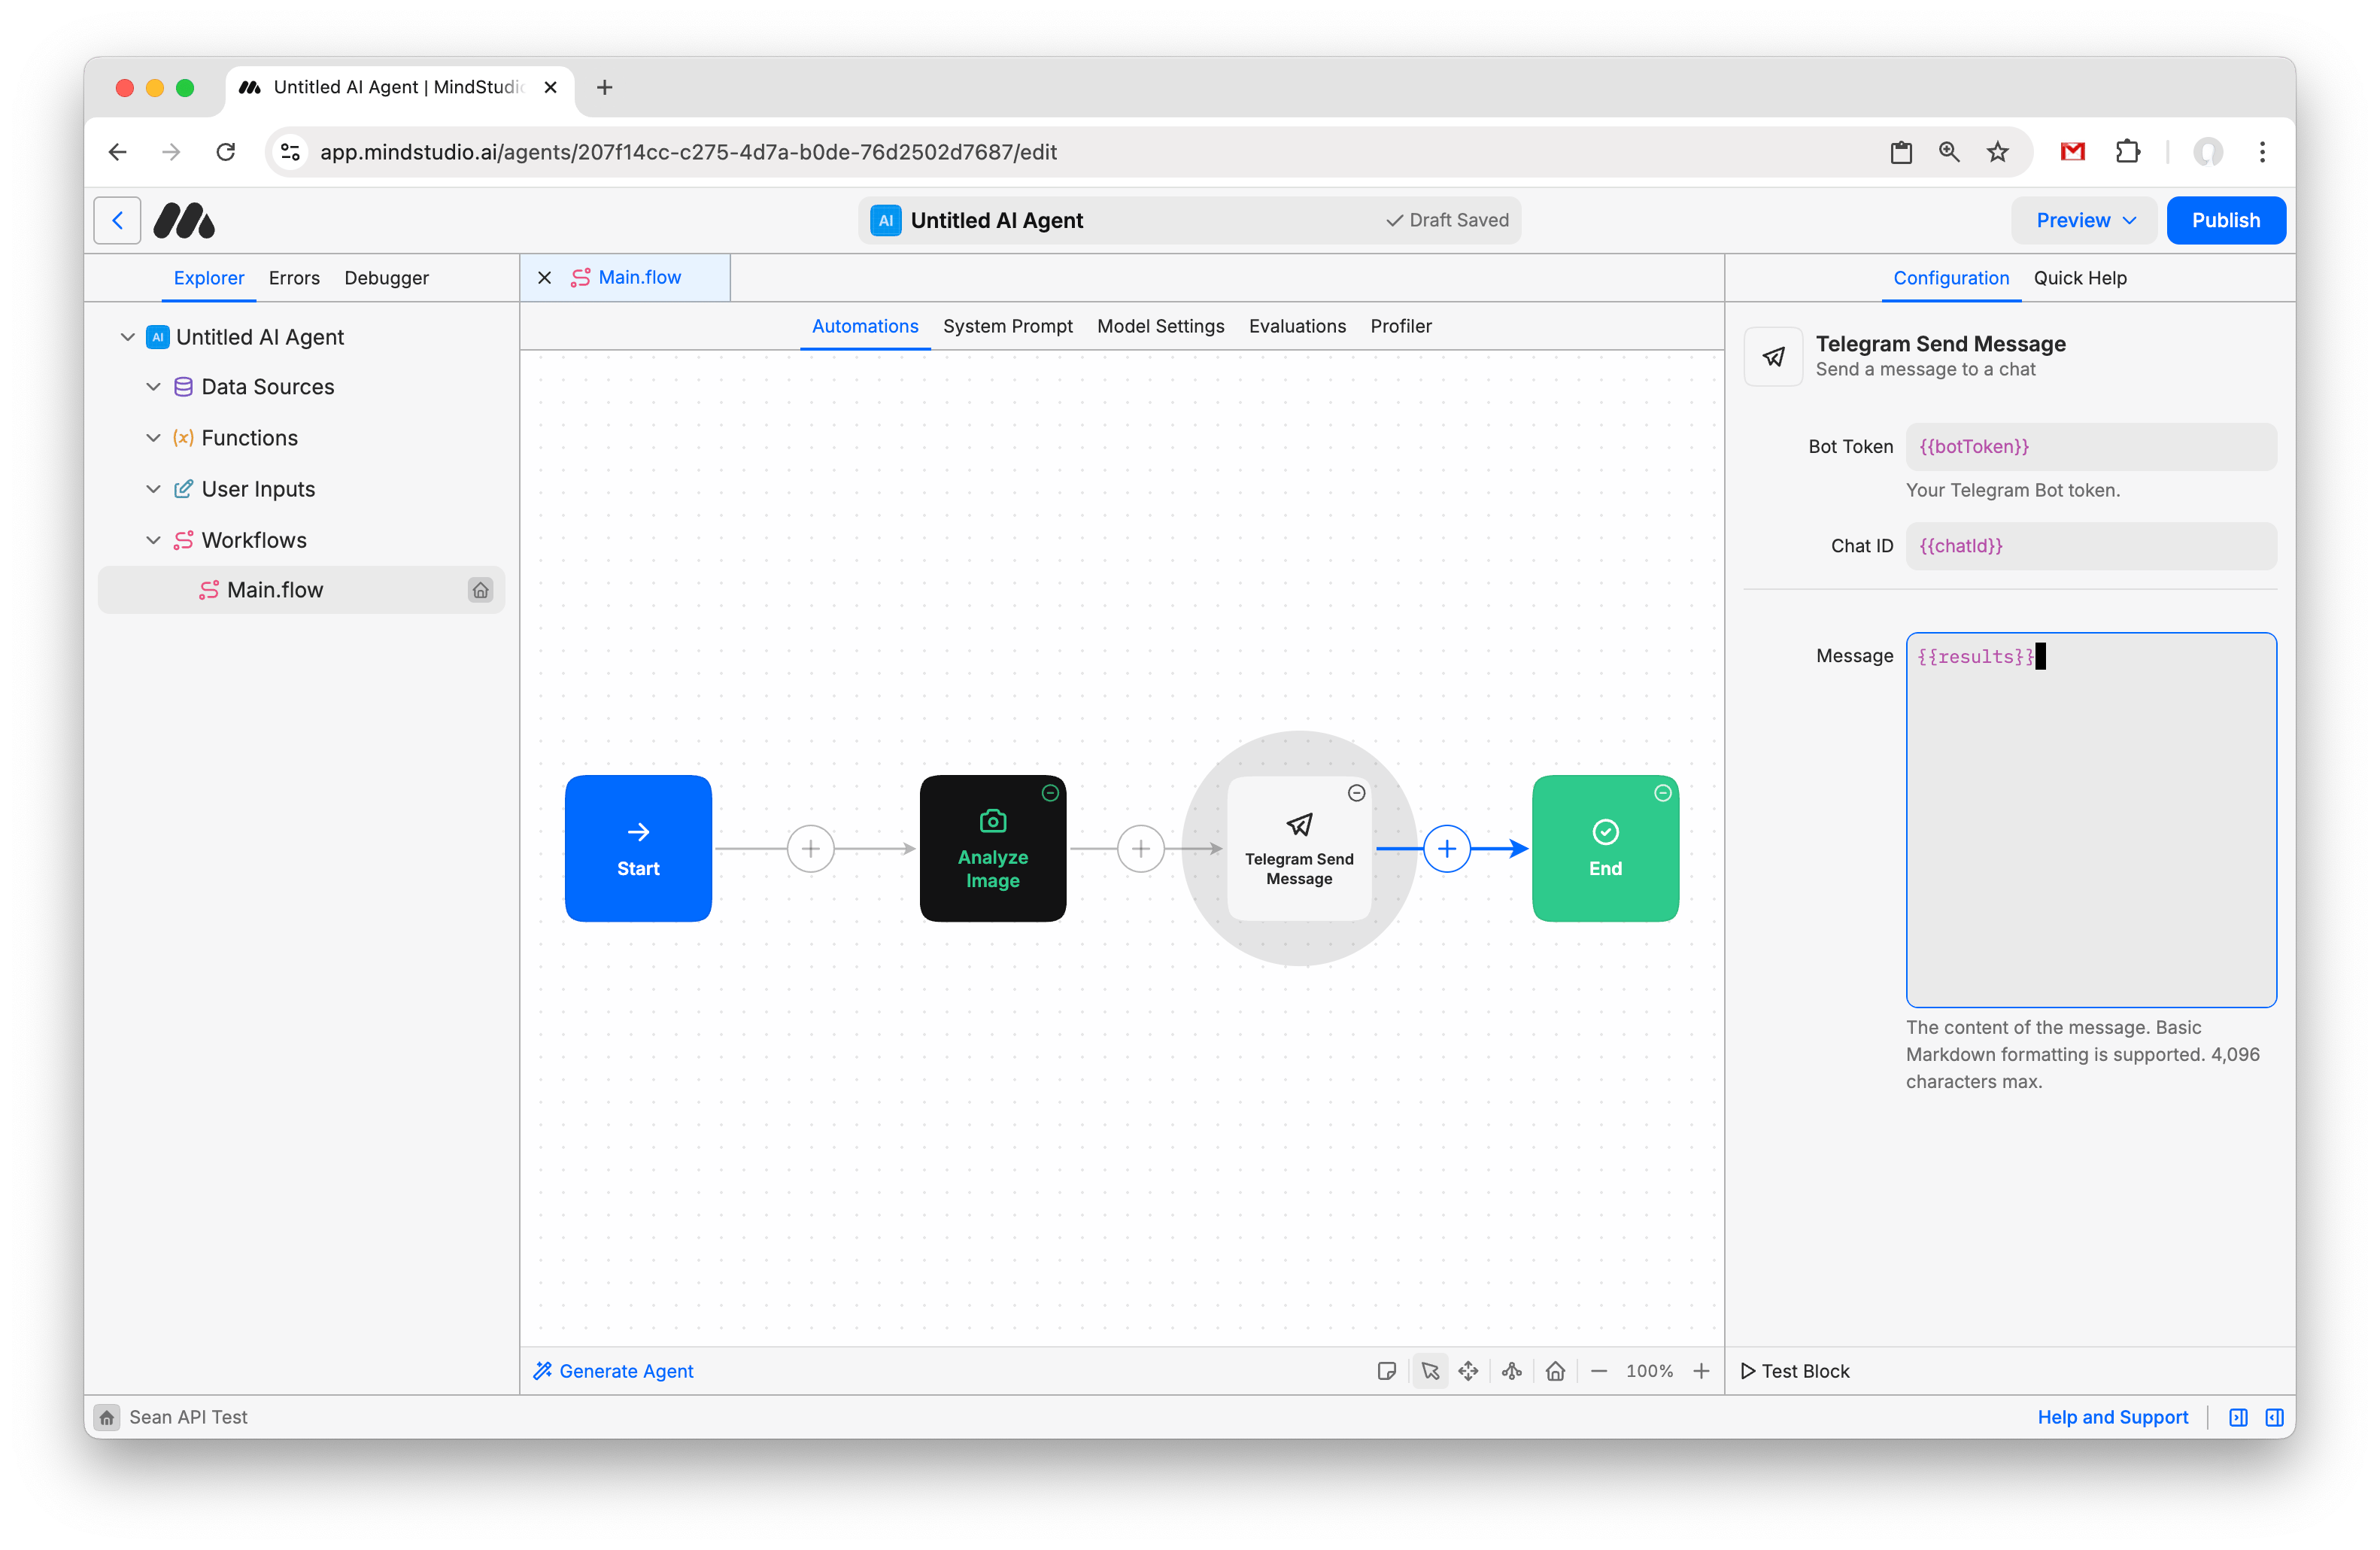
- Search for “Telegram”, and then add the “Telegram Send Message” block.
- In the Message field, type: “{{results}}”. This will send the model output we saved from the last block to the user.
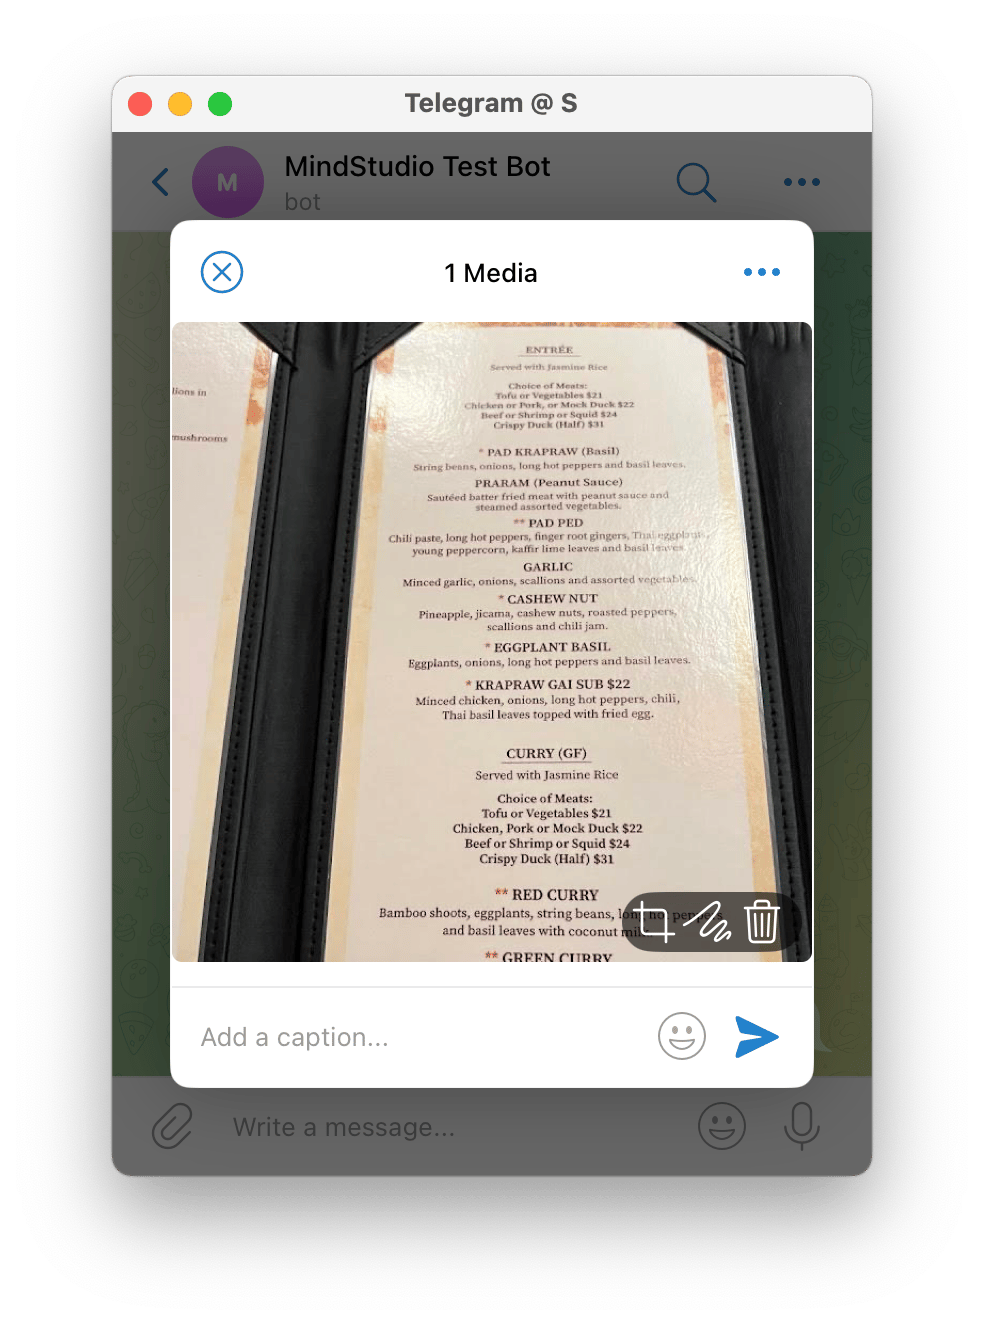
- Message your new bot on Telegram. Send it a photo of a restaurant menu (I found one on Google Images just to test).

- Send a Telegram message of the photo to the Telegram bot.
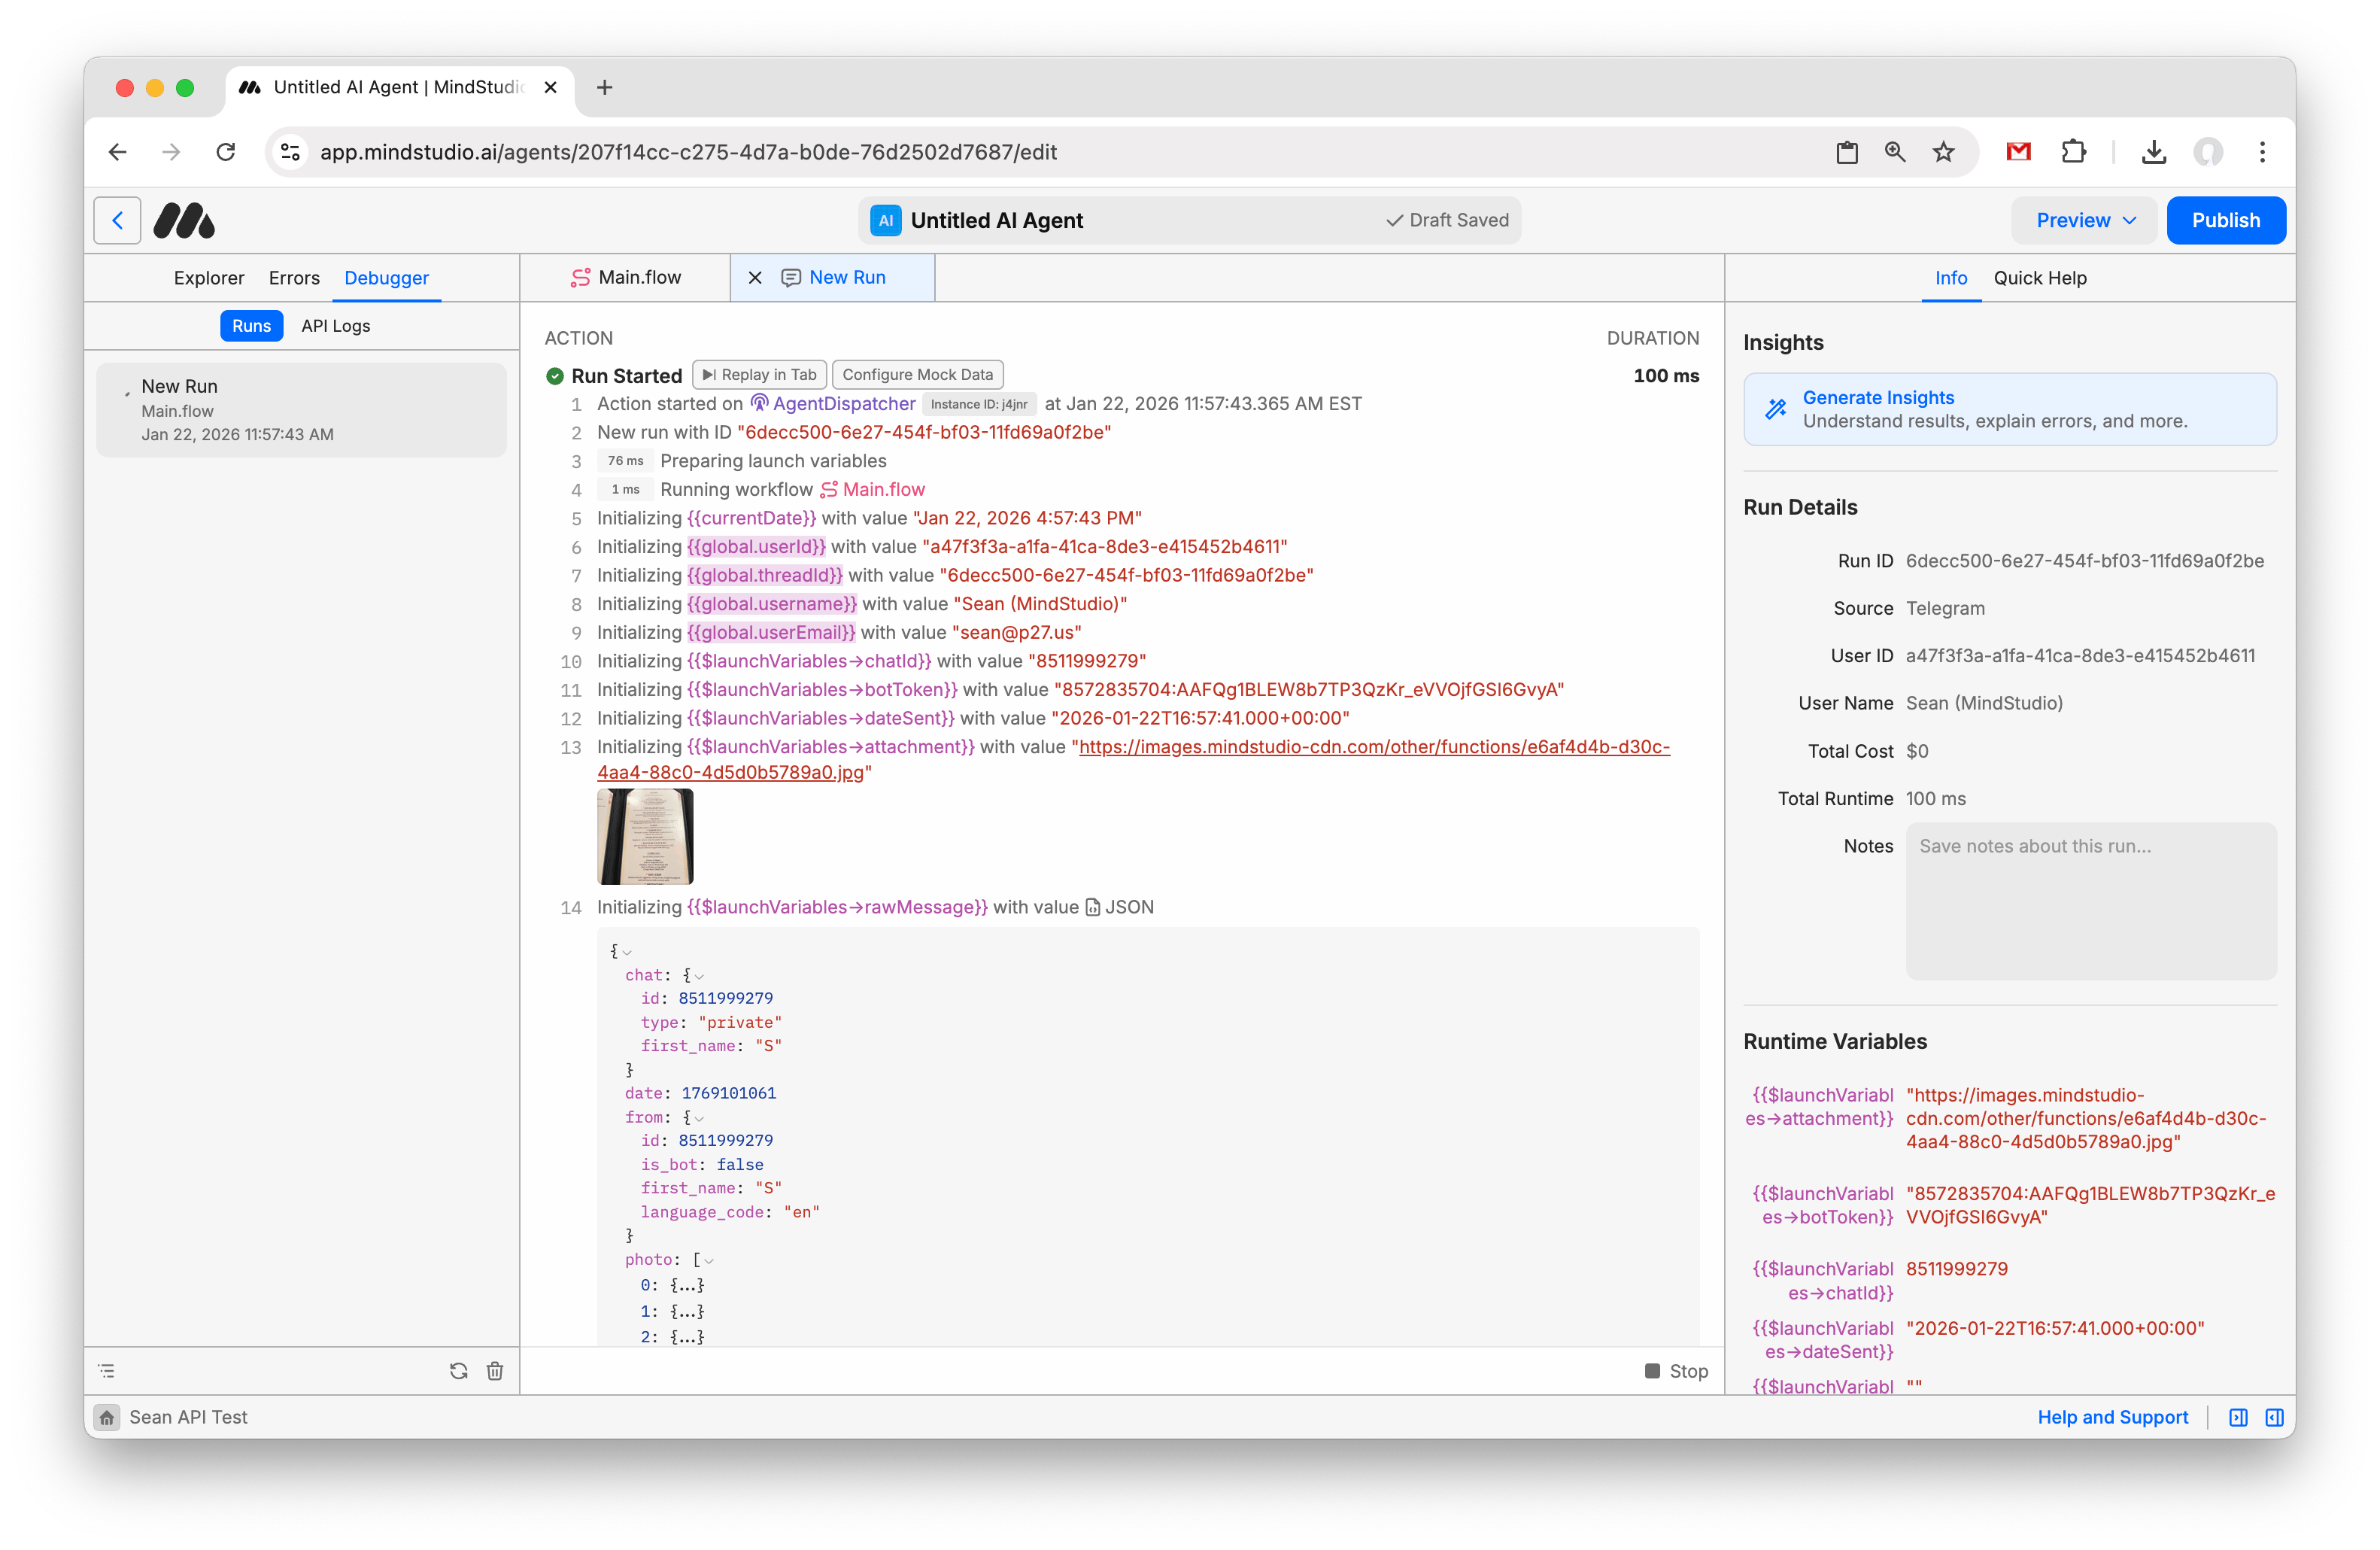
- In MindStudio, click “Debugger” in the left-side Navigator Pane. Then select the new run to watch your Agent as it works.
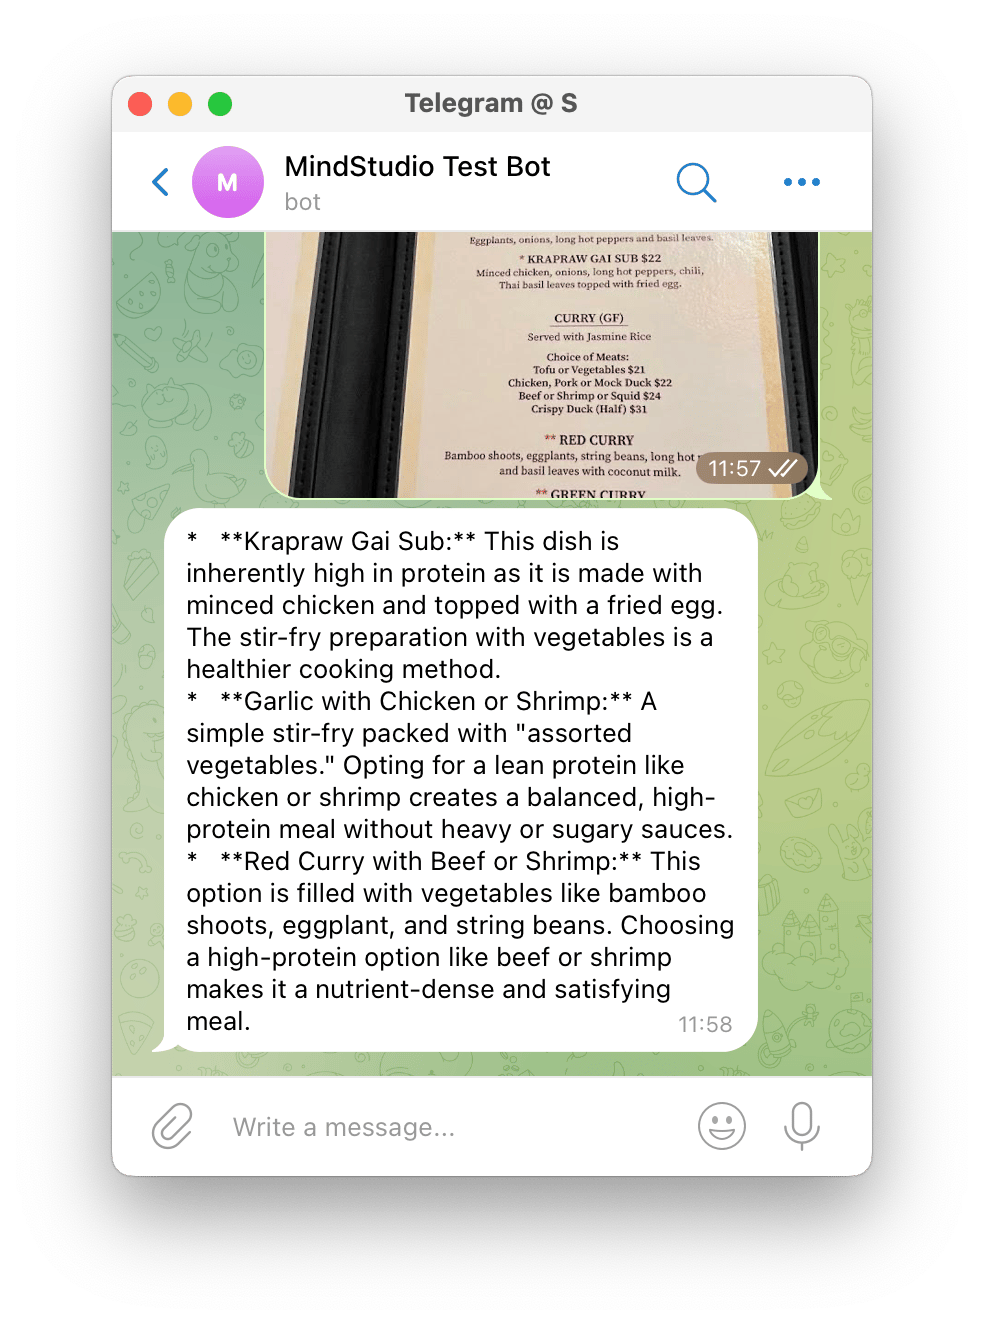
- After a few seconds, the agent will have replied to the user with its analysis. Congratulations! You’ve now made a working Telegram Bot that uses Google Gemini for image analysis and sends the results back to the user.
- If you are ready to publish your agent, make sure to select the start block and switch the Trigger Version back to “Live”. Then press Publish. Your agent is now available for you or anyone else to message.

Next Steps
This tutorial is only the beginning, and is intended to show you how easy it is to use MindStudio to build and publish a production-ready Telegram Bot that interfaces with an AI Agent. You can build all kinds of powerful Telegram Bots with MindStudio, including bots that leverage multiple commands using the Logic Block to do routing, bots that Generate Audio using AI Text-to-Speech (TTS) and send it as voice notes, bots that save conversation history, write data to Google Docs and Google Sheets, search the web, send emails and SMS, and so much more.