How to Use Mood Boards in AI Image Generation: Krea 2 and Recraft Explained
Learn how mood boards in Krea 2 and Recraft work as instant fine-tunes, letting you lock in a visual style from a single reference image.
Why Text Prompts Alone Can’t Lock Down a Visual Style
Getting consistent visual style out of AI image generators is genuinely hard. You can write a detailed prompt — “cinematic, warm tones, film grain, 1970s color palette” — and still get something completely different each time. The problem isn’t the model; it’s that describing style in words is imprecise. Different models interpret the same language differently, and even the same model produces variation on identical prompts.
This is the core problem that mood boards solve in AI image generation. Tools like Krea 2 and Recraft have built mood board and style reference systems that let you show the AI what you want rather than describe it. The result is dramatically more consistent output — and a workflow that’s closer to how designers actually think.
This guide explains how mood boards work in both platforms, how to set them up step by step, and when to use one over the other.
What a Mood Board Does in AI Image Generation
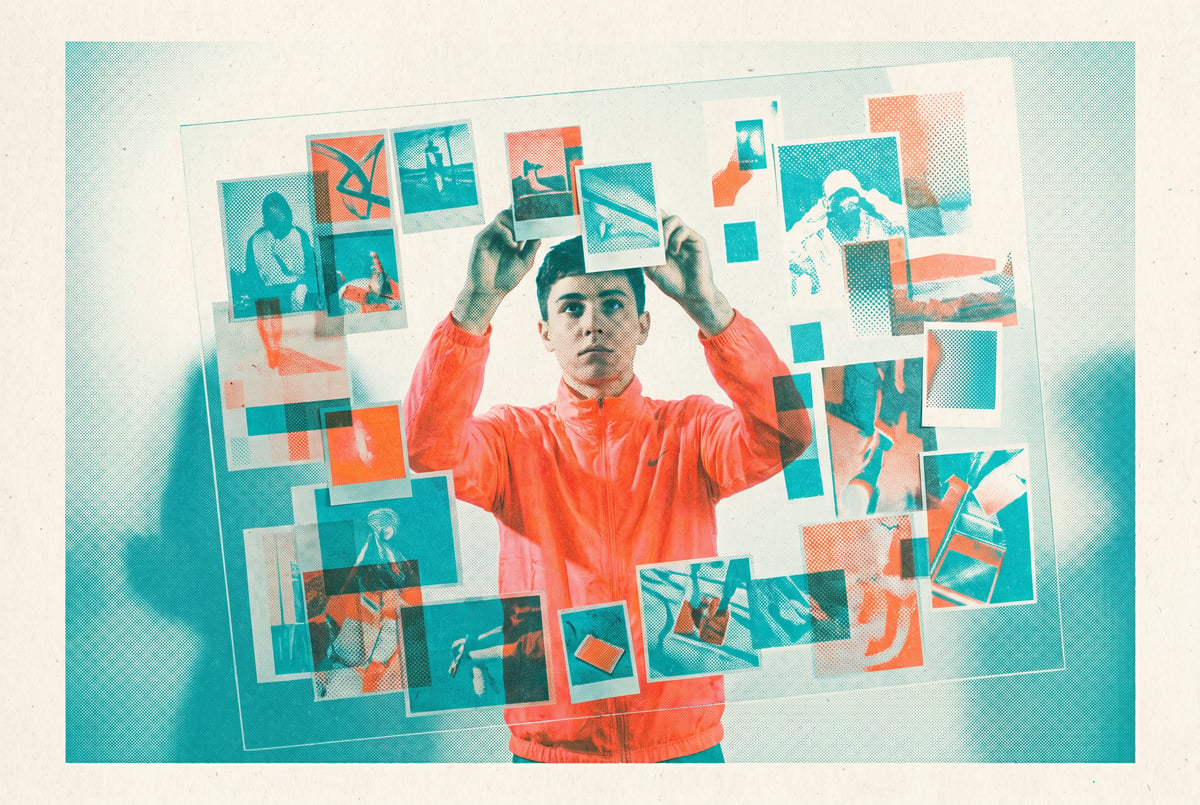
In traditional design work, a mood board is a collage of visual references: photos, color swatches, typography samples, textures. It communicates aesthetic intent faster and more precisely than a written brief.
In AI image generation, a mood board serves the same function — but instead of communicating to a human, it communicates to the model.
Plans first. Then code.
Remy writes the spec, manages the build, and ships the app.
Here’s the technical reality: when you upload a reference image to a mood board system, the platform encodes that image into an embedding — a compressed numerical representation of its visual characteristics. The model then uses that embedding to condition its output, biasing generation toward matching those characteristics.
Think of it as an on-the-fly style guide. You’re not fine-tuning the model with hundreds of examples (which takes time and compute). You’re using a single image — or a small collection — to create a soft constraint on what the model produces.
What Mood Boards Can and Can’t Control
Mood boards are best at controlling:
- Overall color palette and tonal range — warm vs. cool, saturated vs. muted
- Lighting style — dramatic shadows, flat lighting, soft diffusion
- Rendering aesthetic — photorealistic, illustrative, painterly, graphic
- Texture and grain — film grain, paper texture, smooth digital
- Compositional tendencies — centered subjects, wide negative space, busy layouts
They’re less reliable at controlling:
- Specific object placement or exact composition
- Fine typographic details
- Precise color matching (exact hex codes still require other approaches)
- Subject identity (for faces, you need dedicated face reference tools)
Understanding this distinction saves a lot of frustration. Mood boards are style anchors, not layout templates.
Krea 2: Real-Time Generation With Visual References
Krea has built its platform around real-time generative feedback — you make a change and see results almost instantly. Krea 2 extends this philosophy into its reference system, making mood board-style guidance feel like a live creative conversation rather than a batch process.
How Krea 2’s Reference System Works
Krea 2 supports image references across different modes. When you’re working in the generation canvas, you can upload reference images and assign each one a specific role:
- Style reference — influences the visual aesthetic and rendering quality
- Structure reference — influences composition and layout without necessarily copying color or style
- Character/subject reference — keeps a specific subject consistent across generations
For mood board use, you’re primarily working with style references. You can upload multiple images and adjust the weight of each one’s influence on a scale. A low weight gives the model more freedom; a high weight pulls the output closer to the reference.
Setting Up a Mood Board in Krea 2
Here’s how to do it in practice:
Step 1: Collect your reference images. Aim for 3–6 images that share the visual qualities you want. They don’t need to share the same subject matter — a photograph of a forest and a photograph of a cocktail bar can both communicate “dark, moody, film noir” if they share those qualities.
Step 2: Open the reference panel. In Krea 2’s generation interface, find the reference image upload area (typically accessible via an icon in the generation controls or sidebar).
Step 3: Upload your references. Add your images one at a time. Krea will display thumbnails of each reference.
Step 4: Set the influence weights. Each reference image has an influence slider. For a cohesive mood board effect, start all weights around 0.6–0.75. If one image is doing more of the aesthetic work, weight it higher.
Other agents ship a demo. Remy ships an app.
Real backend. Real database. Real auth. Real plumbing. Remy has it all.
Step 5: Write a content prompt, not a style prompt. Because your references are handling style, your text prompt should focus on subject matter and content. “A woman sitting in a café reading” rather than “dramatic lighting, warm tones, film grain.”
Step 6: Generate and iterate. Krea 2’s real-time feedback means you can immediately see how the combination of references and prompt produces results. Adjust weights up or down based on what you see.
Tips for Better Results in Krea 2
- Use references with similar lighting conditions. Mixing a high-key studio photo with a dark, moody shot confuses the style signal.
- Start simple. One strong reference image often outperforms five weak ones.
- Use structure reference separately from style reference. If you like the composition of one image but the color palette of another, assign them different roles.
- Experiment with weight combinations. Counterintuitively, lower style reference weights sometimes produce more interesting interpretations that blend reference and model defaults better than high weights.
Recraft: Brand-Level Style Consistency
Recraft takes a different approach. Where Krea 2 is built for real-time creative exploration, Recraft is designed for production — particularly for teams that need consistent visual output across many assets.
Its style system is one of the most developed in any AI image tool available today. Recraft v3, their current generation model, consistently ranks among the top performers on image quality benchmarks, and the style system is a big reason professional designers have adopted it.
How Recraft’s Style System Works
In Recraft, a “Style” is a saved, reusable visual profile created from reference images. Once you create a style, you can apply it to any generation with a single click — it becomes a persistent asset in your workspace.
This is a meaningful architectural difference from Krea 2’s approach. In Krea, references are session-specific (you set them up per generation or per canvas). In Recraft, styles are saved to your account and can be shared across a team, applied to different projects, and iterated over time.
This makes Recraft’s approach closer to brand system management — you define the visual identity once and apply it everywhere.
Creating a Style in Recraft
Step 1: Navigate to the Styles section. In Recraft’s interface, there’s a dedicated area for managing styles. You can create a new style from scratch here.
Step 2: Upload your reference images. Recraft recommends uploading 5–10 images that represent the style you want to capture. The images should be consistent — same genre, same aesthetic direction, similar color treatment.
Step 3: Name and save the style. Give the style a descriptive name (“Brand – Editorial Photography” or “Project X – Flat Illustration”). This becomes a selectable option in your generation workflow.
Step 4: Apply the style to a generation. When you write a prompt and generate an image, select your saved style from the style picker. Recraft applies the encoded style profile to the output.
Step 5: Refine the style if needed. If the first pass is close but not quite right, you can add more reference images to the style or remove ones that are pulling it in an unintended direction.
Recraft’s Style Categories
Recraft also ships with a library of pre-built styles organized by category: photography (various genres), illustration styles, 3D rendering looks, and graphic design aesthetics. These are useful starting points if you don’t have your own reference images ready, and they give you a sense of how the style system works before you invest time building custom ones.
For serious brand work, you’ll eventually want custom styles. But the pre-built library is genuinely useful for exploration and client presentations.
Vector Output and Style Consistency
One area where Recraft stands out entirely on its own is vector graphic generation. Unlike most image AI tools that only produce raster images, Recraft can output SVG files — scalable vector graphics that work in Illustrator, Figma, and design production workflows.
The style system works with vector outputs too. You can define an illustration style from reference images and apply it to generate icons, spot illustrations, or decorative elements that are consistent with that style — and infinitely scalable.
This makes Recraft particularly useful for brand design, publishing, and UI/UX work where vector assets are standard.
Krea 2 vs. Recraft: Which Should You Use?
These tools aren’t really competing for the same workflow. They’re designed for different moments in the creative process.
| Krea 2 | Recraft | |
|---|---|---|
| Best for | Real-time exploration, concept development | Production, brand consistency, team workflows |
| Style persistence | Session-based | Saved, reusable styles |
| Output formats | Raster images | Raster + SVG vectors |
| Speed of iteration | Extremely fast (real-time) | Fast, but batch-oriented |
| Team/brand use | Limited | Strong |
| Pre-built styles | Limited | Extensive library |
| Reference flexibility | High (multiple reference types, fine-grained weight control) | Moderate (optimized for style, not structure) |
Use Krea 2 when:
- You’re in early concept exploration and want to move fast
- You’re experimenting with different style directions and need instant feedback
- You need to control composition and structure separately from style
- You want a generative canvas workflow
Use Recraft when:
- You need consistent output across a project or brand
- You’re producing assets for a client or team
- You need vector-format outputs
- You want to save and reuse styles across sessions
Many designers use both: Krea for exploration, Recraft for production. That’s a reasonable workflow split.
Where MindStudio Fits Into AI Image Workflows
Both Krea 2 and Recraft are strong standalone tools, but they’re manual — you open the interface, upload references, write prompts, and download results. At small scale, that’s fine. At production scale, it becomes a bottleneck.
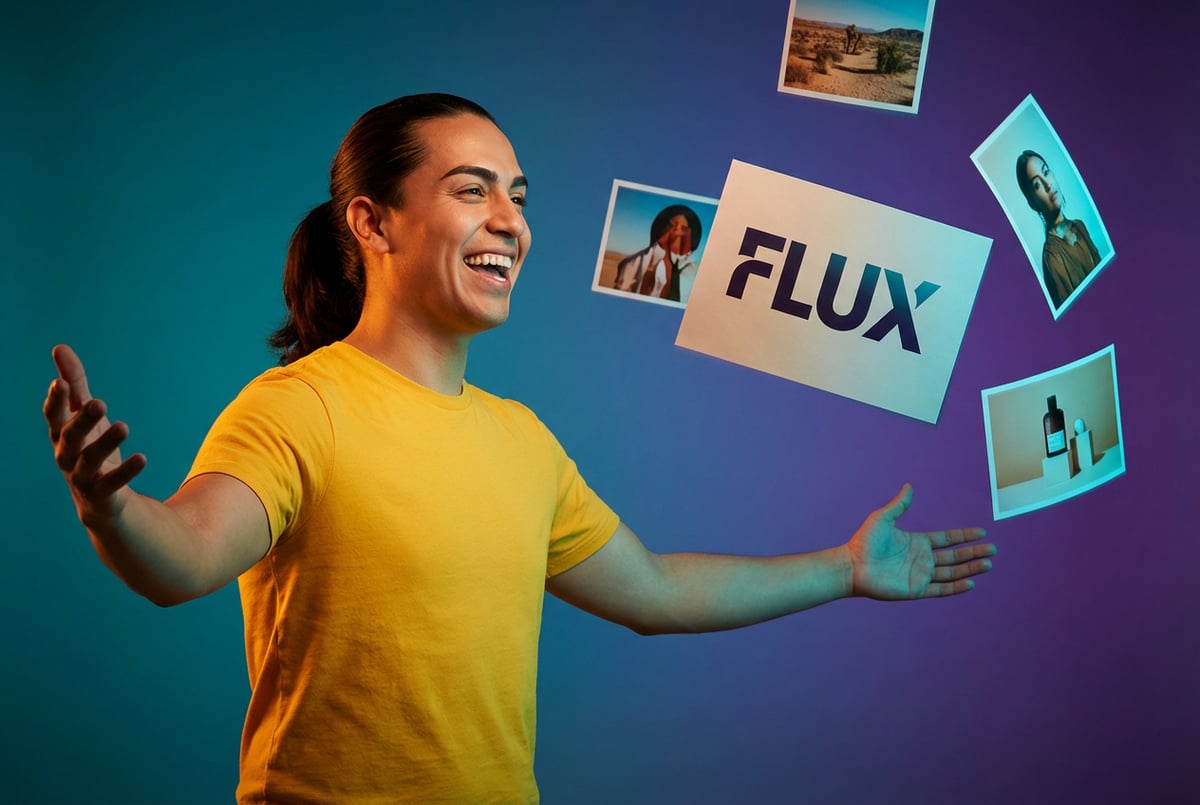
This is where MindStudio’s AI Media Workbench changes the equation. MindStudio gives you access to all major image generation models — including FLUX, Stable Diffusion variants, and others — in a single workspace, and lets you chain media generation into automated workflows without writing code.
Here’s what that looks like in practice:
- You build a workflow where incoming brand briefs (from Notion, Airtable, or a form submission) automatically trigger image generation with predefined style parameters
- Generated images pass through a background removal step, then an upscaling step, then get delivered to a Slack channel or Google Drive folder
- The whole pipeline runs without manual intervention
For teams producing high volumes of visual content — social media assets, product imagery, editorial illustrations — this kind of automation saves significant time. You define the style logic once in the workflow, and the system applies it consistently at scale.
Other agents start typing. Remy starts asking.
Scoping, trade-offs, edge cases — the real work. Before a line of code.
MindStudio supports over 200 AI models including image and video generation, so you’re not locked into a single provider. If a new model produces better results for a specific use case, you swap it in without rebuilding your workflow.
You can try MindStudio free at mindstudio.ai.
Frequently Asked Questions
What is a mood board in AI image generation?
A mood board in AI image generation is one or more reference images you provide to guide the visual style of generated outputs. Instead of describing style through text prompts, you show the model what you want. The model encodes the visual characteristics of your references — color, light, texture, rendering style — and biases its output toward matching them.
How is a mood board different from a LoRA or fine-tune?
A LoRA (Low-Rank Adaptation) is a trained model modification that requires many example images and computational training time, sometimes hours. A mood board reference is processed at inference time — you upload images and they immediately influence generation. Mood boards are faster and simpler, but less precise. LoRAs can capture more specific and consistent characteristics, especially for subjects and faces.
Can I use mood boards to match my brand colors exactly?
Not exactly. Mood boards influence overall color palette and tonal range, but they don’t produce precise color matching to specific hex values. For exact brand color reproduction, you’d need to do post-processing color correction, or use a tool designed specifically for that purpose. That said, a well-constructed mood board with consistent color references gets you much closer than text prompting alone.
How many images should I include in a mood board?
For most tools, 3–6 images is a reasonable starting point. More images can create conflicting signals if they’re stylistically inconsistent. Fewer images give the model a cleaner style signal. The quality and consistency of your references matters more than quantity. Start with one strong reference and add more only if you need to introduce additional qualities.
Does Recraft’s style system work across different subjects?
Yes — that’s the point. A Recraft style captures aesthetic qualities like rendering style, color treatment, and lighting approach, not subject matter. You can apply the same illustration style to a portrait, a landscape, and a product shot, and they’ll share the same visual vocabulary. This is what makes it useful for brand design work.
Is there a difference between “style reference” and “image reference” in these tools?
Often yes. A style reference is intended to capture aesthetic qualities (color, light, rendering). A structural or composition reference is intended to capture layout and spatial arrangement. Some tools, including Krea 2, let you specify which role a reference image plays. Using references correctly — style for style, structure for structure — produces more predictable results than mixing intentions.
Key Takeaways
- Mood boards work by encoding visual characteristics from reference images into embeddings that condition model output — they show rather than tell.
- Krea 2 is built for real-time exploration, with session-based references, fine-grained weight control, and instant feedback.
- Recraft is built for production consistency, with saved styles, vector output support, and team-oriented workflows.
- The two tools complement each other: use Krea 2 for early-stage creative development, Recraft for polished, repeatable output.
- For high-volume or automated image workflows, a platform like MindStudio can chain image generation into end-to-end pipelines — removing the manual steps that create production bottlenecks.

Both tools represent a genuine improvement over text-only prompting for style control. If you’re doing serious visual work with AI and haven’t experimented with mood board references yet, it’s worth setting aside an hour to try it — the difference in consistency is significant.