How to Evaluate Any New AI Tool in One Week Without Wrecking Your Productivity
Every tool switch causes a ~20% productivity dip. Use this three-step framework — pain point check, real scenario test, one-week eval — to decide fast.

Every New AI Tool Costs You 20% Before It Pays You Back
You’ve probably felt this. A new tool drops, someone you trust says it’s the best thing they’ve used in months, and you spend the next three days migrating your workflow to it. Two weeks later you’re slower than before, slightly annoyed, and not entirely sure it was worth it.
There’s a name for that feeling: the 20% productivity dip. Every tool switch — even a good one — causes roughly a 20% efficiency loss while you’re learning the new system, rebuilding muscle memory, and figuring out where things break. The dip is real and it’s unavoidable. What you can control is whether the new ceiling you’re climbing toward is actually higher than the one you left.
That’s the whole game. And once you see it that way, evaluating new AI tools in a week becomes a structured decision, not a gamble.
This post walks through a three-step framework for doing exactly that: a pain point check, a real scenario test, and a one-week evaluation. It’s not theoretical — it’s pulled from watching someone graduate out of Cursor, ChatGPT, OpenClaw, and Notebook LM over the past year while keeping their daily stack down to three tools.
The Problem Isn’t That There Are Too Many Tools
The problem is that the evaluation process is broken.
Most people evaluate new AI tools by watching a demo, feeling impressed, and then spending a week trying to recreate the demo in their own work. That’s not evaluation — that’s entertainment with extra steps.
The actual question you need to answer is narrower: does this tool solve a pain point I have right now? Not “is this cool?” Not “could I imagine using this someday?” Right now.
If the answer is no, save the link. Seriously — just save it somewhere you can find it later and move on. You don’t need to watch the full tutorial. You don’t need to build a proof of concept. You need to keep moving toward whatever your actual goal is today.
The reason this matters is that productivity isn’t hours worked — it’s needle moved per hour. A 12-hour day full of tool exploration can be less productive than a 4-hour day where you shipped the thing that actually mattered. This sounds obvious until you’re three hours into configuring a new agent framework and realize you haven’t done any real work yet.
Step 1: The Pain Point Check (5 Minutes)
Before you install anything, open a new note and write down the specific friction you’re experiencing right now.
Not “I want to be more productive.” Something concrete: “My speech-to-text tool is slow and I lose focus waiting for it to transcribe.” Or: “I’m spending 45 minutes every morning doing research that should take 10.” Or: “My coding agent keeps losing context on large files and I have to re-explain the project every session.”
Now look at the new tool. Does it directly address that specific friction? If yes, you have a reason to test it. If no — even if it looks impressive — save the link.
This filter eliminates probably 80% of the tools you’d otherwise spend time on. Most new releases are genuinely interesting but don’t solve your current problem. That’s fine. They might solve a future problem. That’s what the saved link is for.
One concrete example of this working: Glydo (a speech-to-text startup) replaced WhisperFlow for one builder not because Glydo was announced with fanfare, but because there was a real pain point — WhisperFlow was slower than needed, and privacy was a concern. Glydo was faster, private, and Windows support was imminent. The pain point was specific, the solution was specific, the switch made sense. That’s the pattern.
Step 2: The Real Scenario Test (One Week, Real Data)
If you passed the pain point check, you get to test the tool. But there’s a right way and a wrong way to do this.
The wrong way: set up a sandbox environment with mock data, run through the tutorial examples, and decide based on how it felt.
The right way: use it on something real. Not something risky — don’t restructure a production database or send client emails through an untested system. But use real data, real tasks, real context. The difference in signal quality is enormous.
Remy doesn't build the plumbing. It inherits it.
Other agents wire up auth, databases, models, and integrations from scratch every time you ask them to build something.
Remy ships with all of it from MindStudio — so every cycle goes into the app you actually want.
Here’s why this matters. Tools that look smooth in demos often have rough edges that only appear when you’re working with your actual files, your actual prompts, your actual edge cases. And tools that look clunky in demos sometimes turn out to be exactly right for your specific workflow once you’re in them for real.
The one-week window is important too. One day isn’t enough — you’re still in the steepest part of the learning curve and everything feels harder than it should. One month is too long — you’ve already sunk cost and it becomes harder to be honest about whether it’s working.
A week gives you enough time to get past the initial friction and see whether the tool is actually delivering. By day five or six, you should have a clear sense of whether you’re faster, slower, or the same.
For context on what “real scenario” means in practice: if you’re evaluating Codex as a complement to Claude Code, don’t just ask it to write a hello world function. Give it a real task from your actual project. See how it handles your existing file structure, your existing conventions, your existing complexity. That’s the test that matters. (If you’re building out a Claude Code project structure, the WAT framework for workflows, agents, and tools is worth understanding before you start — it’ll give you a cleaner directory to test against.)
Step 3: The One-Week Evaluation (One Honest Question)
At the end of the week, ask yourself one question: did this tool move the needle more than my previous approach?
Not “is this tool impressive?” Not “do I like the interface?” Did it actually produce better outputs, faster, for the specific pain point you identified in step 1?
If yes: add it to your stack. Figure out where it fits — daily driver, weekly specialist, or occasional tool for a specific task type.
If no: remove it. Don’t keep it “just in case.” Don’t leave it installed because you spent time learning it. The sunk cost is already gone. What you’re protecting now is your future productivity.
This is where the 20% dip rule becomes useful as a decision tool rather than just a description of what happened. If the new tool only gets you back to where you were before the dip, it wasn’t worth it. You need the new ceiling to be meaningfully higher — not marginally higher, not “about the same but with a nicer UI.”
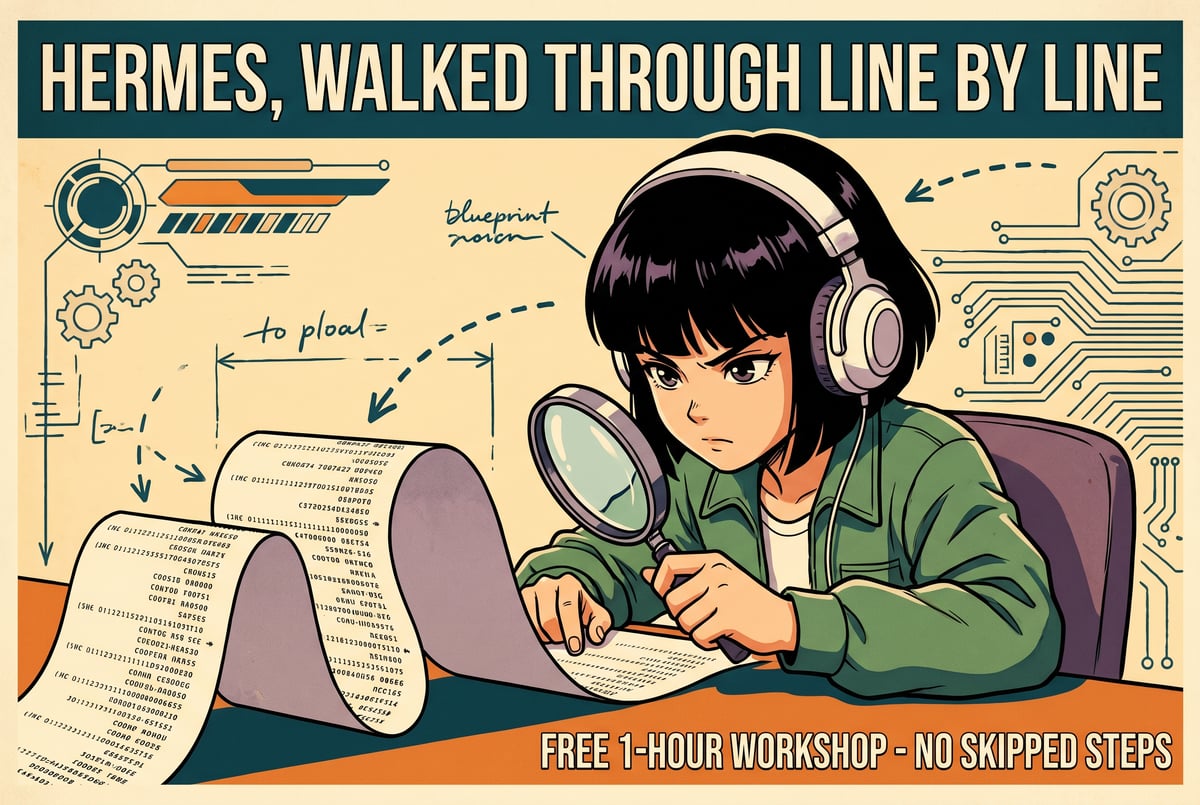
The graduated tools list is instructive here. ChatGPT regular chat, OpenClaw, Cursor, Notebook LM, Poppy AI — these weren’t bad tools. They were good tools that got replaced when something else cleared a higher ceiling. Claude Code replaced Cursor and Poppy AI because the same functionality became available in a more customizable, cheaper form. Hermes Agent replaced OpenClaw because it offered easier setup for on-the-go knowledge work, with Telegram-based wake-on-demand and instant crons. The replacements happened because the new ceiling was genuinely higher, not because the old tools failed.
How to Structure Your Stack So Switches Don’t Break Everything
There’s a meta-principle underneath all of this that makes the whole framework work better: build your directories like they’re going to outlive any tool.

If your project lives in a clean directory with well-organized files, a clear CLAUDE.md or equivalent context file, and documented conventions, then any agent can work in it. Claude Code, Codex, Hermes Agent, whatever comes next — they all operate on files. If the files are good, the tool switch is a configuration change, not a rebuild.
This is the practical version of the Jeff Bezos principle applied to AI tooling: think about what won’t change, not what will. Your files will outlive any specific tool. Your documented workflows will outlive any specific agent. Your data will outlive any specific interface. Build around those stable things, and tool switches become much less disruptive.
The GStack vs Superpowers vs Hermes comparison is useful here if you’re thinking about which framework to build your directory structure around — the choice matters less than the discipline of keeping it clean and tool-agnostic.
For teams building more complex agent workflows, platforms like MindStudio handle the orchestration layer: 200+ models, 1,000+ integrations, and a visual builder for chaining agents and workflows. When your underlying processes are documented and modular, plugging them into a different orchestration layer is straightforward.
The Specialist Tier Is Underrated
One thing that gets lost in the “which tool should I use” conversation is that not every tool needs to be a daily driver to be worth keeping.
The specialist tier — tools you reach for when a specific task comes up — is genuinely valuable. Apify for scraping tasks inside automations. GPT Image 2 for creating images from scratch. Nano Banana 2 for editing and compositing (think Photoshop-style adjustments). Fal.ai for plugging image and video generation into agents (it’s essentially Open Router but for image and video models). HeyGen for avatar video. ElevenLabs for voice cloning.
None of these need to be in your daily workflow. But when you hit the specific task they’re built for, having them already evaluated and ready is much better than starting from scratch. The decision framework applies here too — you evaluate them when you have a real use case, not before.
The key is knowing what each specialist is actually good at. Using GPT Image 2 as a “creator tool” and Nano Banana 2 as a “Photoshop tool” is a useful mental model — they’re both image tools, but they’re good at different things. Knowing which one to reach for saves time. If you’re building agents that need image or video generation capabilities, the AI agents for personal productivity post covers how to think about integrating these kinds of specialist tools into a broader workflow.
When you’re building more complex applications that need to connect these specialist tools — say, an agent that does research with Perplexity, generates an image with Fal.ai, and writes copy with Claude — the architecture question becomes how to wire them together cleanly. Tools like Remy take a different approach to this problem: you write a spec in annotated markdown describing what the application should do, and it compiles that into a complete TypeScript backend, database, auth, and deployment. The spec is the source of truth; the generated code is derived output.
Your North Star Determines Which Dips Are Worth Taking
The last piece of this is the most personal.

Your North Star — what you’re actually trying to accomplish — determines which tool switches are worth the 20% dip and which ones are distractions. If you’re building a business, every tool evaluation should be measured against whether it helps you build that business faster. If you’re a content creator, the question is whether it helps you produce better content more efficiently.
Someone whose goal is to test every tool and share opinions about them has a different North Star than someone whose goal is to ship a product. Both are valid. But they imply very different evaluation criteria.
The mistake is evaluating tools against someone else’s North Star. A tool that’s S-tier for one person’s workflow might be C-tier for yours, not because the tool is bad but because the use case doesn’t match. Claude Code is an S-tier daily driver for someone doing heavy coding and agent work. For someone doing mostly visual design, it might be a B-tier specialist at best.
When you’re watching someone else’s tool stack breakdown — including this one — the useful question isn’t “should I use these tools?” It’s “do any of these solve a pain point I have right now?” If yes, run the framework. If no, save the link.
The Claude Code agentic workflow patterns post is worth saving if you’re not yet doing heavy agent work but think you might be — it’s the kind of resource that becomes relevant when you hit a specific ceiling, not before.
The Stack Stays Lean Because the Framework Is Strict
The reason a lean stack is possible — three S-tier tools, a handful of A-tier weekly companions, a set of specialists — is that the evaluation framework is strict.
Every tool that makes it into the daily driver tier cleared a real pain point, survived a real scenario test, and proved itself over a real week. Every tool in the graduated list was removed because something else cleared a higher ceiling, not because it was abandoned carelessly.
That strictness is what makes the stack useful rather than overwhelming. You know why each tool is there. You know what it’s for. And when something new comes along, you have a process for deciding whether it belongs.
The 20% dip is always coming. The question is just whether you’re climbing toward something worth the cost.