Google Pomelli Photoshoot Feature: 4 Templates That Turn One Product Image Into a Full Campaign
Pomelli's photoshoot tool auto-selects from Studio, Ingredient, In Use, and Contextual templates by product type. Change backgrounds with a text prompt.

Four Product Photos From One Image, No Photographer Required
Google Pomelli’s photoshoot feature generates four distinct product images from a single source photo — Studio, Ingredient, In Use, and Contextual — and lets you change backgrounds with a plain-text prompt like “change background to pink.” That’s the whole pitch. If you have one decent product shot and a Google Labs account, you can walk away with a full visual asset set in under ten minutes.
This post is specifically about the photoshoot workflow. If you’re still setting up your Business DNA or trying to understand how campaign generation works, those are separate topics. Here, you’re past that. You have a product image, you want multiple polished photos, and you want to know exactly how the template system works and where it breaks.
What You Actually Get Out of This
Before walking through the steps, it’s worth being concrete about the output so you know whether this is worth your time.
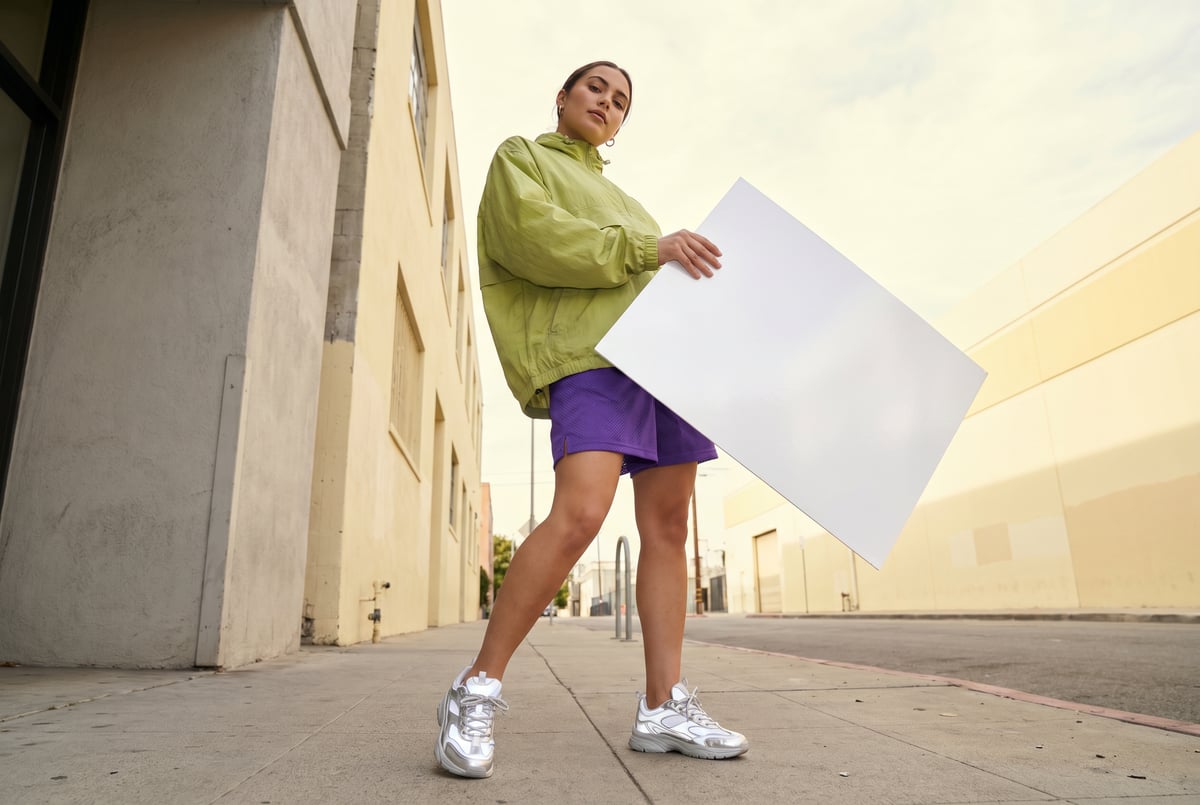
Pomelli’s photoshoot feature produces four images, each corresponding to a different template type. For a food product like a cookie, the four templates auto-selected were: a clean studio shot (white or neutral background, product centered), an ingredients spread (component ingredients arranged around the product), an in-use shot (a person actually consuming or holding the product), and a contextual shot (product placed in a real-world environment — outdoors, on a table, in a scene).
Remy is new. The platform isn't.
Remy is the latest expression of years of platform work. Not a hastily wrapped LLM.
Each of these maps to a real use case. The studio shot goes on your product page. The ingredients shot works for packaging or recipe-adjacent content. The in-use shot is built for social. The contextual shot is the one you use in ads where you want the product to feel like it belongs somewhere.
The alternative to this workflow is either a real photoshoot — which for a small product brand runs anywhere from a few hundred to several thousand dollars — or hours in Photoshop compositing backgrounds. Pomelli compresses that to a few minutes. The images are AI-generated, so they’re not perfect, but they’re usable, and more importantly, they’re editable.
If you’re building a product catalog, running paid social, or just need variety for A/B testing creative, this is a legitimate shortcut. The practical use cases for AI image generation in business contexts have expanded significantly in the past year, and photoshoot automation is one of the more immediately applicable ones.
What You Need Before You Start
A Google Labs account with Pomelli access. Pomelli is available through Google Labs, which means you need to be on the waitlist or have been granted access. As of this writing it’s not universally available. Check labs.google.com.
A clean product image. This is the most important prerequisite, and it’s worth being specific about what “clean” means here. You want a single product, ideally on a plain or white background, with no complex overlapping elements. The reason: Pomelli extracts your product from the source image and composites it into the generated scenes. If your source image has a busy background, the extraction gets messy and the output images look wrong. A product on a plain background gives the model a clean mask to work with.
You don’t need a professional photo. A well-lit phone shot on a white piece of paper works. What doesn’t work is a lifestyle photo where your product is already embedded in a scene — the model will struggle to isolate it.
Business DNA set up. The photoshoot feature doesn’t strictly require Business DNA to function, but your brand colors and aesthetic inform how the generated images are styled. If you haven’t set up your Business DNA yet, the photoshoot will still work — it just won’t be as on-brand. The logo, color palette, and brand aesthetic you’ve defined upstream influence the visual direction of the output.
Optional but useful: a Gemini session open in another tab. You’ll see why in the troubleshooting section.
Running the Photoshoot: Step by Step
Step 1: Navigate to the Photoshoot section and upload your product image.
From the Pomelli main interface, find the Photoshoot tab. Upload your product image here. This is the same image you’d use for campaigns — a single product, plain background, no text overlaid on it.
Once uploaded, Pomelli reads the product type and pre-selects the relevant templates. This auto-selection is one of the more useful behaviors in the tool. For a food product, it will skip templates like “Beauty” and auto-select the ones that make sense for consumables. You don’t have to know which templates apply — the model makes a reasonable first guess.
Now you have your product image loaded and a set of pre-selected templates.
Step 2: Review and confirm the template selection.
The four template categories are Studio, Ingredient, In Use, and Contextual. For most physical products, you’ll want all four — they cover the full range of placement contexts from e-commerce to social to advertising.
For some product types, certain templates won’t apply. A software product or digital good doesn’t need an Ingredient shot. A piece of furniture might not need an In Use shot if the contextual one already shows it in a room. The auto-selection handles most of this, but you can manually toggle templates on or off.
One note: the transcript mentions you may need to deselect certain templates before selecting others — there’s some UI behavior where templates conflict. If you’re trying to add a template that’s grayed out, check whether another template needs to be deselected first.
Click “Looks good” to confirm your selection.
Now you have a confirmed template set and Pomelli is ready to generate.
Step 3: Generate the photoshoot.
Hit the generate button. Pomelli takes your product image and produces one output image per selected template — typically four images if you’ve kept all four templates active.
The generation takes a moment. What you’re watching happen is the model extracting your product, placing it in a generated scene appropriate to each template type, and rendering the composite. The studio shot will look like a product photography setup. The ingredients shot will arrange relevant components around your product. The in-use shot will show a person interacting with it. The contextual shot places it in an environment.
Now you have four distinct product images, each suited to a different placement context.
Step 4: Edit individual images via text prompt.
Each generated image has an Edit button. Click it on any image you want to modify.
The most useful edit is background replacement. Type a plain-language instruction: “change background to pink” or “change background to marble countertop” or “change background to dark wood.” Pomelli re-renders the background while keeping your product in place.
This is where the feature earns its keep for brand consistency. If your brand colors include a specific shade of green, you can prompt for that exact color. If you’re running a seasonal campaign and want a winter-appropriate background, you can describe it. The product stays anchored; the environment changes.
You can run multiple edits on the same image. Each edit produces a new version, and you can cycle between versions using the left/right arrows to compare.
Now you have edited images with backgrounds that match your brand or campaign context.
Step 5: Download and add to Business DNA.
Once you’re satisfied with the images, you have two options: download all assets at once using the “Download all assets” button, or add them directly to your Business DNA with a single click using “Add all to Business DNA.”
The Business DNA addition is worth doing if you plan to run campaigns from these images. When your photoshoot images live in Business DNA, they’re available as reference material for future campaign generation — Pomelli can pull from them when generating ad creatives, which keeps your visual identity consistent across outputs.
Now you have a complete set of product images downloaded or saved to your Business DNA.
Built like a system. Not vibe-coded.
Remy manages the project — every layer architected, not stitched together at the last second.
Where This Breaks and What to Do About It
The product extraction fails on complex source images. If your input image has a textured or patterned background, the model sometimes pulls in background artifacts when compositing the product into new scenes. The fix is to clean up your source image before uploading. Run it through a background removal tool first — remove.bg or the background removal in Photoshop — so you’re uploading a product on a transparent or white background. This gives Pomelli a clean mask and dramatically improves output quality.
The In Use template generates generic people. The person shown using your product will be AI-generated and may not match your target demographic. There’s no direct control over the person’s appearance in the current version. If demographic accuracy matters for your campaign, treat the In Use template as a starting point and plan to swap the person out in post, or use the contextual shot instead.
Background edits sometimes misplace the product. After a background change, the product’s position in the frame occasionally shifts or the product gets partially obscured. If this happens, try a more specific prompt — “change background to solid pink, keep product centered” — or regenerate the background edit. The model isn’t always consistent on spatial positioning.
The Ingredient template doesn’t know your actual ingredients. For a food product, the model makes educated guesses about what ingredients to show. For a cookie, it might show flour, eggs, chocolate chips. If your product has specific or unusual ingredients that matter for your brand story, the auto-generated ingredients shot may not reflect them accurately. You can use the edit prompt to adjust — “add almonds to the ingredient arrangement” — but results vary. For ingredient-specific accuracy, you may need to manually composite.
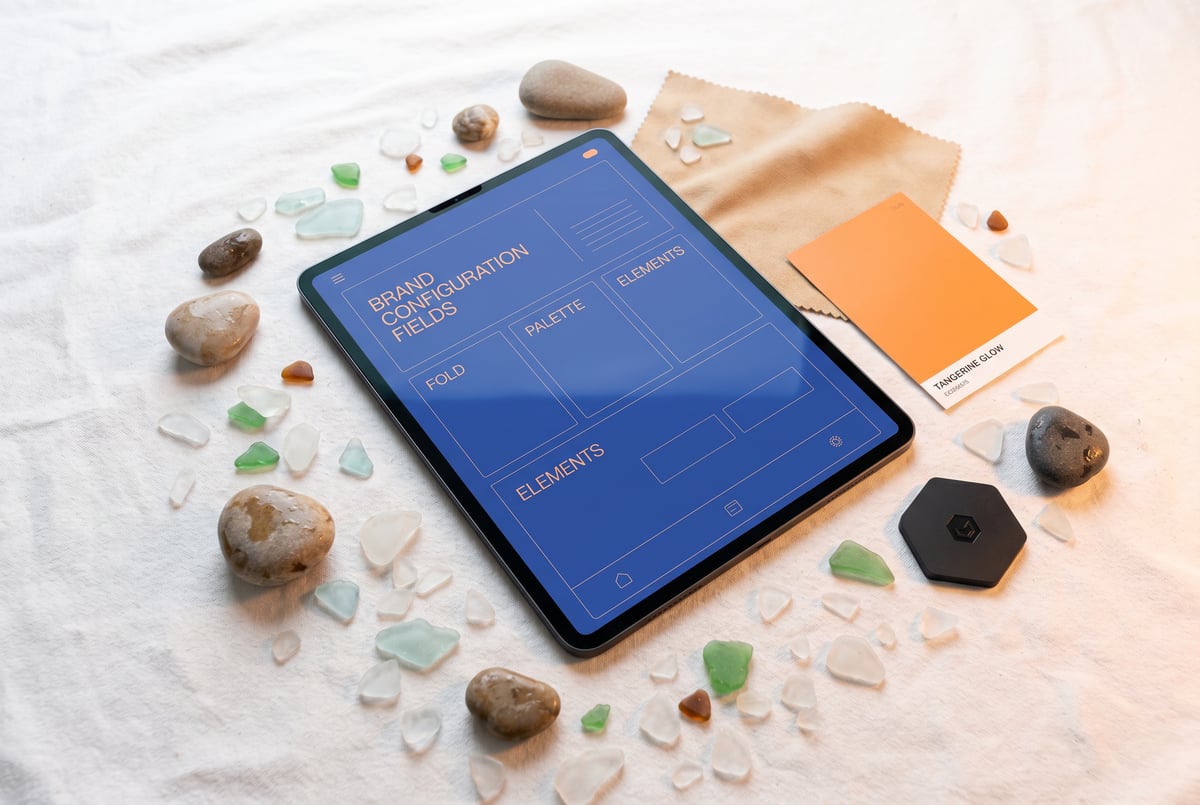
Tip for getting Business DNA values right before you generate: The transcript from the source video includes a useful shortcut that applies here. Screenshot the Business DNA template, paste it into Gemini with context about your brand, and ask Gemini to auto-generate all the field values. This works because Gemini can read the structure of the template and produce values that fit the format — brand values, brand aesthetic, brand tone of voice, business overview. Doing this before your photoshoot means the generated images are more likely to align with your actual brand aesthetic rather than generic defaults.
Where to Take This Further
The photoshoot feature is one piece of a larger workflow. Once you have your four product images, the natural next step is feeding them into campaign generation — using each image as the source for a different campaign concept targeting different audiences. A studio shot works for a direct-response ad. The in-use shot works for social proof-style content. The contextual shot works for brand awareness campaigns.

For teams building more systematic content pipelines, the question becomes how to automate the repetitive parts of this workflow. Platforms like MindStudio handle this kind of orchestration across 200+ models and 1,000+ integrations — if you want to chain image generation, background editing, and campaign copy into a single automated workflow without writing the API glue yourself, that’s the category of tool to look at.
The animation feature in Pomelli is worth mentioning here because it connects to the photoshoot output. If you want to animate one of your photoshoot images, you need to first resize it to 9:16 story format — the Animate button only appears in that format. One hard-won limitation: animated text in the videos “usually gets messed up,” as the source tutorial puts it. The recommendation is to animate without text, then overlay text separately in your video editor. Keep that in mind before you plan a text-heavy animated campaign.
For teams thinking about how visual brand systems connect to broader design infrastructure, the work happening in tools like Google Stitch for building design systems is relevant context — Stitch can extract a design system from a URL and export it in formats that AI tools can read, which is a different but complementary approach to the brand consistency problem Pomelli is solving.
The broader question of AI image generation quality and use case fit is worth thinking through carefully. GPT Image 2’s approach to product photography and UGC ads is a useful comparison point — different model, different strengths, and for some product types you may find one approach produces better output than the other. Running both and comparing is a reasonable use of an afternoon.
If you’re building the kind of product catalog or content pipeline where photoshoot automation becomes a recurring workflow rather than a one-off, the spec-driven approach to building the surrounding infrastructure matters. Remy takes a different approach to this layer: you write your application as an annotated markdown spec, and it compiles that into a complete TypeScript backend, database, auth, and frontend — useful when you want to build a custom asset management or campaign tracking system around tools like Pomelli without hand-writing the orchestration code.
The photoshoot feature in Pomelli is genuinely useful for what it does. One product image in, four contextually appropriate product photos out, backgrounds adjustable via text. For small product teams without a photography budget, that’s a real capability that didn’t exist in this form a year ago. The limitations are real — extraction quality depends on your source image, the In Use template generates generic people, and background edits aren’t always spatially consistent — but none of them are blockers if you know about them going in.
The AI agents built specifically for marketing teams are increasingly handling the downstream distribution of assets like these — scheduling, resizing for different platforms, A/B testing creative. The photoshoot feature handles the generation side; the distribution side is a separate problem worth solving separately.
Start with a clean product image on a plain background. Let the auto-selection pick your templates. Run the generation. Edit one background via text prompt to see how the editing interface behaves. Download all assets. That’s the full loop, and it takes less time than reading this post.