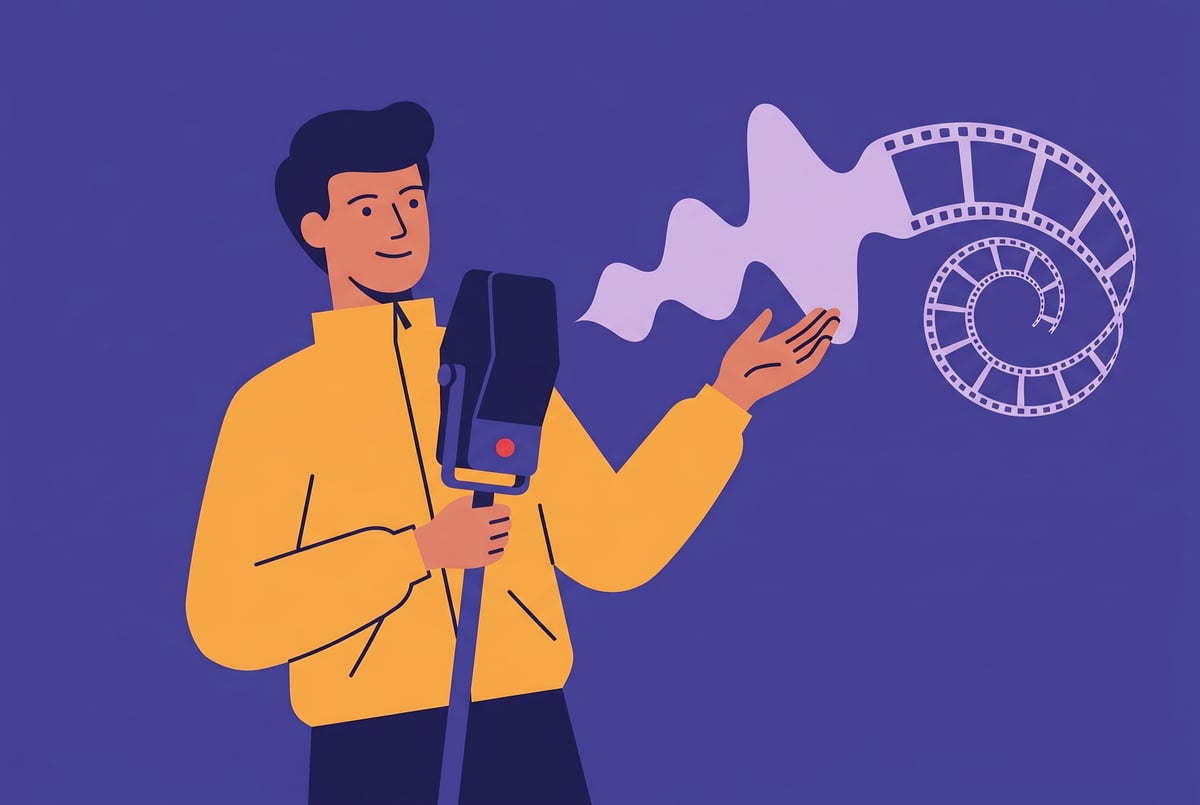
How to Build a Custom AI Video Training Dataset from Your Own Footage (Free Open-Source Tool)
This open-source tool points at any local video folder and auto-slices, crops, and tags clips for AI training data — English UI included.

Eight Minutes to Your First AI Video Training Dataset
Most people who want to fine-tune a video model hit the same wall: they have footage, they have a GPU, and they have no idea how to turn one into the other. The gap between “I have clips” and “I have a training dataset” is where most experiments die. This post is about closing that gap in under an afternoon, using a free open-source tool that does the tedious parts automatically.
The tool in question points at a local video folder on your hard drive and handles slicing, cropping, and tagging — the three steps that eat most of your time when building training data by hand. The creator posted an 8-minute tutorial on YouTube (in Chinese, with hard-coded subtitles baked in, and an English UI toggle available in the interface itself). The link lives in the description of the Theoretically Media video that surfaced this. It is not widely known yet, which is exactly why you should look at it now.
Why You’d Want a Custom Video Dataset in the First Place
Fine-tuning on your own footage gives you something no prompt can: a model that knows what your subject looks like across motion, lighting changes, and camera angles. Stock footage fine-tunes produce generic results. Your footage produces your aesthetic.
- ✕a coding agent
- ✕no-code
- ✕vibe coding
- ✕a faster Cursor
The one that tells the coding agents what to build.
The practical use cases are narrower than people imagine, and that’s a feature. You are not trying to train a general-purpose video model. You are trying to teach a model one thing very well — a specific character, a specific visual style, a specific environment. The smaller and more coherent your dataset, the better the fine-tune behaves.
This is also where the open-source video ecosystem is maturing fastest right now. LTX 2.3 already ships with IC Loras (in-context Loras) and ID Loras (identity and voice transfer) as first-class features. The ComfyUI workflow combining IC Loras, ID Loras, and prompt relay — available on Civitai as a JSON drag-and-drop — shows what’s possible when you chain these together. But all of those tools assume you have training data worth using. The dataset creation step is the bottleneck, and this tool removes it.
There’s a secondary reason to care about this even if you never train a model yourself: understanding how training data gets built makes you a better prompt engineer and a better evaluator of model outputs. When you know that a model was trained on clips sliced to specific durations and tagged with specific caption formats, you understand why certain prompts work and others don’t. If you’re evaluating which frontier model to use for downstream inference tasks, the GPT-5.4 vs Claude Opus 4.6 comparison is a useful reference for understanding how model capabilities map to specific workflow requirements.
What You Need Before You Start
Footage. The tool works on local video files, so you need clips already on your machine. The format requirements aren’t documented in detail in the tutorial, but standard containers (MP4, MOV) are safe assumptions. Aim for footage that’s consistent in subject matter — a hundred clips of ten different subjects will produce a worse fine-tune than thirty clips of one subject.
A machine that can run local tooling. This is not a web app. You are running something locally, which means you need a reasonably modern setup. The tutorial is aimed at people who are already comfortable with local AI tooling — if you’ve run ComfyUI or any local diffusion model, you’re in the right tier of technical comfort.
Python environment hygiene. Expect to manage dependencies. The tool is open source, which means installation is on you. If you’ve never set up a virtual environment, do that first. The 8-minute tutorial moves fast.
Source clips with strong visual consistency. This is the non-obvious prerequisite. The tool can slice and tag, but it cannot fix footage that’s too varied to teach a model anything coherent. One lesson from the LTX 2.3 video-to-video experiments: the model struggles with shots shorter than roughly 2 seconds, and the workaround (halftiming short clips) introduces lip-sync artifacts. The same principle applies to training data — very short clips create problems downstream. Aim for clips that are at least 3-4 seconds of clean, consistent content.
The Process, Step by Step
Step 1: Organize your source footage into a single folder
The tool’s core mechanic is simple: you point it at a directory, and it processes everything inside. That means your organizational work happens before you touch the tool.
Create a folder with only the clips you want in this dataset. Do not mix subjects, styles, or quality tiers in the same run. If you’re building a character consistency dataset (the use case that Bach from Video Rebirth is also targeting, though through a different mechanism), every clip should feature that character with a clear face visible for most of the duration.
One non-obvious trick from the LTX 2.3 video-to-video experiments: if your clips tend to start with establishing shots that don’t show the subject’s face, consider running them backwards before ingestion. The dataset creation tool will slice from the beginning of each clip, and a strong facial reference in the first frames matters for how the model learns identity. This is the same workaround used in the Starship Troopers modernization test — the clip was reversed so the face appeared in the first frame rather than the last.
Now you have: a clean folder of source clips, organized by subject, with strong reference frames at the start of each file.
Step 2: Run the tool against your folder
Launch the tool and point it at your source directory. The UI defaults to Chinese, but the English toggle is available — find it before you start configuring anything, because the option labels matter for the next steps.
The tool will walk through your video files and perform three operations:
Slicing. It cuts your clips into training-length segments. The exact duration is configurable. For video model training, shorter segments (3-6 seconds) are standard — this aligns with what models like Bach target (6-second duration on the free tier) and what LTX 2.3 expects as input. Don’t go shorter than 2 seconds; that’s where lip-sync and motion coherence break down.
Cropping. It handles aspect ratio normalization. Training data needs to be consistent in resolution and framing. The tool automates what would otherwise be a frame-by-frame editing job.
Tagging. This is the step most people underestimate. Tags (captions) are how the model learns to associate visual content with text. The tool generates these automatically. Review them. Automatic captions are a starting point, not a finished product — you will want to edit tags for any clip where the automatic description misses something important about your subject.
Now you have: a set of sliced, cropped, tagged clips ready for a training pipeline.
Step 3: Audit the output before you train anything
Spend time here. A bad dataset trains a bad model, and training runs are expensive in both compute and time.
Look for: clips where the subject is partially occluded, clips where the automatic tag is wrong or generic, clips that are shorter than your minimum threshold, and clips where the quality drops (motion blur, compression artifacts). Remove or re-tag all of these.
The 80/20 here is the tags. If your captions are vague (“a person walking”), the model learns vague associations. If your captions are specific (“a woman in a red jacket walking toward camera, medium shot, natural light”), the model learns specific ones. The tool gives you a starting point; precision is your job.
Now you have: a curated, tagged dataset that’s actually ready to use.
Step 4: Connect to your training pipeline

The dataset creation tool handles the data prep side. What you do with the output depends on which model you’re fine-tuning and which training framework you’re using. LTX 2.3 is the obvious candidate given its open-source posture — it already supports IC Loras and ID Loras, and the community infrastructure around it (ComfyUI custom nodes, Civitai workflow sharing) means you’re not starting from scratch.
If you’re building something more structured around this pipeline — say, an automated workflow that ingests new footage, runs it through the dataset tool, and queues training jobs — MindStudio handles this kind of orchestration well: it’s an enterprise AI platform with 200+ models, 1,000+ integrations, and a visual builder for chaining agents and workflows without writing the glue code yourself.
Now you have: a dataset connected to a training pipeline, with a clear path to a fine-tuned model.
The Real Failure Modes
Garbage in, garbage out — but specifically. The most common failure is footage that looks fine to a human but is inconsistent in ways the model notices: variable lighting, inconsistent framing, mixed camera distances. Your eye adjusts; the model doesn’t. Be more ruthless about clip selection than feels necessary.
Clip duration mismatches. If your target model has a preferred input duration (LTX 2.3 struggles below ~2 seconds; Bach targets 6 seconds), your slicing configuration needs to match. Mismatches don’t cause errors — they cause subtle quality degradation that’s hard to diagnose after the fact.
Automatic tags that are technically correct but useless. “A person in a room” is not a useful training caption. The tool automates tagging, but automation produces average descriptions. Average descriptions produce average fine-tunes. Budget time for manual caption review proportional to how much you care about the output quality.
Overfitting on a small dataset. If you have 20 clips, you will overfit. The model will memorize your footage rather than generalize from it. There’s no magic number, but more diverse clips of the same subject (different angles, different lighting, different motion) is better than more clips of the same shot repeated.
Environment setup friction. The tool is open source and the tutorial is 8 minutes long. That 8 minutes assumes you have a working Python environment and some familiarity with local tooling. If you don’t, add an hour for setup. This is not a criticism — it’s just accurate.
Where to Take This Further
The dataset creation step is table stakes. Once you have clean training data, the interesting work begins.
The IC Loras + ID Loras + prompt relay ComfyUI workflow (available on Civitai as a JSON drag-and-drop, originally surfaced by Reddit user brief_8831 on r/stablediffusion) shows one direction: combining in-context style transfer with identity preservation and timeline-locked prompting. The results from that workflow are genuinely impressive for character consistency across a sequence. Your custom dataset makes that workflow substantially more effective because the model has seen your subject before.
LTX 2.3’s video-to-video controls — pose mode, depth mode, and edge mode — are another downstream application. Depth mode is particularly useful for footage with camera movement, since it preserves the camera motion while allowing style transfer. A fine-tune trained on your footage, combined with depth-mode video-to-video, gives you stylistic control over new footage that looks like it was shot in your visual language.

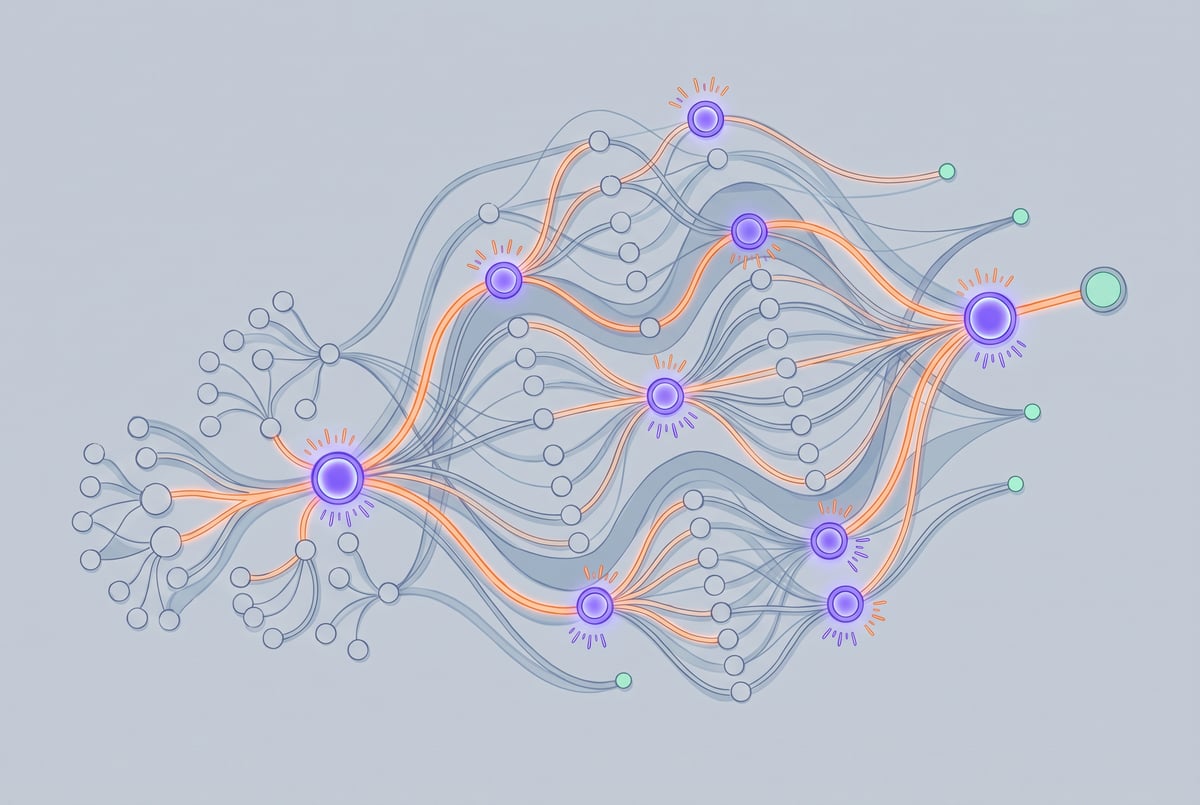
For builders thinking about the infrastructure layer: the pattern of “ingest raw footage → automated preprocessing → structured training data → fine-tuned model” is a pipeline, not a one-time task. If you’re building tools that need to stay current with new footage — a character that appears in new content regularly, a brand visual style that evolves — you want this pipeline automated. That’s where thinking about it as a workflow rather than a manual process pays off. Remy takes a similar approach to a different domain: you write an annotated markdown spec, and it compiles a complete TypeScript application — backend, database, auth, and deployment — treating the spec as the source of truth rather than the generated output. The same “define once, derive repeatedly” logic applies to dataset pipelines.
The Seedance 2.0 situation is worth watching as context. If the 200B parameter rumor is accurate, it explains both the quality lead and the cost. The open-source path — LTX 2.3, custom datasets, local fine-tuning — exists precisely because not every use case can afford to pay for inference at that scale. Building your own training data is how you stay on the affordable side of that equation without sacrificing specificity.
The 8-minute tutorial is a real 8 minutes. Watch it, set up the tool, and run it against a test folder before you commit to a full dataset build. The LTX Desktop open-source AI video editor is a natural companion here if you need to prep or review footage before ingestion — it’s built around the same LTX ecosystem and handles the editing layer that sits upstream of any training pipeline. If you’re thinking about how to automate the content pipeline downstream of your fine-tuned model, the social media content repurposing workflow built with Claude Code is a useful reference for what automated output pipelines look like in practice. And if the broader question of building AI-assisted workflows for product or content teams interests you, AI agents for product managers covers how these automation patterns translate into team-level tooling decisions.
The bottleneck in custom video model work has always been data, not compute. Now it’s a little less so.