Image Generation from a Description: A Workflow Script Tutorial
Learn how to build a Workflow Script that refines a scene description into an optimized image prompt, then generates the image automatically.
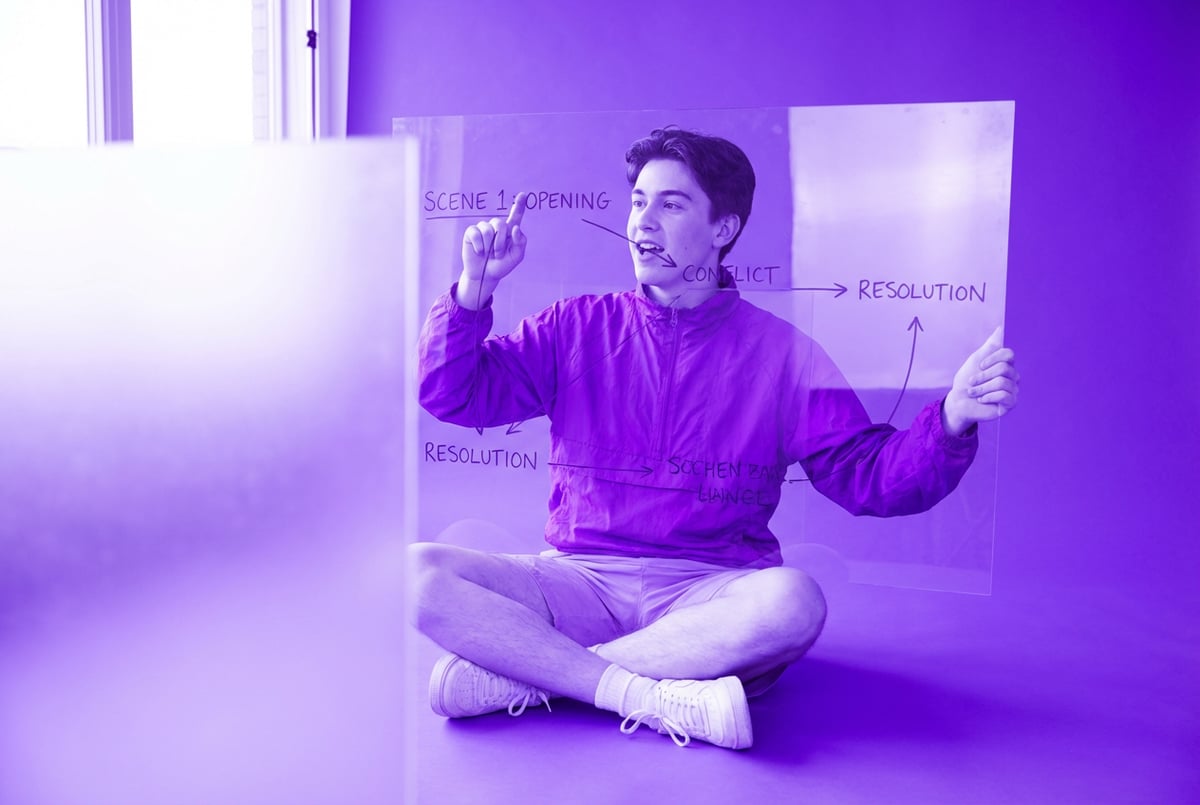
User describes a scene. The script refines the description into an optimized image prompt, then generates and returns the image.
Why build this
This tutorial introduces chaining two AI actions inside a single script — Generate Text followed by Generate Image. Rather than passing the user’s raw description directly to the image model, the script first rewrites it into an optimized prompt. You’ll see how the output of one action becomes the input for the next, and how to return a generated image URL as a workflow variable.
Blocks you’ll use
- User Input — Collects the scene description the user wants to turn into an image.
- Run Script — Houses the Workflow Script. Inside the script, a Generate Text action refines the description into an optimized prompt, then a Generate Image action generates the image.
- Display Content — Shows the generated image to the user.
Canvas flow
Start → User Input → Run Script → Display Content → End
The Run Script block is where your Workflow Script lives. It chains Generate Text and Generate Image — first rewriting the user’s description into an optimized image prompt, then generating the image from that refined prompt. The image URL is returned under the key image.
How to build it
-
Open the Automations Canvas — Open MindStudio. The Automations Canvas is displayed by default. You’ll see a Start block and an End block already in place.
-
Add a User Input block — Click + to add a block and select User Input. In the block settings on the right, click + to add a user input, then click Create New. Set the Type to Long Text and enter
descriptionin the Variable field — this is the name you’ll use to reference this input in the Run Script block. Set the Label to a short name — for example, “Scene Description”. Then set the Help Text to a description the user will see — for example, “Describe the scene you’d like to generate.”Once you’ve set up the user input, click the Main.flow tab at the top of the editor to return to the workflow.
-
Add a Run Script block — Click + in the workflow, then select View All Blocks. From the Blocks screen, search for Run Script and select it. In the block settings, click Edit Script to open the script editor. Paste the prompt below to generate the script automatically.
Generate a script that takes a scene description as input. Use a Generate Text action to rewrite the description into a vivid, specific image generation prompt — optimized for detail, composition, and style. Then use a Generate Image action to generate an image from that refined prompt. Return the image URL under a key named image.- Return to the workflow — Once the script is generated, click the Main.flow tab to return to the workflow. The Input Variables and Output Variables settings will appear in the block settings on the right.
- Configure Input Variables — For the
descriptionparameter, set the Variable to{{description}}. - Configure Output Variables — Confirm that
imageis mapped to the variable{{image}}.
-
Add a Display Content block — Click + and select Display Content. Connect it after the Run Script block. In the block settings, set the Message field to
— using Markdown image syntax to render the image URL returned by the script. This displays the generated image to the user. -
Name your AI agent — Click Untitled Agent at the top of the interface, then update the Agent Name field — for example, “Image Generation from a Description.”
-
Preview your AI agent — Click the Preview button, then select Open Draft Agent to run the AI agent and test your workflow.
One coffee. One working app.
You bring the idea. Remy manages the project.
Try it in MindStudio
Open MindStudio and follow along with this tutorial. No coding required.