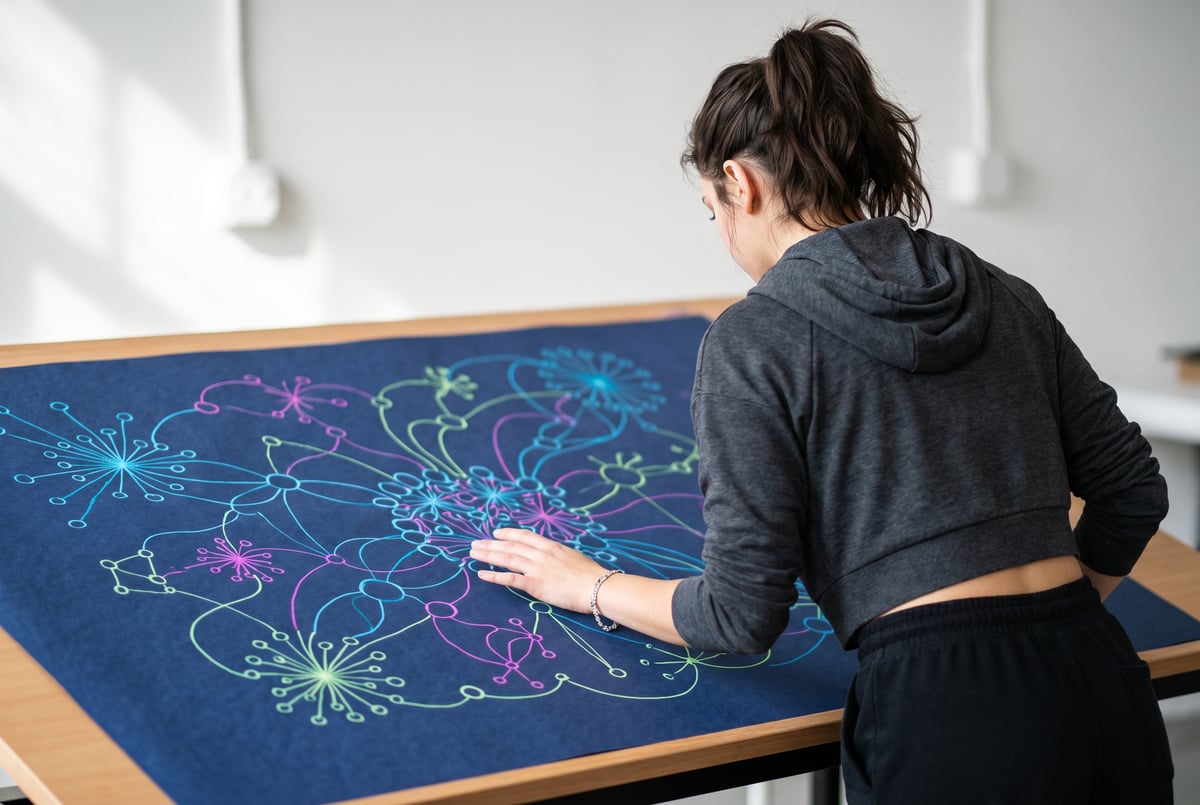
How to Build a Brand Design System with Claude Design: Step-by-Step
Learn how to create a reusable brand design system in Claude Design—covering colors, typography, logos, and components—that keeps every asset consistent.

Why Brand Design Systems Fail (And What to Do About It)
Building a brand design system sounds like something only large design teams need to worry about. In practice, any business that produces marketing materials, products, or client-facing content needs one — and most don’t have it.
Without a documented brand design system, you end up with five different shades of “company blue,” three versions of the logo floating around, and a website that looks like it was built by different people in different decades. It probably was.
Claude Design changes this equation. Using Claude as an AI design collaborator, you can build a comprehensive brand design system — covering color tokens, typography scales, logo usage rules, and UI components — without needing a full-time design team. This guide walks you through the exact process, step by step.
What a Brand Design System Actually Is
A brand design system is a documented set of rules and reusable assets that govern how your brand looks and communicates across every surface.
It’s not a mood board. It’s not a style guide PDF that gets ignored after the first week. A real design system includes:
- Design tokens — The atomic values that define your visual language: hex codes, font sizes, spacing units, border radii
- Color palette — Primary, secondary, neutral, and semantic color roles with usage rules
- Typography scale — Font families, weights, sizes, and line-height rules for every text style
- Logo guidelines — Clear/safe zones, approved color variants, prohibited uses
- Component library — Buttons, cards, form fields, navigation patterns — each with defined states and variants
- Usage documentation — Written rules that explain when and how to use each element
The goal is that anyone touching your brand — a freelance designer, a marketing intern, an AI tool — produces output that looks like it came from the same place.
Before You Start: What to Prepare
Before opening Claude Design, gather the raw inputs. The better your inputs, the better your system.
Existing Brand Assets
Pull together whatever you already have:
- Any logo files (SVG preferred, PNG acceptable)
- Previous brand guidelines, even informal ones
- Existing website or app screenshots
- Marketing materials you’re proud of
- Colors or fonts you’ve been using informally
If you’re starting from scratch, that’s fine too — you’ll be generating rather than documenting.
Brand Context
Claude works best when you give it meaningful context. Write down brief answers to these questions before you start:
- What does your company do?
- Who is your target audience (demographics, psychographics)?
- How do you want to feel to customers? (e.g., trustworthy, bold, minimal, warm)
- Who are two or three competitors, and how do you want to be visually different from them?
- Are there any colors, styles, or references you specifically want to avoid?
This brief becomes the foundation of your design system session.
Step 1: Establish Your Brand Foundation
Open a new conversation in Claude and treat it as a design brief session. Your first prompt should establish your brand context in full.
Example prompt:
“I’m building a brand design system for [Company Name], a [description of business]. Our audience is [audience description]. We want to feel [adjectives — e.g., ‘professional but approachable, modern but not cold’]. Our competitors include [X and Y], and we want to differentiate by feeling [Z]. Please help me establish the foundational brand principles that will guide the visual design system.”
Claude will return a structured brand foundation that typically includes:
- Brand personality traits (e.g., Confident, Clear, Human)
- Visual tone descriptors (e.g., clean geometry, generous whitespace, muted palette with one bold accent)
- Design philosophy — a short paragraph that ties the visual choices back to the brand’s purpose
Review this output carefully. Push back where it doesn’t feel right. Add specifics. This foundational document will inform every decision downstream, so it’s worth getting right.
Step 2: Build Your Color System
Color is the most recognizable part of any brand. A solid color system goes well beyond picking a primary color — it defines a complete hierarchy with clear usage rules.
Define Your Color Roles
Ask Claude to build a color system with these roles:
- Primary — Main brand color, used for primary CTAs, key UI elements
- Secondary — Complementary color for accents, highlights, supporting elements
- Neutral — A range of grays (or warm/cool neutrals) for text, backgrounds, borders
- Semantic colors — Success (green), Warning (yellow), Error (red), Info (blue)
- Surface colors — Page background, card background, overlay
Example prompt:
“Based on the brand foundation we established, create a full color system. For each color role, provide the primary hex value, plus lighter and darker variants (at minimum 3 shades per role). Include contrast ratios for the primary text-on-background combinations to ensure WCAG AA accessibility compliance. Format this as design tokens.”
What Good Output Looks Like
Remy doesn't write the code. It manages the agents who do.
Remy runs the project. The specialists do the work. You work with the PM, not the implementers.
A well-structured Claude response will give you color tokens in a format like this:
--color-primary-500: #2D5BE3;
--color-primary-400: #5578EA;
--color-primary-600: #1A3FB5;
--color-primary-100: #E8EDFB;
This naming convention (using a 100–900 scale) maps directly to how design tools like Figma, Tailwind CSS, and most component libraries expect tokens to be structured.
Validate Your Colors
Once Claude generates the palette, ask it to:
- Check every foreground/background combination against WCAG 2.1 AA standards (4.5:1 ratio for normal text)
- Suggest how each color should be used in practice (e.g., “Primary-500 is the main button color; use Primary-100 for tinted backgrounds”)
- Identify any combinations that should never be used together
Step 3: Define Your Typography Scale
Typography does more heavy lifting than most people realize. The right type system makes content scannable, creates hierarchy, and communicates brand personality.
Choose Your Font Stack
Start by telling Claude your constraints:
- Do you have licensed fonts already, or do you need free/open-source options?
- Are you building for web, mobile, print, or all three?
- Do you want one typeface family or two (e.g., a serif for headings, sans-serif for body)?
Example prompt:
“Recommend a typography system for the brand we’ve defined. Suggest font pairings that match our brand personality. Provide options in Google Fonts and premium typefaces separately. For each recommendation, explain why it fits our brand.”
Build the Type Scale
Once you’ve chosen fonts, ask Claude to generate a complete type scale. A standard web type scale includes:
| Token | Size | Line Height | Weight | Use Case |
|---|---|---|---|---|
| Display | 60px | 1.1 | 700 | Hero headlines |
| H1 | 48px | 1.15 | 700 | Page titles |
| H2 | 36px | 1.2 | 600 | Section headers |
| H3 | 28px | 1.25 | 600 | Subsection headers |
| H4 | 22px | 1.3 | 600 | Card titles |
| Body Large | 18px | 1.6 | 400 | Lead paragraphs |
| Body | 16px | 1.6 | 400 | Standard body text |
| Body Small | 14px | 1.5 | 400 | Captions, labels |
| Caption | 12px | 1.4 | 400 | Legal, footnotes |
Ask Claude to also define responsive behavior — what sizes should these scale to on mobile?
Typography Usage Rules
Have Claude document the rules alongside the scale:
- Which heading levels to use for SEO purposes
- Maximum line length for readability (typically 60–80 characters)
- Minimum font size for accessibility
- Rules for font color usage (e.g., “Body text uses Neutral-800 on light surfaces only”)
Step 4: Develop Logo Guidelines
If you already have a logo, this step is about documentation and usage rules. If you’re creating one, Claude can help with conceptual direction — though for actual logo files, you’ll need a vector tool or a designer.
Document Logo Variants
Most brand systems need at least four logo variants:
- Primary logo — Full lockup (icon + wordmark), used in most contexts
- Horizontal lockup — For wide spaces like headers and email footers
- Icon only — For small spaces (favicons, app icons, social avatars)
- Wordmark only — For contexts where the icon reads poorly
Example prompt:
“Document logo usage guidelines for our brand system. We have [describe your logo — e.g., ‘a geometric icon paired with a sans-serif wordmark’]. Create guidelines covering: approved color versions, minimum sizes, clear space rules, background usage rules, and prohibited modifications. Make it specific and actionable.”
What to Include

Claude will generate a written specification document that covers:
Approved color versions:
- Full color (primary brand colors)
- All-black
- All-white (for dark backgrounds)
- Single-color (one-color printing)
Clear space rule: Typically expressed as a unit based on a specific element of the logo (e.g., “minimum clear space equals the height of the letter X in the wordmark”).
Minimum size: Logo minimum sizes for print (usually in millimeters) and digital (in pixels).
Prohibited uses:
- Don’t stretch or distort the logo
- Don’t recolor outside approved versions
- Don’t add drop shadows or effects
- Don’t place on backgrounds that reduce contrast below accessible thresholds
- Don’t rearrange elements
This section alone, properly documented, prevents a surprising number of off-brand mistakes.
Step 5: Design Your Component Library
Components are where your design system becomes genuinely useful for building products and marketing assets. A component is any reusable UI element: buttons, cards, form inputs, navigation bars, alerts, badges.
Start With Core Components
Don’t try to document everything at once. Start with the highest-frequency components:
- Buttons (primary, secondary, ghost, destructive, sizes, states)
- Form elements (text input, dropdown, checkbox, radio, textarea)
- Cards (content card, feature card, pricing card)
- Navigation (desktop nav, mobile nav, breadcrumbs)
- Alerts and notifications
- Badges and tags
- Modals and overlays
Document Each Component Thoroughly
For each component, ask Claude to generate a specification that includes:
Example prompt:
“Create a detailed component specification for a Button component based on our design system. Include: all variants (primary, secondary, ghost, destructive), all sizes (small, medium, large), all interactive states (default, hover, active, focus, disabled, loading), color tokens used, spacing tokens used, typography tokens used, accessibility requirements, and usage guidance.”
A well-documented button component specification might look like:
Button — Primary
Variants: Primary, Secondary, Ghost, Destructive
Sizes: Small (32px height), Medium (40px height), Large (48px height)

States:
- Default: Background color-primary-500, text color-white
- Hover: Background color-primary-600
- Active: Background color-primary-700
- Focus: 2px solid color-primary-500 outline, 2px offset
- Disabled: Opacity 40%, cursor not-allowed
- Loading: Spinner icon replaces label, width maintained

Spacing:
- Small: 12px horizontal padding, 8px vertical
- Medium: 16px horizontal padding, 10px vertical
- Large: 20px horizontal padding, 12px vertical

Typography: Label style, 14px/16px/18px by size, weight 600
Border radius: --border-radius-md (6px)
Build the Full Component Catalog
Work through each component systematically. After documenting the big ones, add:
- Typography components (blockquotes, code blocks, callouts)
- Data display (tables, lists, stat cards)
- Layout components (dividers, spacers, grid specs)
- Feedback components (loading states, empty states, error states)
Step 6: Create the Documentation Layer
A design system without documentation is just a collection of assets. Documentation is what makes it usable by others — including future versions of yourself.
What to Document
Ask Claude to help you write documentation for each major section:
- When to use — Clear guidance on appropriate contexts
- When not to use — Equally important; what misuse looks like
- Accessibility notes — Any specific considerations for that element
- Related components — Cross-references to alternatives or companion elements
Generate a Design System Overview Document

At the end, ask Claude to write a design system overview document — a single page that introduces the system, explains its structure, and gives anyone new to the brand a starting point.
This is what you’d share with a new designer, a freelance developer, or an agency you’re briefing.
Step 7: Export and Maintain Your System
Output Formats
Depending on where your design system needs to live, you can ask Claude to format your tokens and specifications in different ways:
- CSS custom properties — For web implementation
- JSON tokens — For use with tools like Style Dictionary or Theo
- Tailwind config — If you’re using Tailwind CSS
- Figma variables format — For import into Figma’s variable system
- Plain English — For brand guidelines PDFs or internal wikis
Example prompt:
“Export the color tokens, typography tokens, and spacing tokens we’ve defined as a Tailwind CSS config object, formatted as JavaScript.”
Version Control Your System
A design system is a living document. Set up a versioning practice from the start:
- Use a tool like Notion, Confluence, or a GitHub repository to store your system documentation
- Date every major update
- Use changelog notes to track what changed and why
- Never delete old versions — archive them
How MindStudio Can Extend Your Brand System
Once your brand design system is documented, the next challenge is making it work consistently across all your content production — and this is where MindStudio becomes genuinely useful.
MindStudio is a no-code platform for building AI workflows. You can use it to build AI agents that reference your brand design system automatically — so every piece of content your team generates stays on-brand without manual review.
Here’s a practical example: build a MindStudio workflow that takes a brief (campaign name, goal, key message), references your brand system documentation, and outputs copy that matches your brand voice alongside image generation prompts that specify your exact color tokens and visual style. The agent can use your typography rules to format long-form content, apply your semantic color guidance to alert-style callouts, and flag when a request contradicts your documented brand guidelines.
You can also build content creation workflows in MindStudio that connect to tools like Google Docs, Notion, or Airtable — so your brand system becomes a live input to every automated content task rather than a document that gets ignored.
For teams producing high volumes of AI-generated content, this means the brand system you spent time building actually gets enforced — consistently, at scale. You can try MindStudio free at mindstudio.ai.
Common Mistakes to Avoid
Building Too Much Too Fast
A design system you actually use beats a comprehensive one you never finish. Start with the ten most-used components, get them right, and expand from there.
No Usage Rules, Just Visuals
Showing the button is necessary. Explaining when to use the ghost variant instead of the secondary variant is what makes the system useful. Documentation is not optional.
Skipping Accessibility
Every color combination, every font size, every interactive state needs to meet WCAG 2.1 AA at minimum. Claude can check these — use it. Web Content Accessibility Guidelines are the industry standard reference here.
Treating It as Finished
Other agents ship a demo. Remy ships an app.
Real backend. Real database. Real auth. Real plumbing. Remy has it all.
No design system is ever finished. Plan for quarterly reviews. When products evolve, the system should evolve with them.
Not Sharing It
A design system locked on one designer’s computer doesn’t work. Make it accessible, link it in your project management tools, and reference it in onboarding materials.
FAQ
What is Claude Design?
Claude Design refers to using Claude — Anthropic’s AI model — specifically for design-related tasks: generating color palettes, documenting component specifications, writing brand guidelines, evaluating visual concepts, and building structured design system documentation. It’s not a dedicated design application, but Claude’s ability to reason about visual systems and output structured specifications makes it a capable design collaborator.
How long does it take to build a brand design system with Claude?
For a focused session covering core brand foundations, color, typography, and basic components, expect 4–8 hours of active work. More complex systems with full component libraries and complete usage documentation take longer — typically spread across several sessions over a week or two. The time savings compared to building this manually (or paying a design agency) is substantial.
Do I need design experience to use Claude for this?
Not much. You need a clear sense of your brand — who you are, who you’re for, and how you want to feel to customers. Claude handles the technical design knowledge: color theory, typography rules, accessibility standards, token naming conventions. The clearer your brief, the better the output.
Can Claude generate actual design files?
Claude generates specifications, documentation, and code tokens — not visual files like SVG, Figma documents, or PNGs. For actual design files, you’d take the specifications Claude generates and implement them in Figma, Sketch, or a CSS framework. If you need AI-generated visuals, image generation tools like FLUX or Midjourney can produce visual concepts to pair with your specifications.
How do I keep a brand design system up to date?
Assign ownership — one person or team is responsible for maintaining the system. Set a review cadence (quarterly works for most teams). Use version numbers and changelogs so anyone using the system knows what changed. Store it somewhere centrally accessible, not in a local folder. And update it whenever a major product or marketing change requires a new pattern — don’t let the system drift from actual practice.
Is a brand design system only for large companies?
No. Startups and small businesses benefit just as much, arguably more. When resources are limited, consistency and reusability matter more — not less. A well-documented design system means a freelance designer can produce on-brand work without extensive briefing, and a non-designer on your team can make simple content decisions correctly without escalating every question.
Key Takeaways
- A brand design system is a documented set of rules and reusable assets — not just a style guide or mood board.
- Claude Design works best when you give it a clear, detailed brand brief before generating anything.
- Build your system in layers: brand foundation → color tokens → typography scale → logo guidelines → components → documentation.
- Format outputs as design tokens (CSS custom properties, JSON, or Tailwind config) so they can be directly implemented in products and tools.
- Accessibility compliance — particularly color contrast ratios — should be validated at every step.
- Maintenance matters as much as creation: version your system, assign ownership, and review it regularly.
- Tools like MindStudio can turn your static brand documentation into an active input for AI-powered content workflows, making brand consistency scalable.
One coffee. One working app.
You bring the idea. Remy manages the project.
Start with your brand foundation prompt today — you can build a working draft of a complete design system in a single focused session.