How to Build an Entire Brand's Ad Creative with Claude Code and Higgsfield in Under 5 Minutes
One prompt. Five minutes. A full headphone brand with product photos, Instagram ads, and UGC videos. Here's the exact workflow.

A Full Brand in 5 Minutes: Ad Creative Generation with Claude Code and Higgsfield
Building ad creative is slow. You brief a designer, wait, get something back, revise it, wait again. Or you open Figma yourself and spend three hours on something that looks like it was made in three hours. Either way, you’re the bottleneck.
Here’s what’s possible now: a full headphone brand — market research, brand identity, three product lines, product photos, Instagram ads, and UGC videos — generated from a single Claude prompt in approximately 5 minutes. Not a rough draft. Not a mood board. Actual rendered assets ready to iterate on.
This tutorial walks through the exact setup: connecting Higgsfield to Claude, installing the CLI for Claude Code, building a tracking sheet in Google Sheets, creating reusable skill files, and scheduling the whole thing to run on autopilot. By the end you’ll have a working pipeline, not just a demo.
What this actually produces (and why it’s worth setting up)
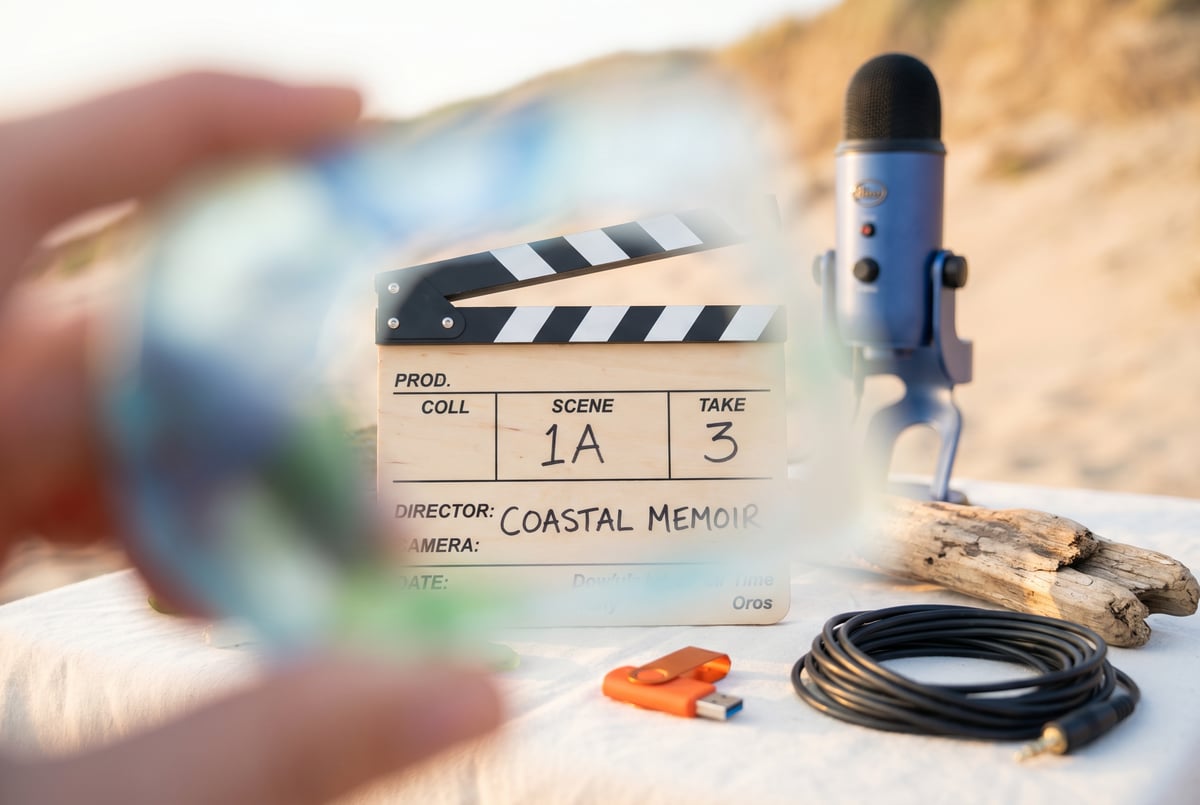
The demo that motivated this post started with one prompt: “Build me a headphone brand from scratch. I want you to do research, build the branding, build the product catalog, and for each of them, I want you to generate assets — a product photo, an Instagram ad, and a UGC video.”

Claude did the market research, named the brand Murmur, defined three product lines (over-ear, wireless earbuds, open-back wired), and then used the Higgsfield MCP to generate every asset. The UGC videos show real-looking people wearing the headphones. The Instagram ads have headlines and spacing that look like they came from a media buyer, not a first draft.
The point isn’t that every output is perfect — some had duplicate text overlays, one video felt too quiet. The point is that you can iterate on these in seconds, not days. You say “remove one of the headers” or “make it more energetic with camera cuts” and you get a new version. The iteration loop is fast enough that you can actually find something that works.
Once you have a winning format, you can generate 50 variations of it overnight. That’s the actual value: not one good ad, but a systematic way to fill a testing queue.
What you need before starting
Accounts and subscriptions:
- A Claude account (claude.ai) — you’ll use both Claude web and Claude Code (the desktop app)
- A Higgsfield account at higgsfield.ai — requires a paid subscription
- A Google account (for Google Sheets tracking via GWS CLI)
Tools:
- Claude Code desktop app installed locally
- Node.js on your machine (required for the Higgsfield CLI install)
- A folder on your computer to serve as your project root
Knowledge:
- You should be comfortable running commands in a terminal, or at least comfortable letting Claude Code run them for you
- No prior experience with MCPs or CLIs required — the tutorial covers both
Setting up the connection: MCP for quick tests, CLI for real work
Step 1: Connect Higgsfield to Claude web (for quick experiments)
Open Claude at claude.ai. Go to Settings → Connectors → Add Custom Connector. Name it “Higgsfield” and paste in the connector URL from the MCP and CLI page at higgsfield.ai.
Claude will prompt you to configure it. Hit Configure, which opens the Higgsfield OAuth flow. Sign in with your Higgsfield account. Once authorized, you can set permissions — either limit what Claude can do in your account, or set everything to “always allow.”
Now when you’re in any Claude chat, you can click the connectors panel, see Higgsfield listed, and start prompting it to generate images and videos directly.
This is how the headphone brand demo was built. One prompt, MCP connector active, Claude handled everything.
Now you have: Higgsfield connected to Claude web, ready for one-off generation.
Step 2: Install the Higgsfield CLI for Claude Code
The MCP connector works well for exploration. For agents and automation, you want the CLI instead. The reason is concrete: MCP loads all available tools into context on every single call, which costs tokens and slows things down. The CLI is a direct command-line interface — faster, cheaper, and better suited for agents running in loops.
Go to higgsfield.ai/mcp-cli and copy the three install commands. Open Claude Code (the desktop app), create or open your project folder, and paste something like this into the chat:
“This project is being set up to use Higgsfield as a creative studio. I need you to install the Higgsfield CLI, run the OAuth login for me, and install the Higgsfield agent skills. Here are the three commands: [paste commands]”
Claude Code will run the commands, open a browser tab for the OAuth flow, and confirm when the agent skills are installed. The agent skills are pre-built skill templates that ship with the CLI — they give Claude Code a starting point for generating images and videos without you having to define everything from scratch.
Now you have: Higgsfield CLI installed, authenticated, and agent skills loaded into your project.
Step 3: Install the GWS CLI for Google Sheets tracking
The GWS CLI (Google Workspace CLI) lets Claude Code read and write Google Sheets, Docs, Gmail, Calendar, and Drive via bash commands — no separate MCP server needed. If you haven’t used it before, it’s a significant unlock for any workflow that needs persistent data. There’s a full breakdown of how the Google Workspace CLI works with Claude Code if you want to go deeper on the setup.
Once it’s installed and authenticated, Claude Code can create and update spreadsheets directly from your project.
Now you have: Claude Code able to read and write Google Sheets as part of any workflow.
Building the tracking sheet and creative slate
Step 4: Pull your existing Higgsfield assets into a Google Sheet
With both CLIs installed, open a new chat in Claude Code and ask it to:
- Look at all the assets you’ve generated in Higgsfield
- Create a Google Sheet that logs each one with: job ID, status, prompt, model, sizing, and result URL
- Add tabs for by-product and by-style views, plus a planning tab
Claude Code will call the Higgsfield CLI to pull your generation history, then use the GWS CLI to create the sheet and populate it. In the demo, this pulled 45 existing generations automatically — something that would have taken significant manual effort to compile.
The schema matters here. Job ID and result URL mean you can always retrieve the actual output. The prompt column means you can analyze what language produced what results. Model tracking (Flux 2, GPT Image 1/1.5/2, Nano Banana Pro) means you can see which models perform best for which use cases.
Now you have: A live Google Sheet with your full generation history, structured for analysis.
Step 5: Generate a creative slate from your data
Tag your advertising research document in the chat (more on creating that below) and ask Claude Code to:
- Review all existing generations
- Read the advertising research doc
- Generate a batch of new creative variations mixing different value props, headlines, avatars, and styles
- Write the plan into a new “Creative Slate” tab in the Google Sheet with a status column
The status column is important. When you later run generation jobs, Claude Code will mark rows as “complete” or “in review” as it finishes them. This prevents duplicate work and gives you a clear view of what’s been generated and what hasn’t.
Now you have: A prioritized queue of ad variations ready to generate, tracked in your sheet.
The advertising research document
Before running any generation at scale, it’s worth doing what the demo did: ask Claude to produce a research document on advertising best practices and store it in your project.
Plans first. Then code.
Remy writes the spec, manages the build, and ships the app.
The prompt is something like: “Do deep research on the best strategies for advertising in 2026 — organic content on TikTok, Meta, and X. What captures attention, what converts, how it differs by platform. Give me a full markdown file called advertising-masterclass.md.”
The result in the demo was a 617-line markdown document covering attention mechanics, platform-specific formats, headline patterns, and CTA structures. It lives in the project folder and gets referenced by Claude Code whenever it’s planning new creative.
This is the part people skip, and it’s the part that makes the outputs actually useful. Claude isn’t a master copywriter by default, but it can become one for your specific context if you give it the right reference material. The same principle applies to any domain — if you’re building agents for a specific industry, combining Claude Code with AutoResearch to build self-improving skills is a natural extension of this approach.
Building a reusable skill for Hypermotion videos
Step 6: Reverse-engineer a skill from your best output
After generating a batch of assets, find the one you like most. Copy its prompt from the Google Sheet. Open a new chat in Claude Code and paste the prompt with this instruction:
“This prompt is my favorite output from Higgsfield Marketing Studio — a Hypermotion fast-paced launch video. I want to turn this into a skill that lives in
.claude/skills/so that whenever I ask for a Hypermotion style video, it always uses this format and stays consistent.”
Claude Code will create a markdown file in .claude/skills/ — something like hypermotion-video.md. The skill file contains:
- A name and description
- Trigger conditions (when to invoke this skill)
- Hard rules (what must always be true — aspect ratio, style, pacing)
- Pre-generation questions (e.g., “Do you want a model in the ad, or product only?”)
- The prompt template itself
Skills are invoked via slash commands in Claude Code. Once the skill exists, you can type /hypermotion and Claude Code will read the skill file, ask its pre-generation questions, and then call Higgsfield with a prompt that follows the template exactly.
One practical note: if you create a skill and Claude Code doesn’t invoke it immediately, close and reopen the app. The skill files are read on startup.
Now you have: A reusable Hypermotion video skill that produces consistent outputs every time.
The skill system is where consistency actually comes from. Without it, every generation is a fresh roll of the dice. With it, you’re running the same recipe every time and only varying the ingredients you want to vary. If you want to build out a full library of these, the Claude Code skill system for content marketing post covers how to structure multiple skills into a coherent system.
Scheduling generation to run without you
Step 7: Set up routines for weekly planning and generation
Claude Code supports routines — scheduled prompts that inject on a cadence. The workflow that makes sense here is two routines:
Sunday planning routine: Claude Code looks at the Google Sheet, pulls in any performance data you have (from Meta, TikTok, Instagram), reads the advertising masterclass document, and adds 50 new rows to the creative slate with blank statuses.
Other agents ship a demo. Remy ships an app.
Real backend. Real database. Real auth. Real plumbing. Remy has it all.
Monday generation routine: Claude Code looks at the sheet, finds all rows with blank status, generates them via the Higgsfield CLI, updates each row with the result URL and job ID, and marks them complete.
The status column is what makes this work cleanly. The Monday routine only picks up rows with no status, so it never regenerates something that’s already done. You can scale the numbers up — 50 planning rows becomes 100, Monday generation runs twice a week — and the system handles it without you.
This is the point where the workflow stops being a demo and starts being infrastructure. You’re not generating ads; you’re running a production pipeline that generates ads. Platforms like MindStudio handle this kind of orchestration at a higher level — 200+ models, 1,000+ integrations, and a visual builder for chaining agents and workflows — which is useful if you want to connect this pipeline to downstream tools like ad managers or CMS platforms without writing the integration code yourself.
When things go wrong
Sensitive content blocks: Higgsfield will occasionally reject a prompt and refund your credits. When this happens, don’t just retry with the same prompt. Ask Claude Code to read the rejected prompt, identify which words or phrases likely triggered the block, and regenerate with those removed. This works reliably. The longer-term fix is to bake a list of flagged language into your skill files as hard rules.
Reference image not appearing correctly: If you ask for ads featuring a specific product and the output shows a generic version of that product category instead of your actual product, you forgot to pass the reference image. Drag the image directly into the Claude Code chat and explicitly say “this product must appear exactly as shown in this reference image — same color, same text, don’t change anything.” This is a prompt discipline issue, not a model limitation.
Skill not being invoked: If Claude Code runs a different skill than the one you asked for, check two things. First, make sure the skill file actually exists in .claude/skills/. Second, close and reopen the Claude Code app — skill files are loaded on startup. Also check that your voice dictation (if you’re using one) didn’t autocorrect your skill name to something else. “Hypermotion” becoming “remotion” in a dictated prompt will send Claude Code looking for the wrong thing.
Model text rendering in videos: Image-to-video models sometimes garble text that appears on product labels. This is a current limitation of the models, not a prompting problem. The practical workaround is to use a clean logo-only label for video generation and reserve the full product label for image-to-image work.
Where to take this next
The natural next step is connecting the output to wherever you actually run ads. Once you trust the skill outputs enough to let them run autonomously, you can pipe the result URLs from the Google Sheet into a scheduling tool or directly into Meta Ads Manager.

Before you get there, spend time improving your skills. Run a batch, pick the outputs you like, and tell Claude Code: “Update the skill so that next time it produces more like these and less like those.” Skills improve incrementally, and the improvement compounds — each update makes the next batch better.
If you want to go further with the agent architecture itself, Claude Code’s agentic workflow patterns covers the structural patterns (loops, parallelism, human-in-the-loop checkpoints) that apply once your pipeline gets complex enough to need them. And if you’re thinking about how to manage the knowledge base that informs your agents over time — the advertising masterclass doc, your brand guidelines, your performance data — building an AI second brain with Claude Code and Obsidian is worth reading.
The headphone brand demo is a good proof of concept. A full production pipeline takes a few more hours to set up properly. But the ceiling is genuinely high: a system that plans creative on Sunday, generates it overnight, and hands you a full testing queue on Monday morning, every week, without you touching it.
That’s not a future thing. The pieces are all here now. If you want to build something like Remy — where a structured spec document compiles into a complete working artifact — the same principle applies to ad creative: write the spec (your skill files, your research doc, your brand guidelines), and let the system derive the outputs from it.